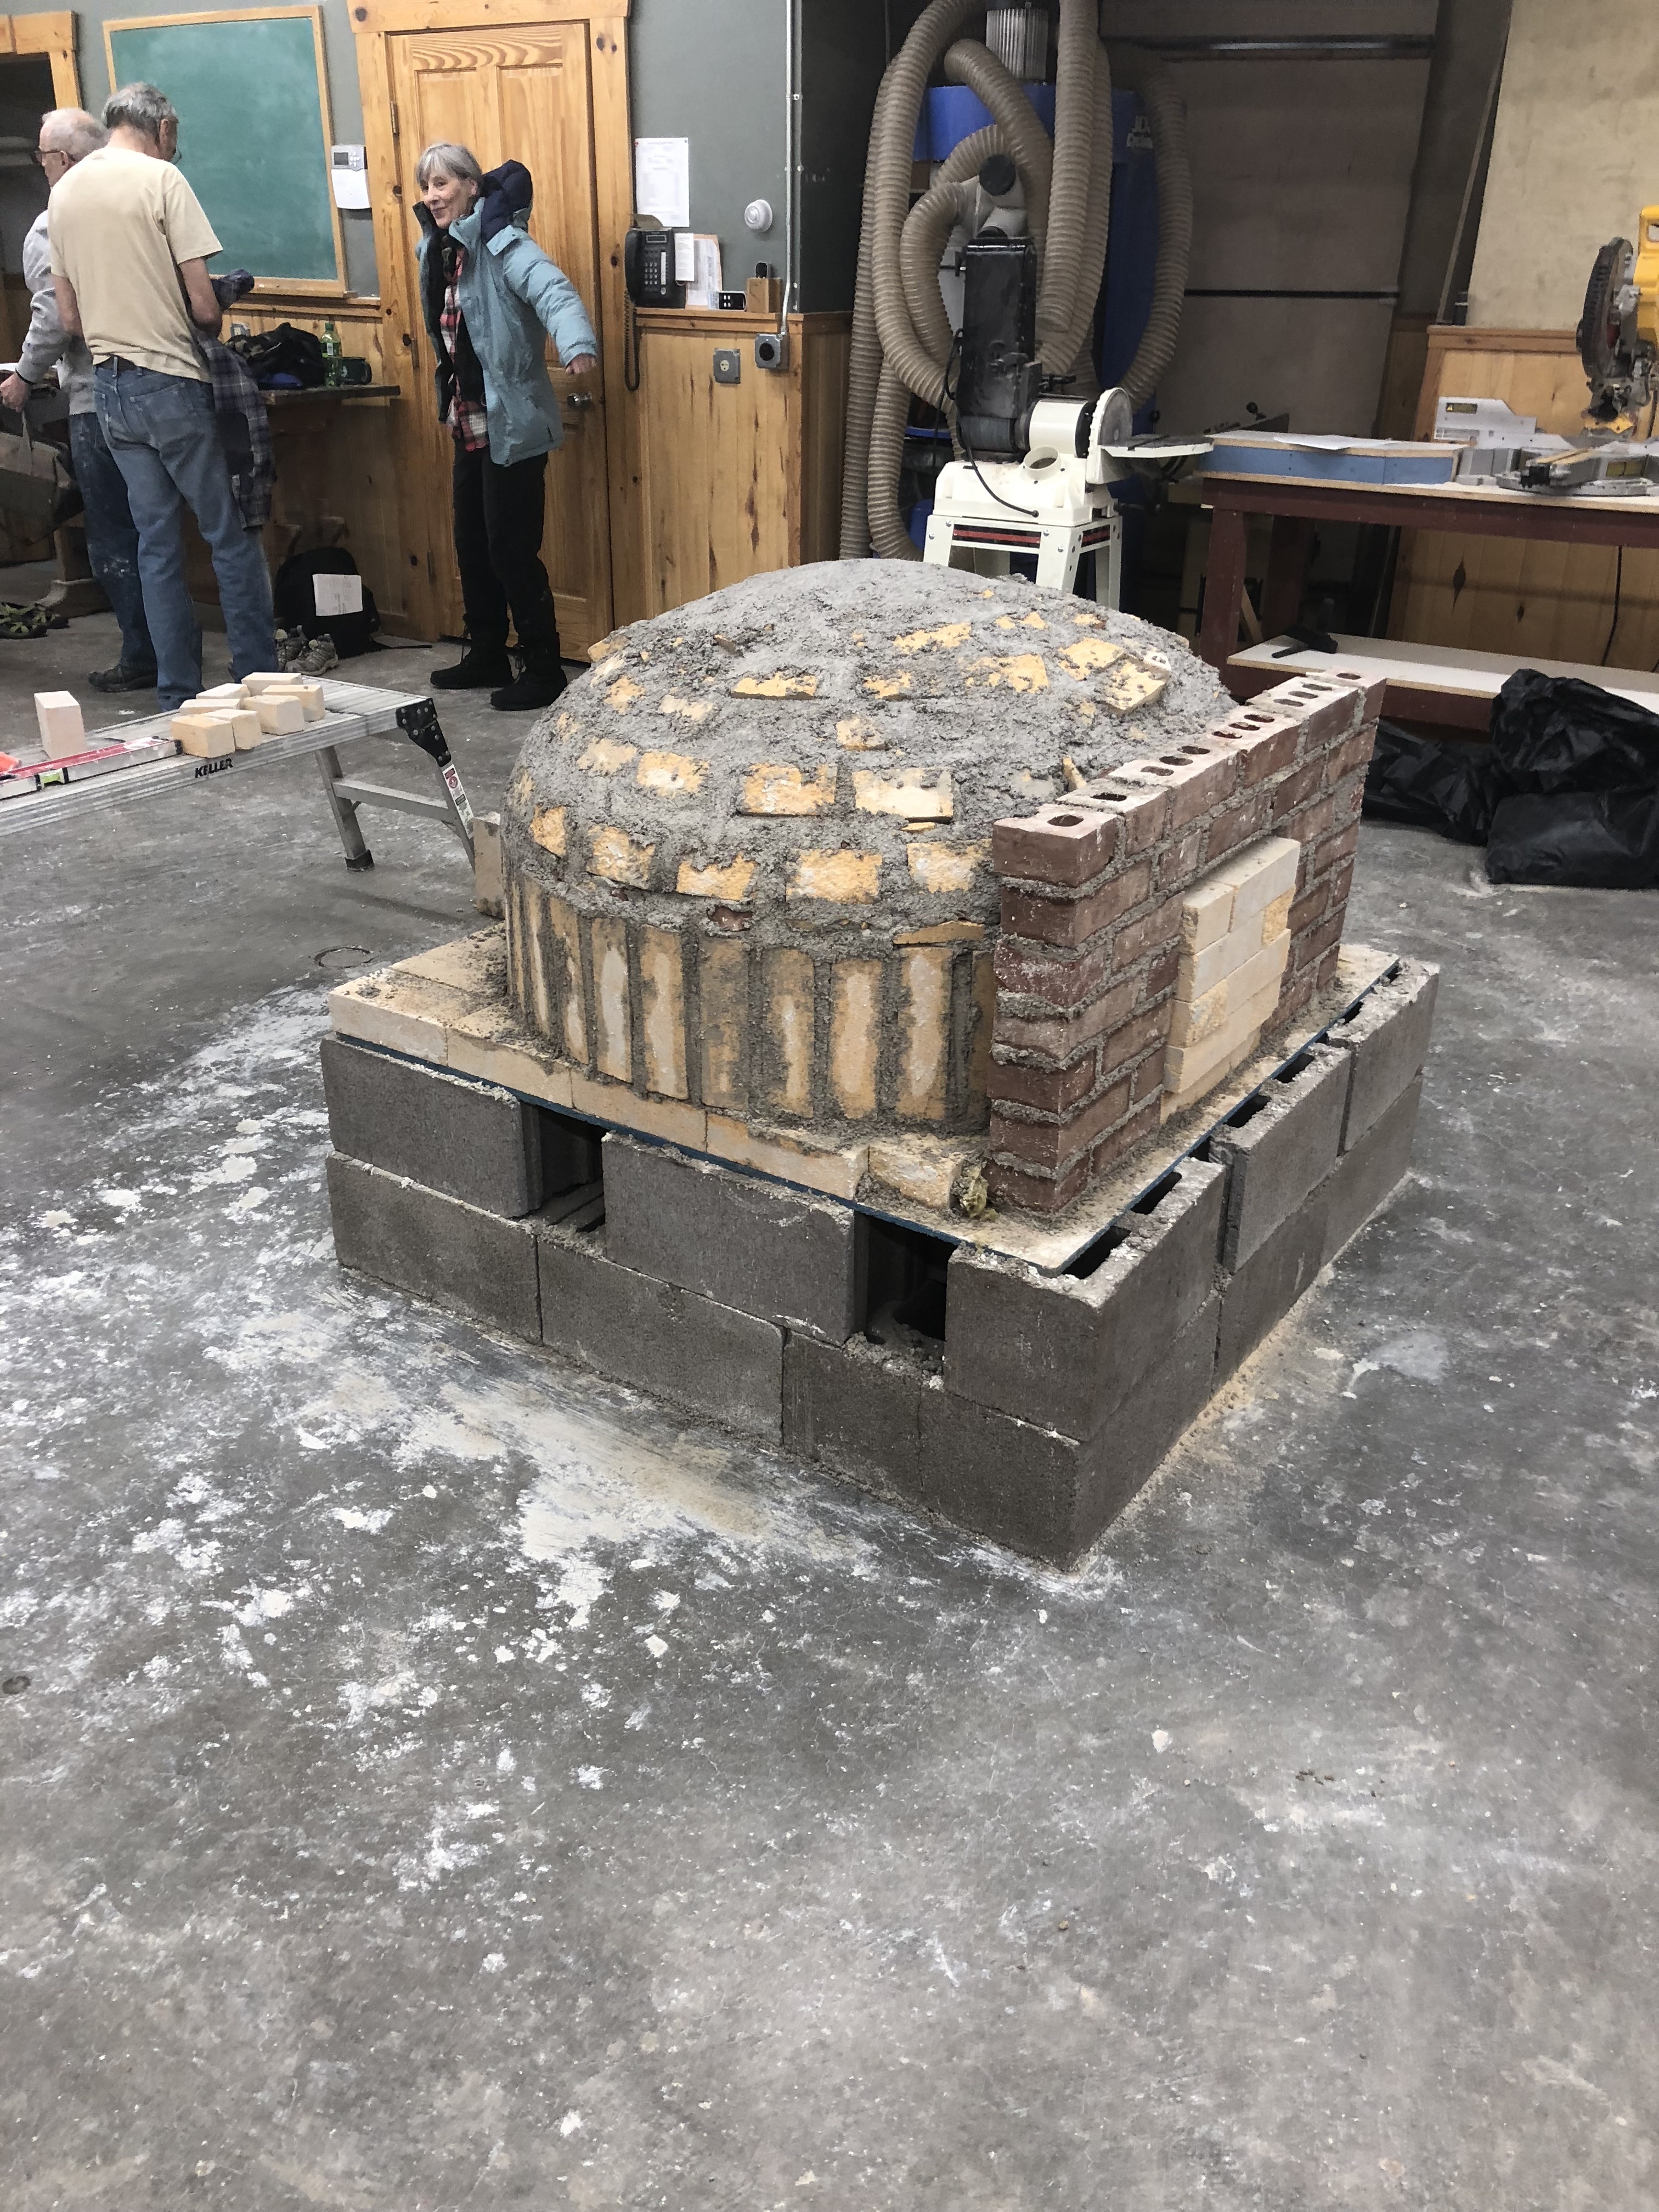
This is a wood-fired brick oven workshop that I taught at North House Folk School in Grand Marais MN in 2017.Oven Crafting: Building in the Round, Italian-Style . Here is a link to the next workshop https://www.northhouse.org/course-session/ovencrafting-building-in-the-round-italian-style-2-23-2019
The class and I built a 36″ round wood-fired brick oven over a 2 day period. I wanted to teach the students how to build a very functional and simple back yard wood-fired brick oven for baking everything from pizza and bread to anything you want to throw into a pot to cook or even cooking your meat directly on the oven floor. Some oven designs can get complicated with lots of tools, saws and materials. For this wood-fired brick oven design we use standard medium duty firebricks (2.5×4.5×9″), hydrated Type S Lime and washed sand that can buy at your local masonry supply store. This a link to a larger oven workshop.Squirrel Tail oven build workshop 2017 WildAcres NC
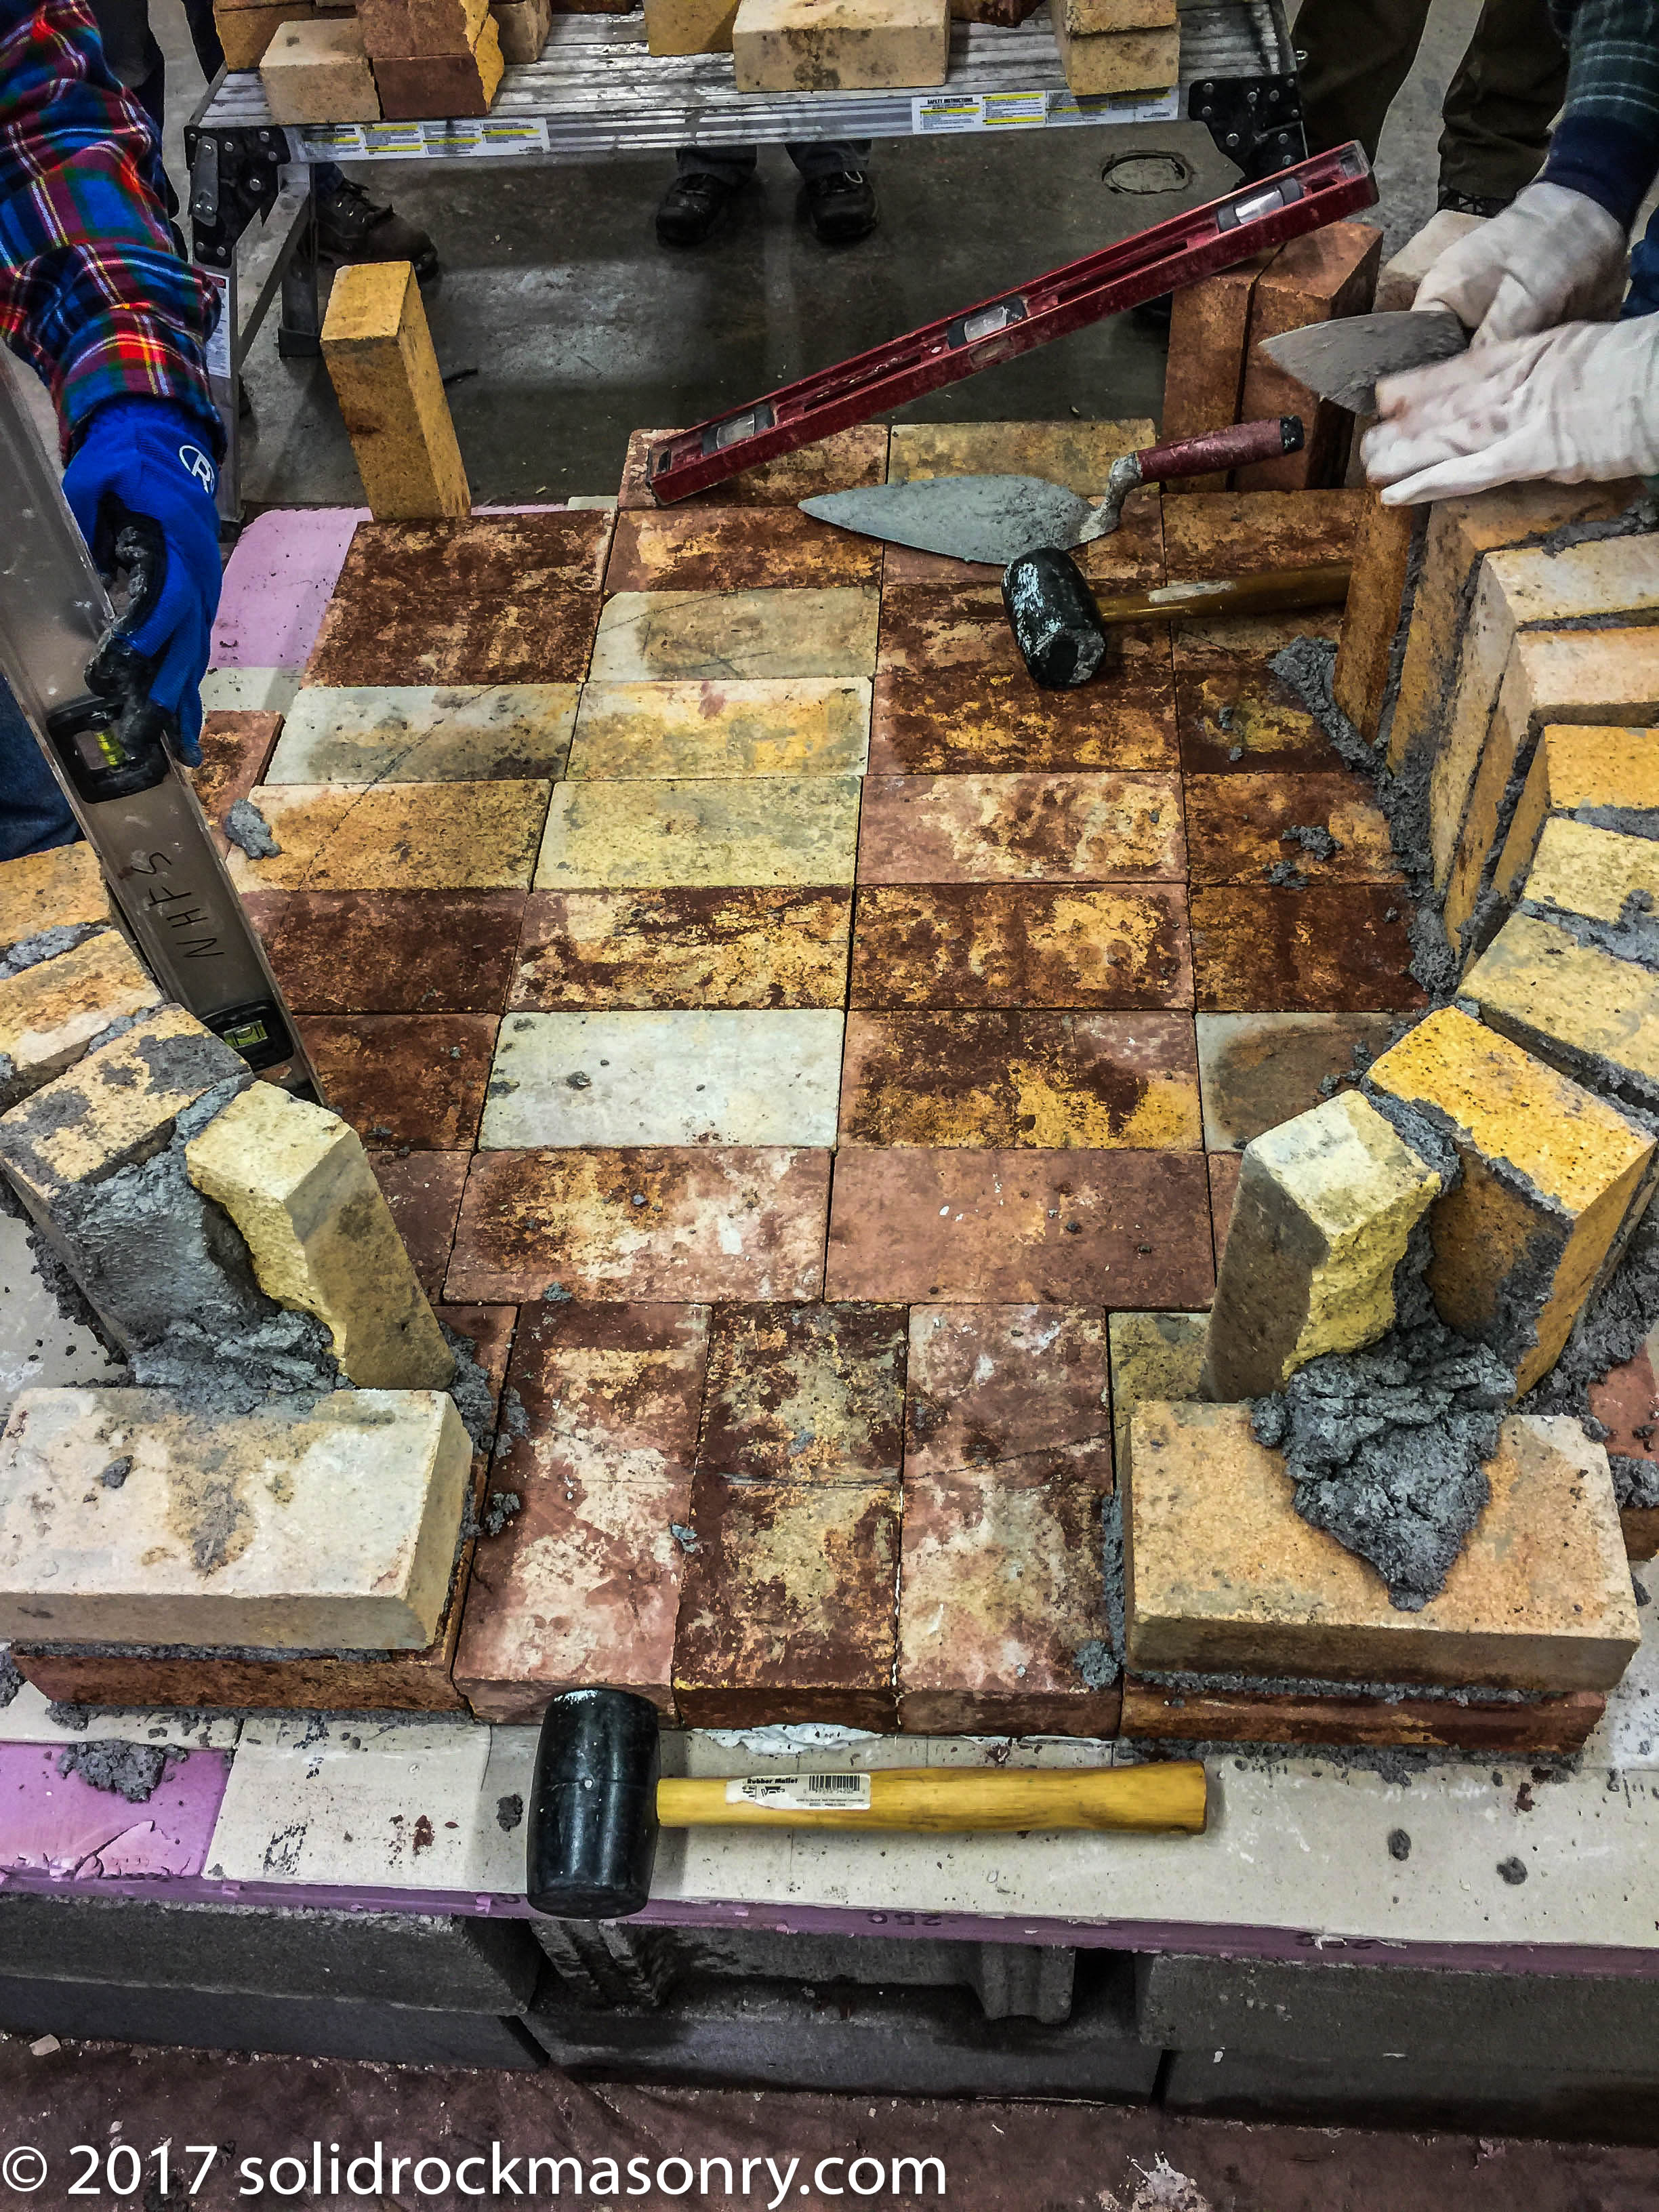
Firebricks are first set on a masonry or steel foundation with a layer of insulating board to isolate the firebrick hearth from the foundation. 3 layers of 1/2″ cement board would even work for a mediocre insulating layer. We did a mock up in the class with pink styrofoam and cement board. The pink styrofoam was for mock up purposes and should not be used for an oven.*
The hearth bricks (bottom layer of flat bricks) were set with straight lime mortar with water mixed in to a ~ creamy peanut butter consistency. Make sure this first course of hearth bricks is laid in very flat and level so that your pizza peel does not catch on the bricks when you are loading them in. You can check this by using a masons trowel and running the trowel from the oven loading door at a slight angle towards the back of the oven. If the trowel catches on a brick edge you either tap the brick flat or if needed lift the brick back up and use a little more or less mortar to even the surface out.
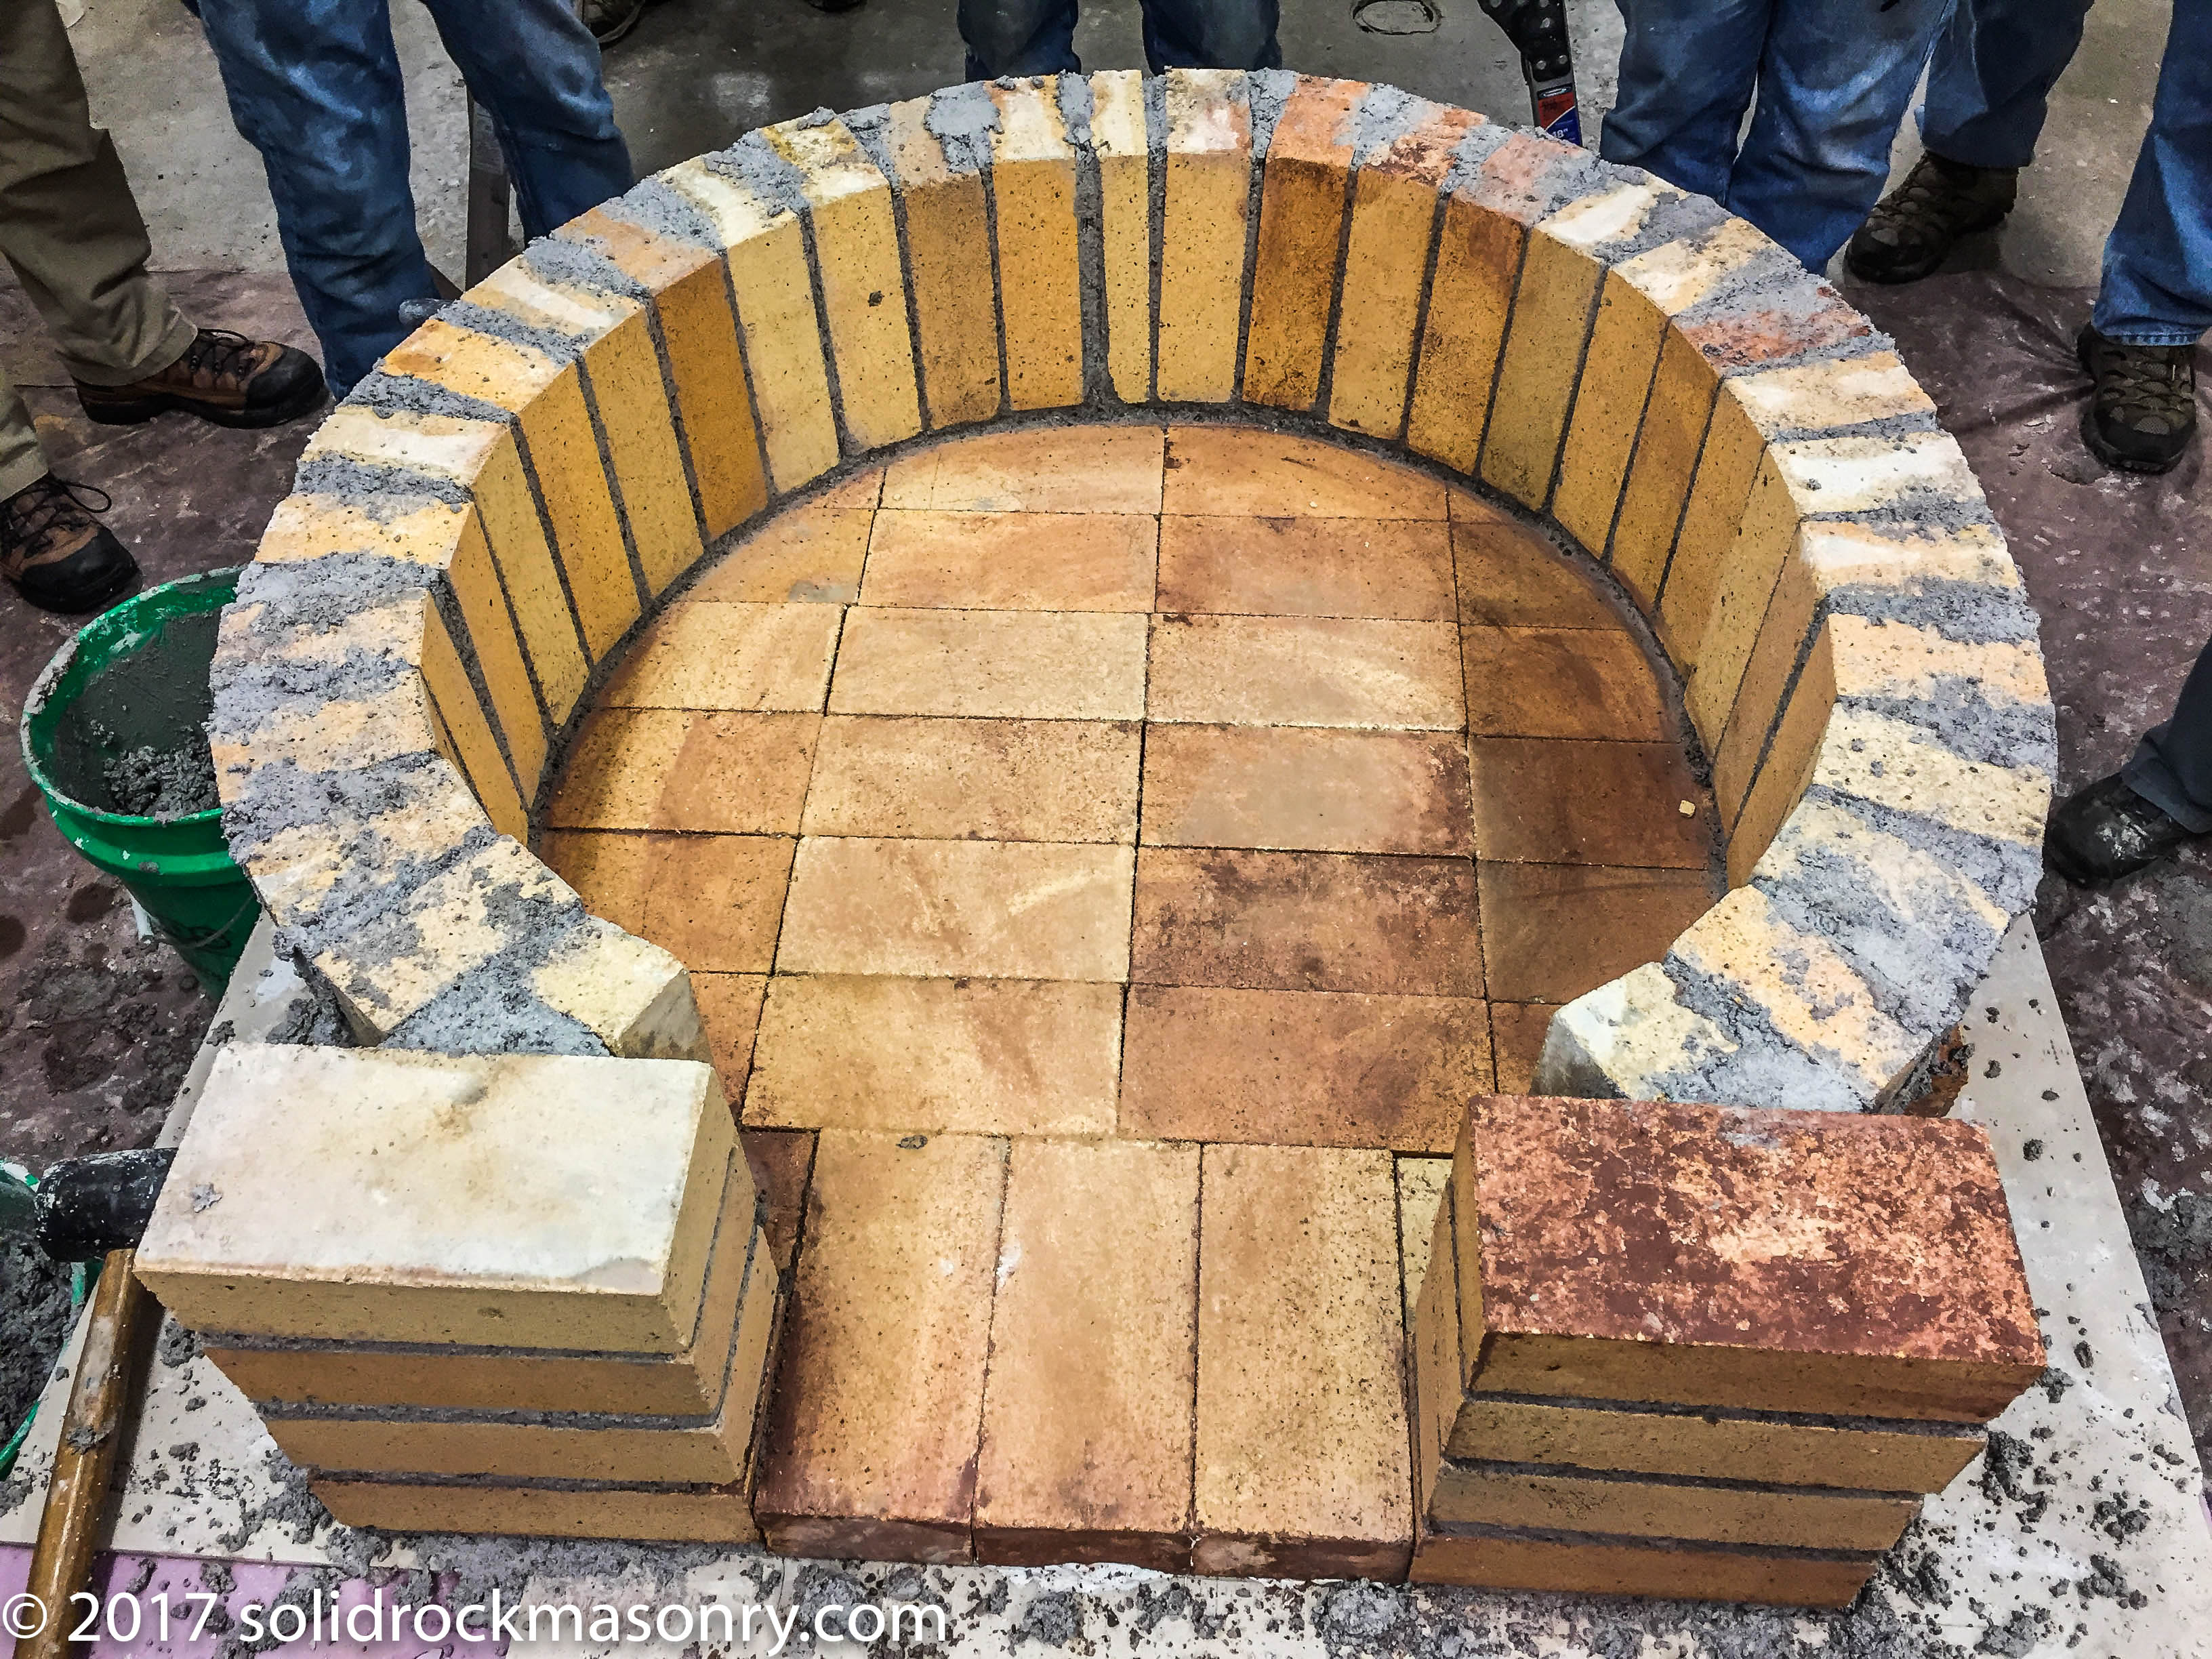
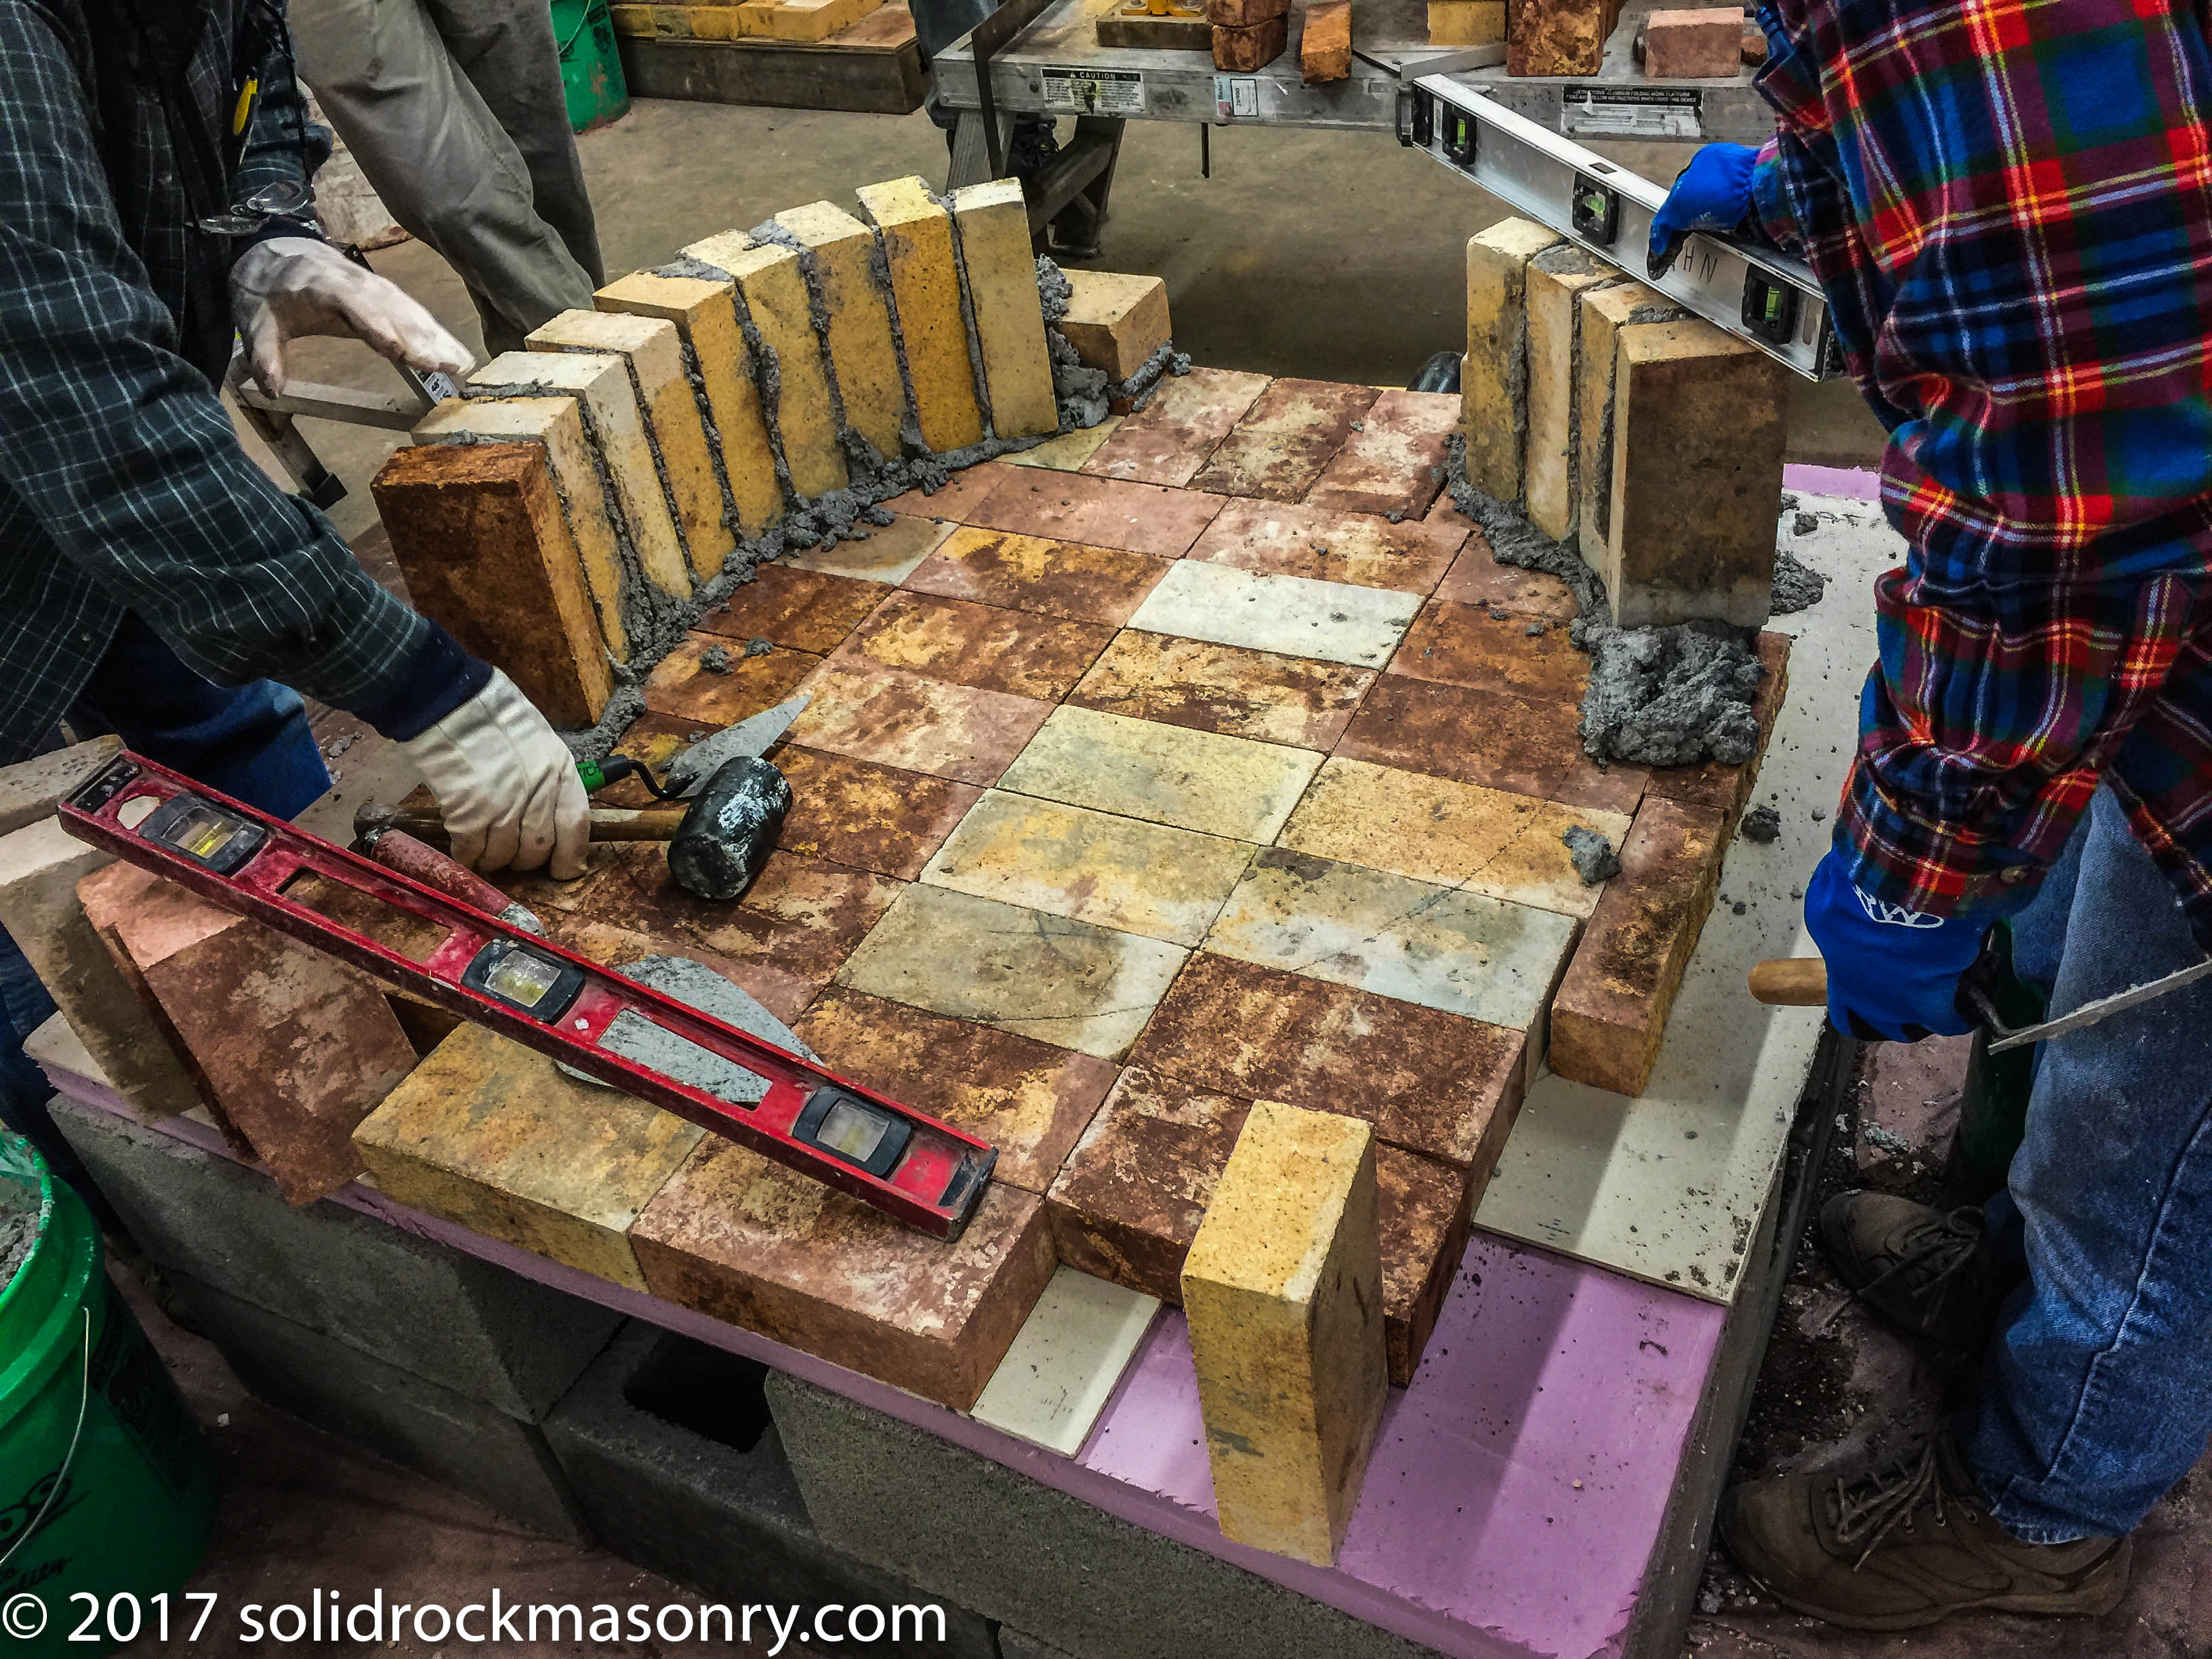
For the walls of this wood-fired brick oven we lay the bricks standing up(soldier course). The bricks are laid with lime and sand mortar with a ratio of 1 part Hydrated Type S lime : 3 parts washed sand. Make sure the sand is run thru a screen and smaller than 1/4″. Normal concrete or masons sand from a concrete plant is fine for this. Or just bagged playground sand from your local big box store. We mix this with water to a consistency of chunky peanut butter. Since this is a 36″ ID round wood-fired brick oven the mortar joints on the inside of the oven need to be kept to a 1/4″ or less. The outer mortar joints will be larger, from 1-1.5″. Keep the inside mortar joints small.
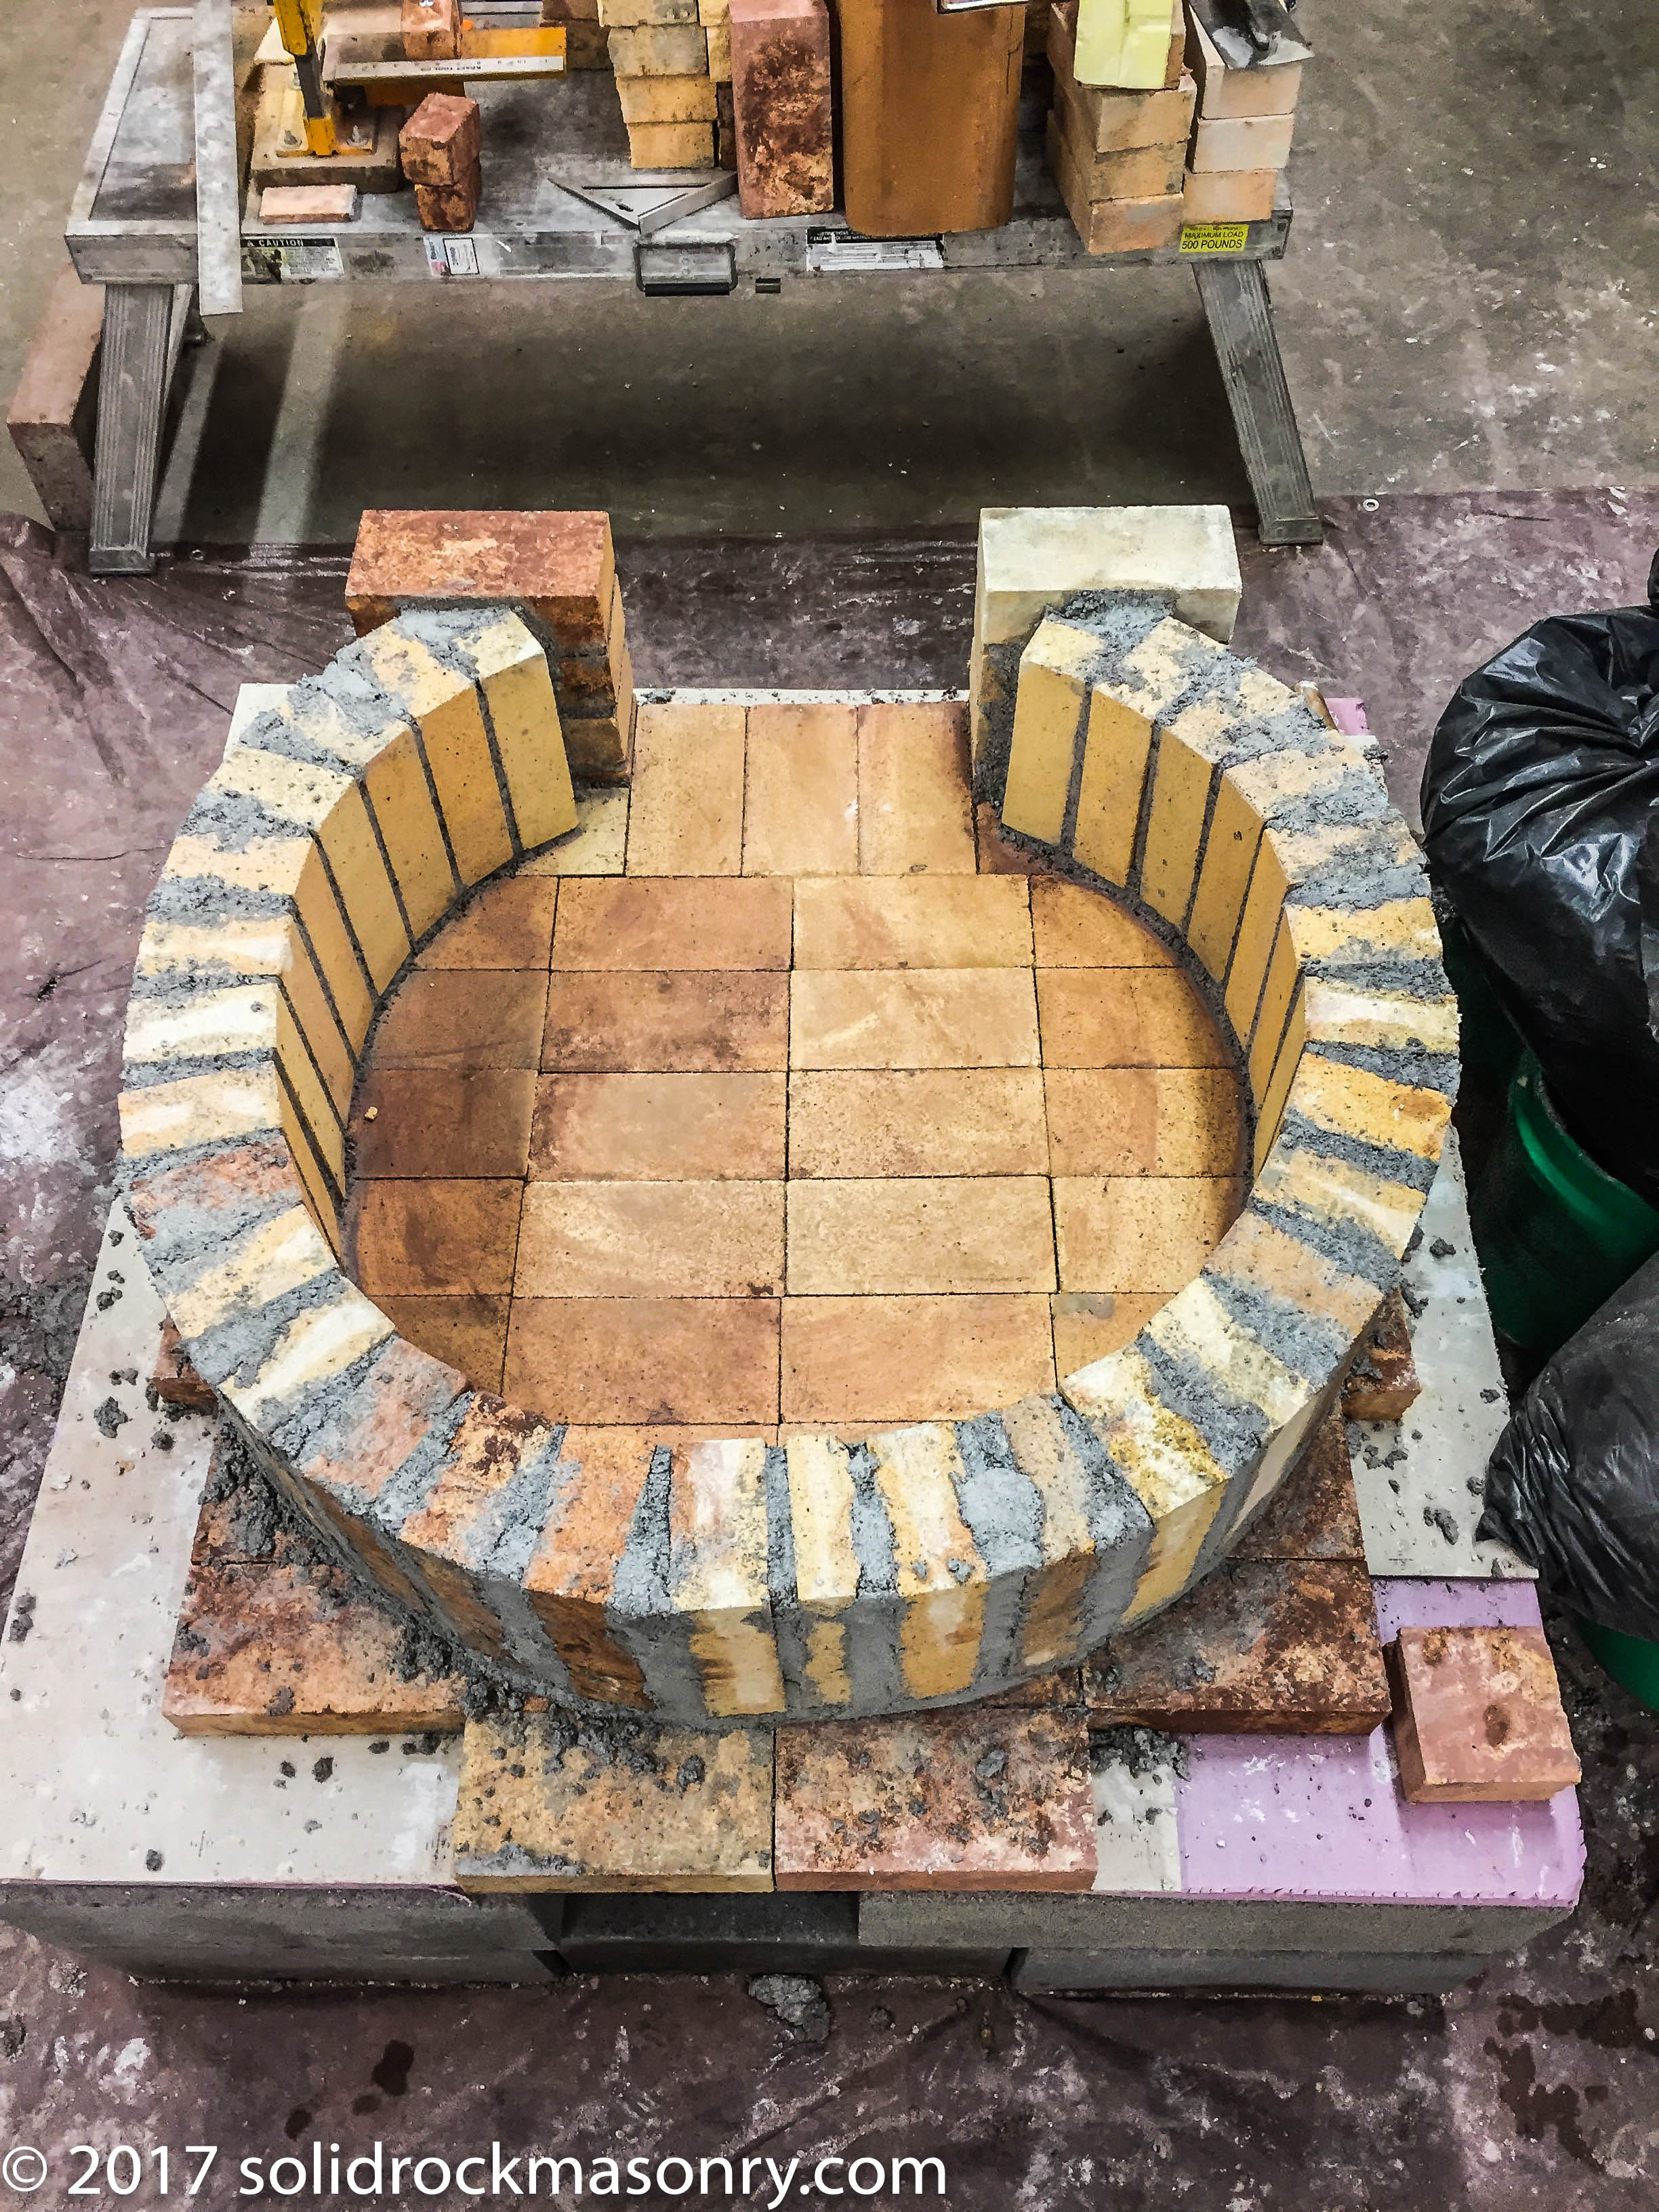
The oven door opening on this wood-fired brick oven is around 14″ wide and 10″ tall. When we start laying the walls of the oven we first lay the brick for the door opening up to the ~ 10″ height. Then we start laying the inside walls at the door opening and lay the bricks so that they are plumb (standing straight upright) around the 36″ circle that you have marked with a pencil on the hearth bricks. The circle is traced out by measuring to the center of the inside of the oven (18″) and then use a tape measure and just make marks in a circle at 18″ from your center mark.
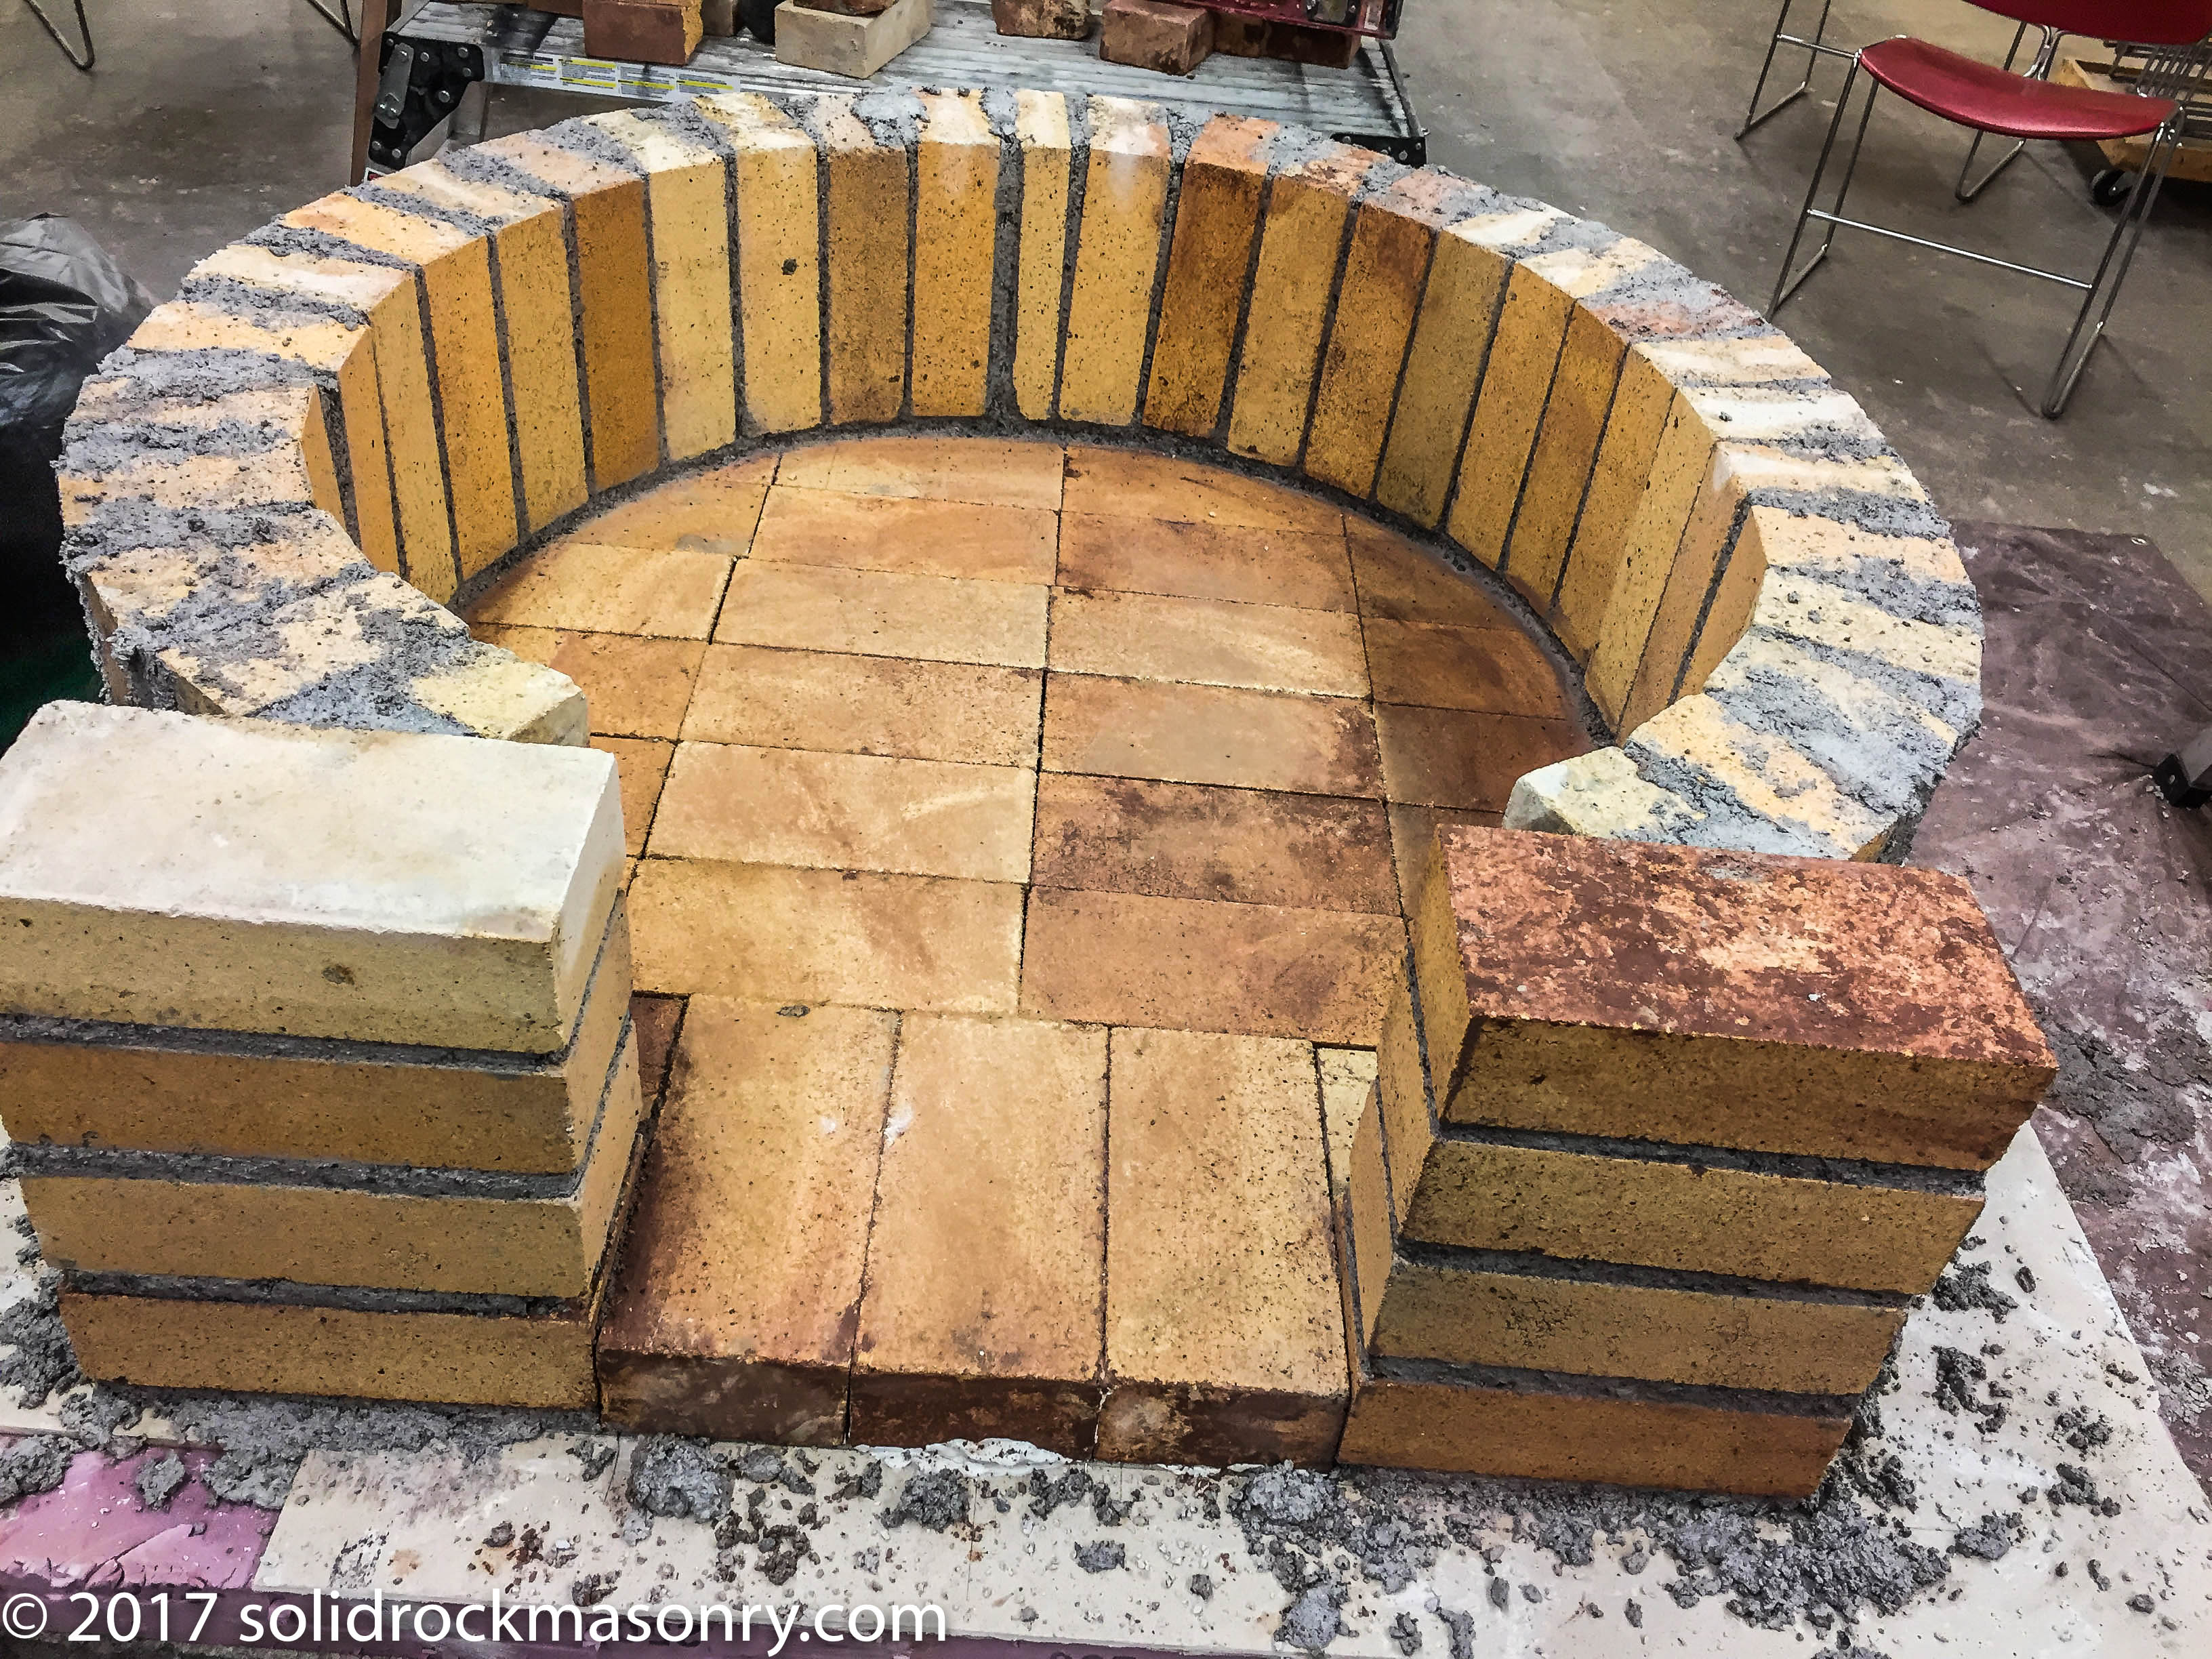
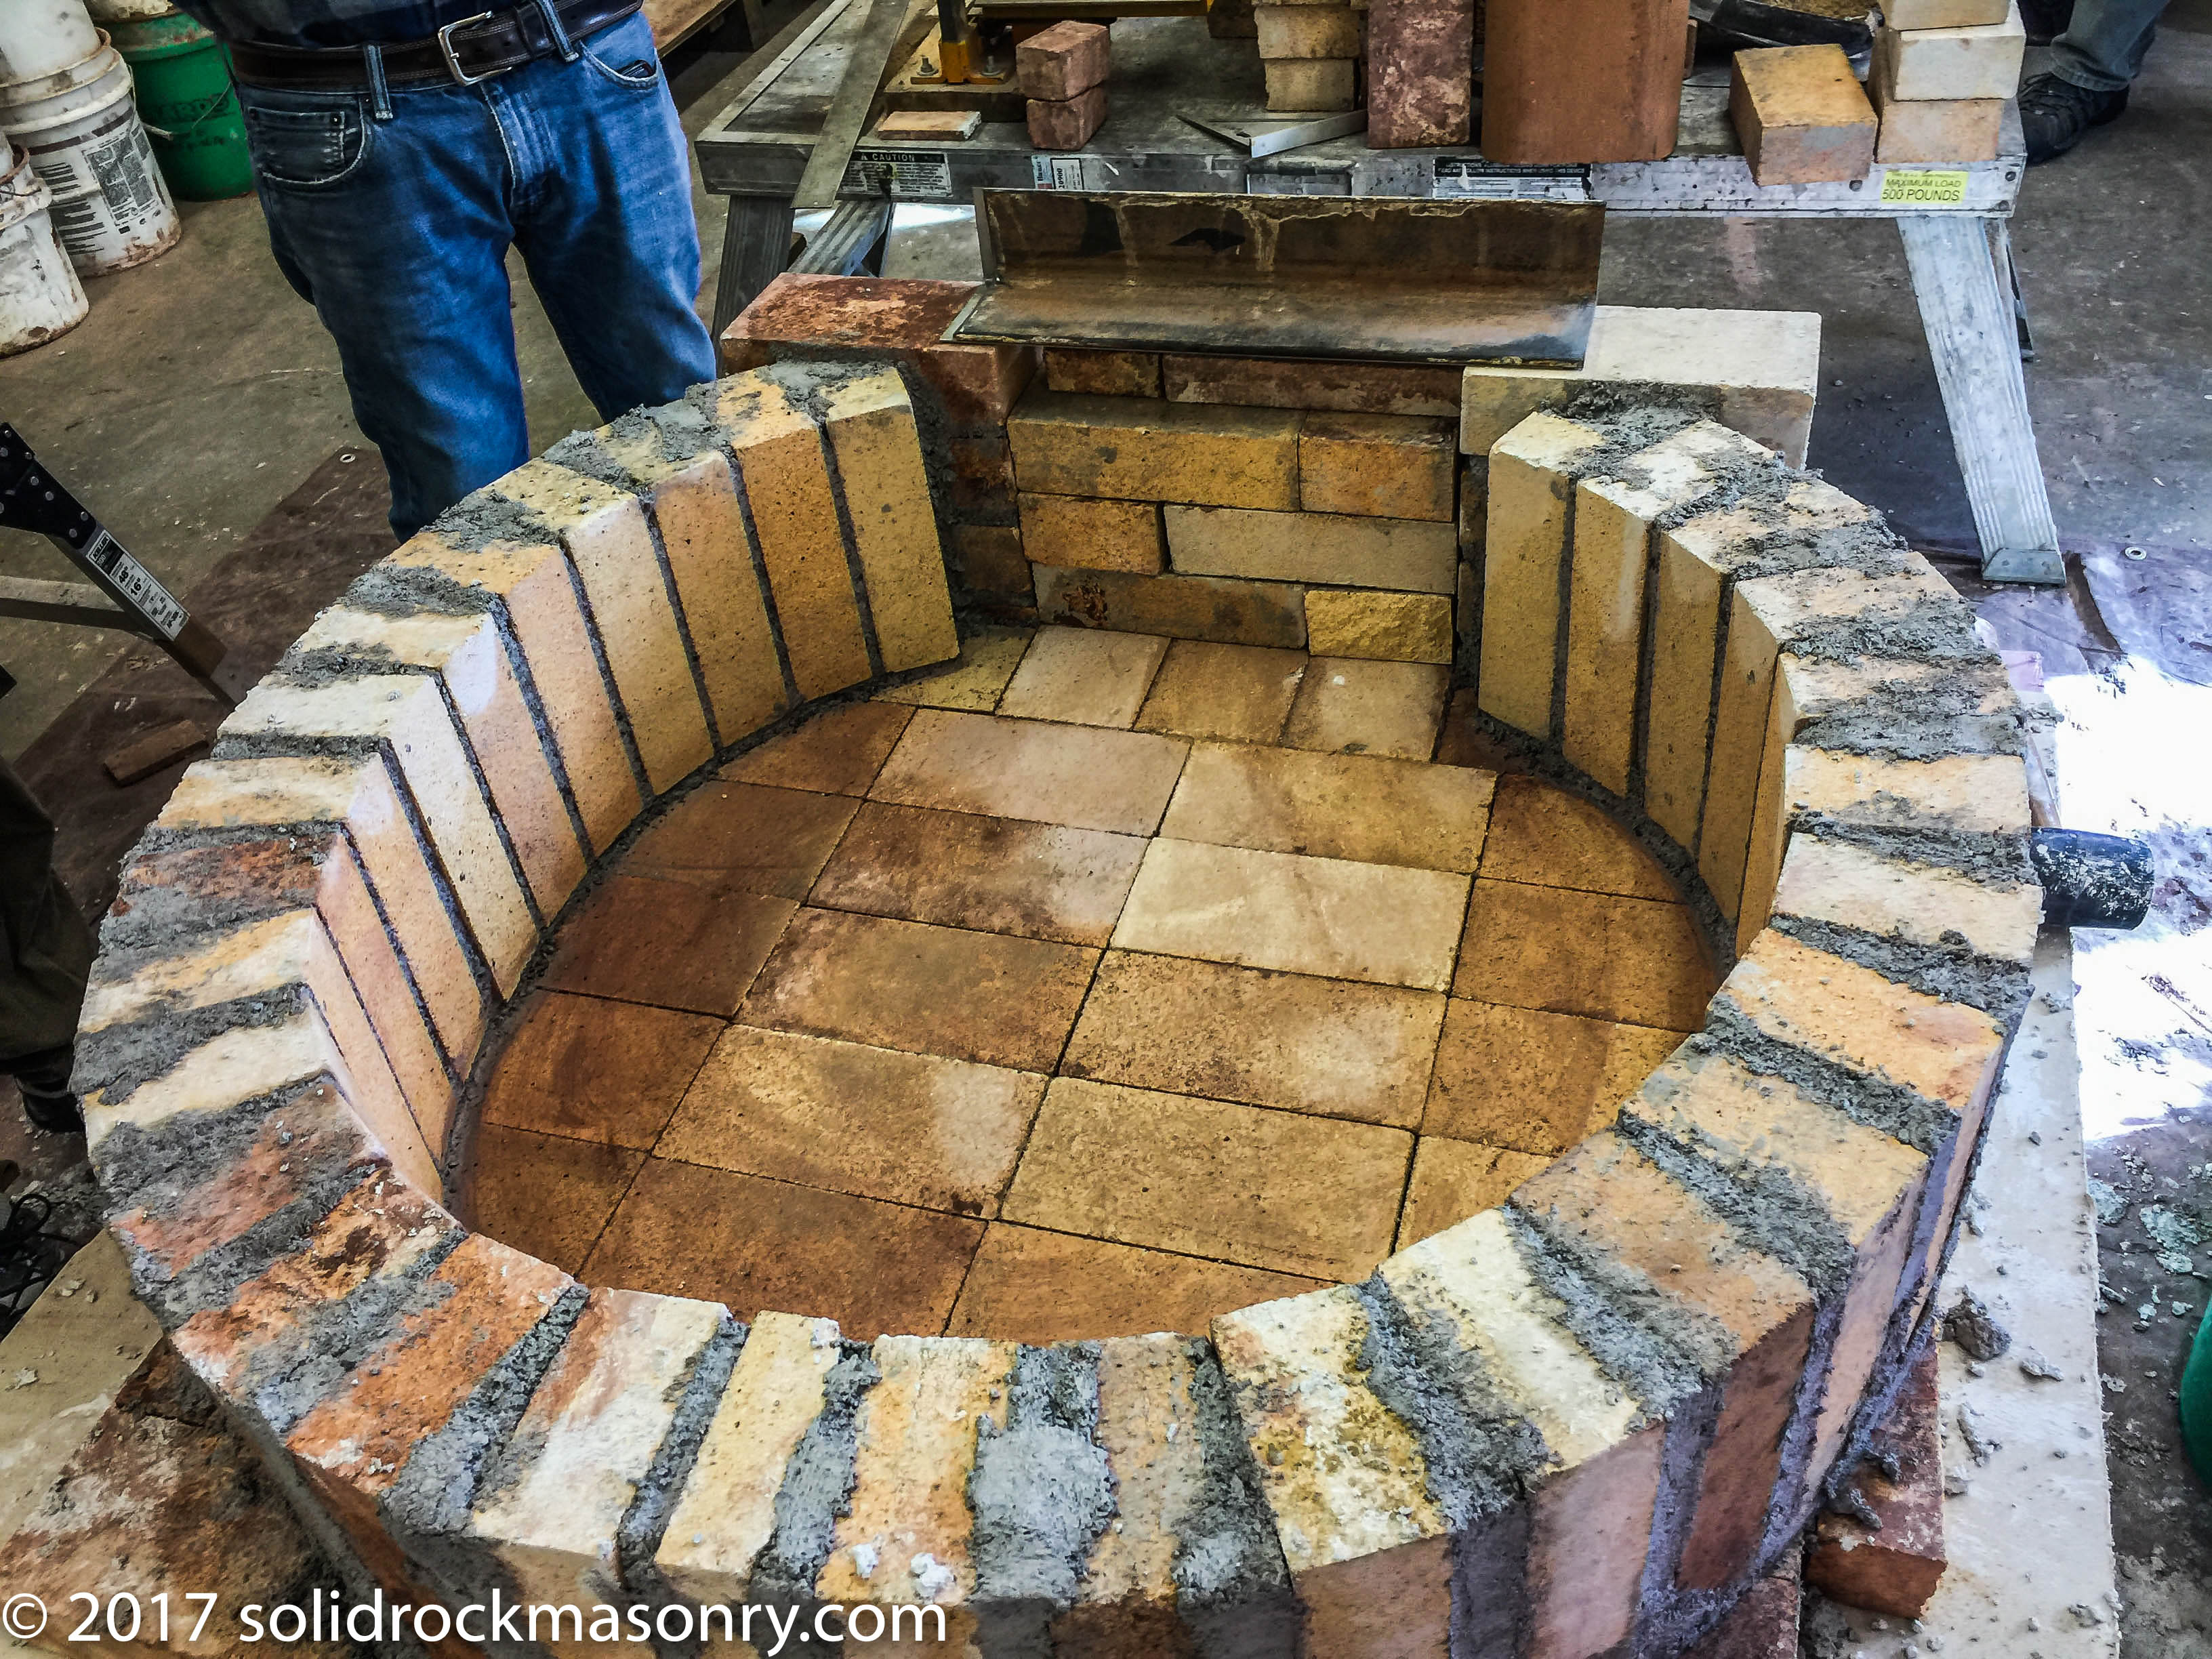
The walls for the wood-fired brick oven are completed. Tuck mortar into any missing area’s on the inside and outside of bricks with your trowel. Then take a sponge and water and wash any residual mortar off on the inside walls and hearth floor. We are now ready to start on the dome of the oven and install our lintel over the door opening. We use our standard steel lintel system for all of our wood-fired brick oven and masonry heater door opening. We use a piece of 16 gauge stainless steel that has been bent at a 90º angle with a 4.5″ leg and a 3″ leg , cut the steel so that there is 4″ of overhang on both sides of the oven opening (14″ opening + 8″ = 22″ long). We then take a piece of 3/16″x3x4″ mild steel and place it on top of the stainless steel. The stainless steel help to protect the mild steel from warping with the high heat exhausting from the oven door. We plug the door opening with bricks set dry so that the sawdust does not spill out.
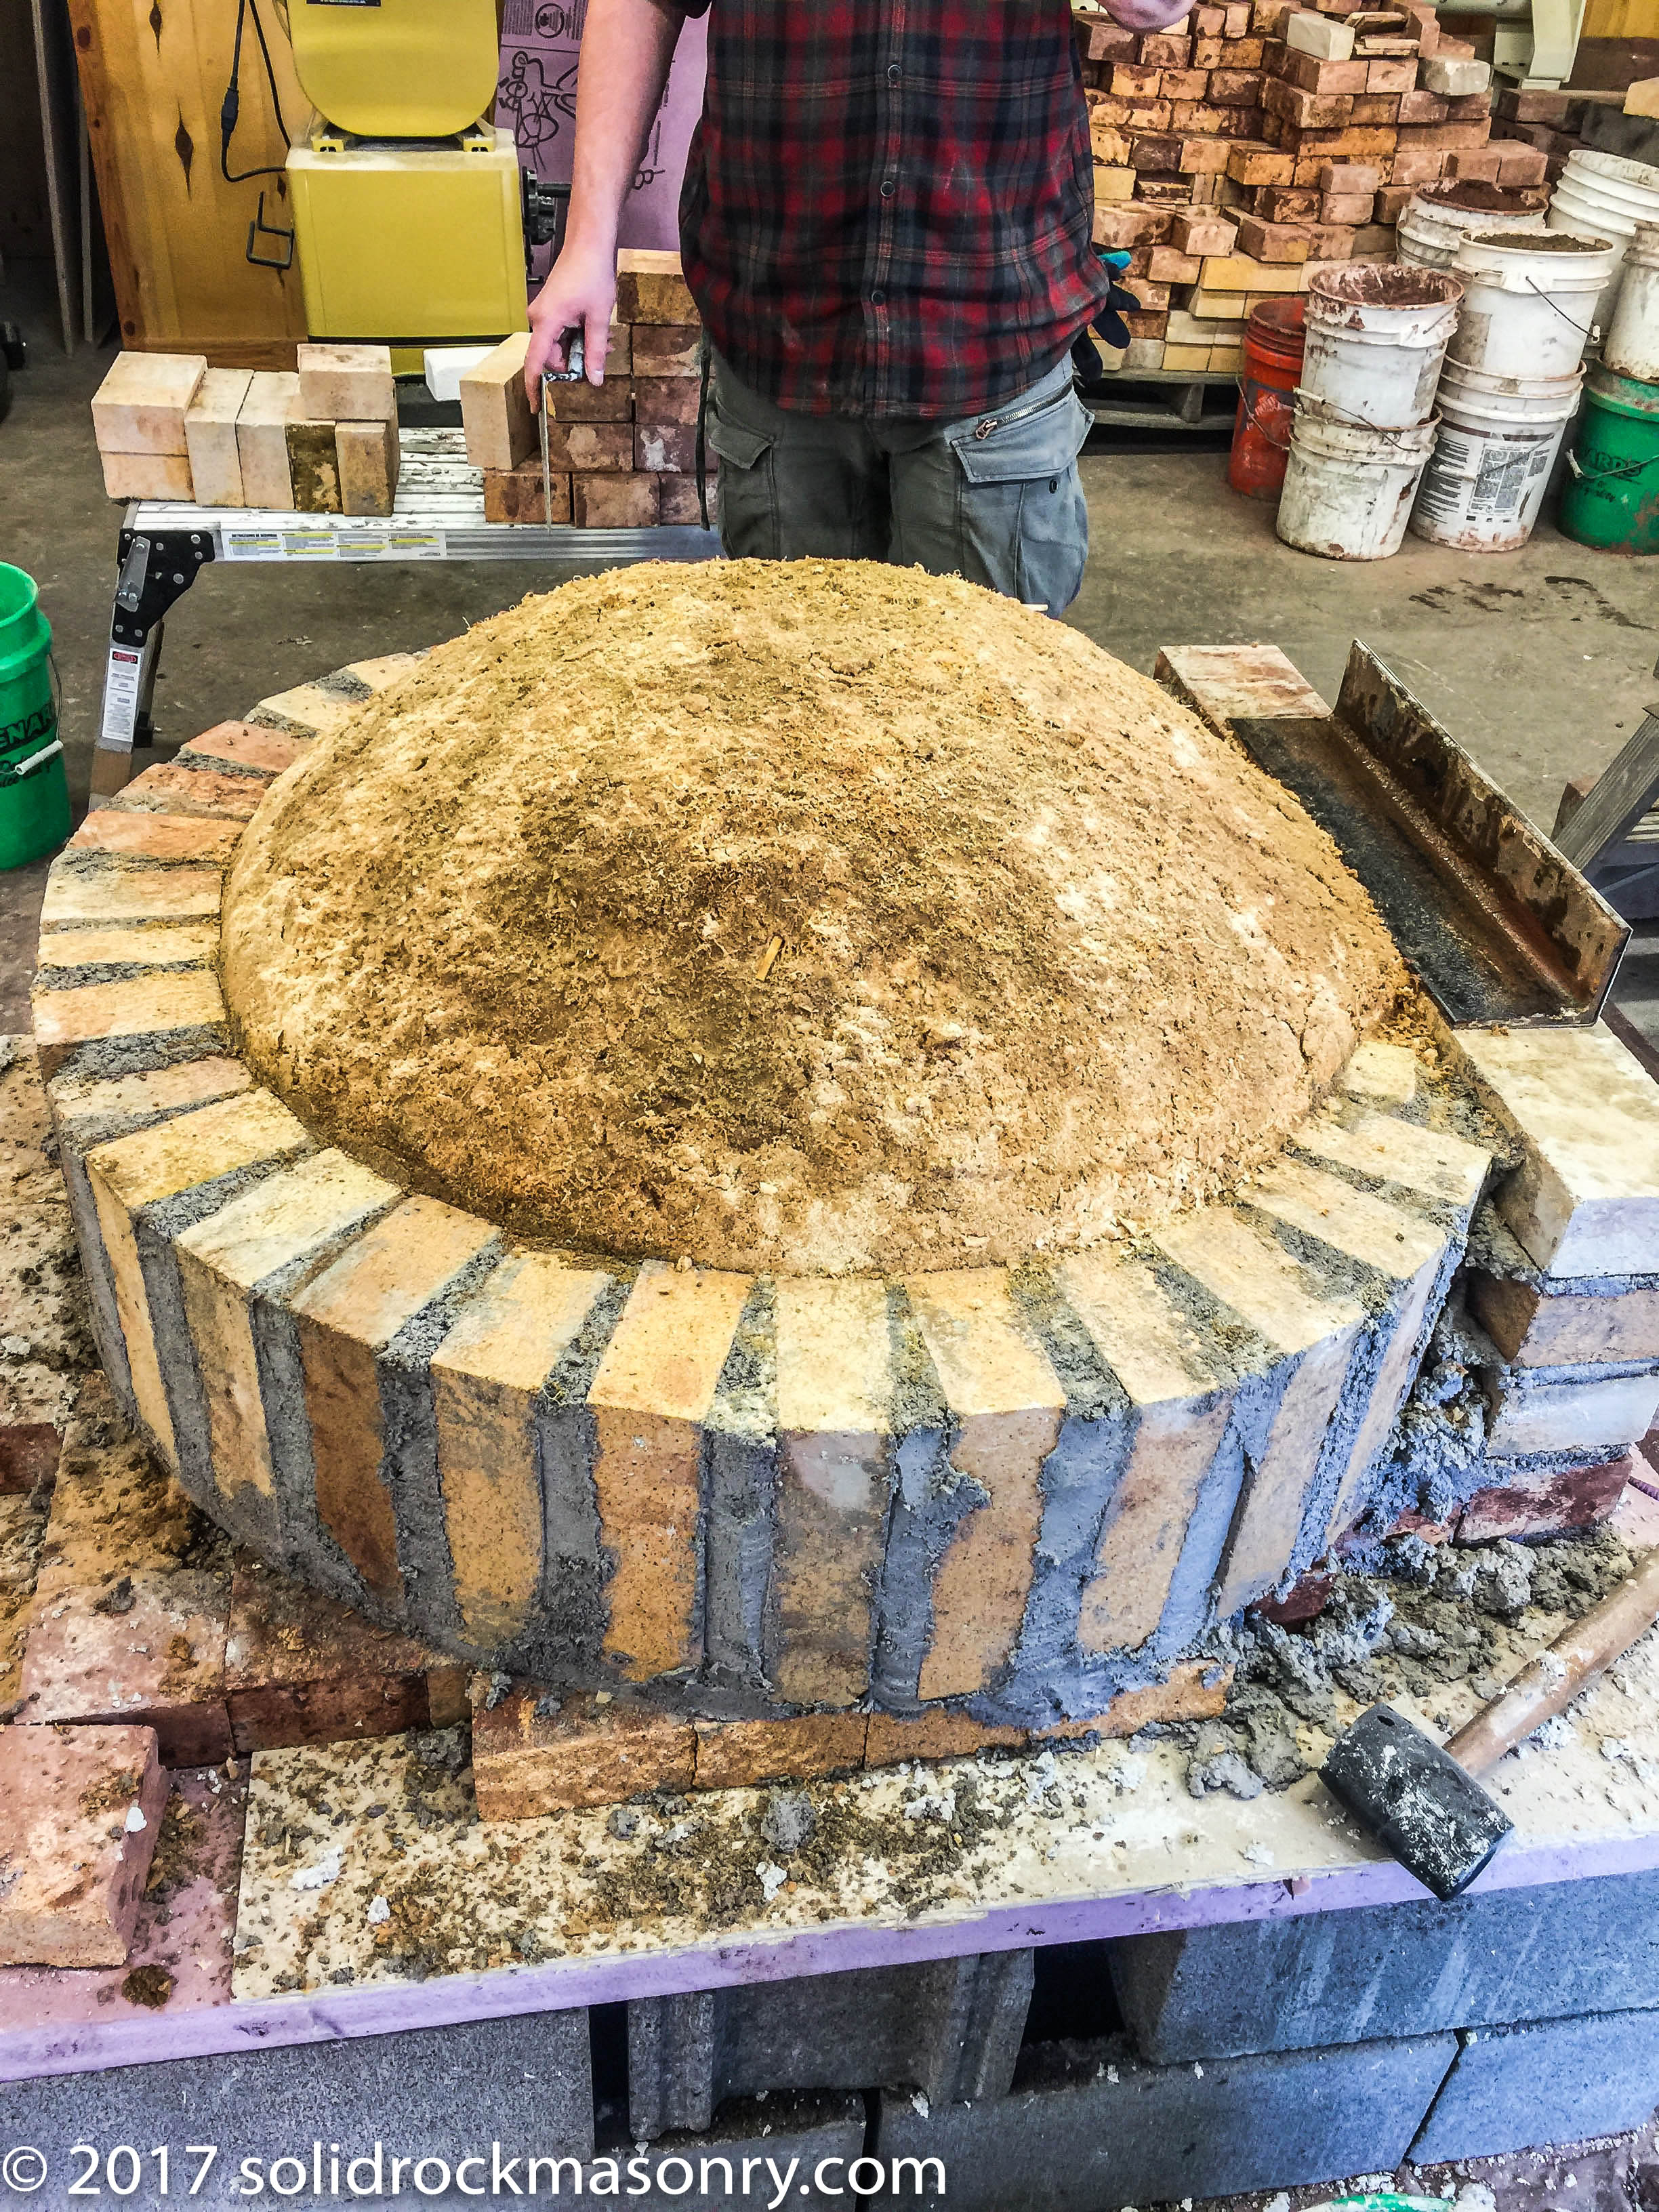
We use damp sawdust to form the dome for the oven in order to set bricks on. You could use sand if you wanted to but it is easier to clean out the sawdust after the dome bricks have been set. Plus if there is any left inside the sawdust will just burn off in the first fire.
For efficient oven proportions we want the dome to be 16″ tall. To achieve this we cut a skinny piece of wood to 16″ long. We stand this up in the center of the oven and then start to pour damp sawdust around the stick. Pack the damp sawdust lightly as you fill the oven opening. Pack and pile up the sawdust to the top of the stick and then shape the sawdust with your hand and or trowel to achieve a rounded dome shape with the sawdust ending at the inside top height of the brick walls and bottom of the angle iron lintel.
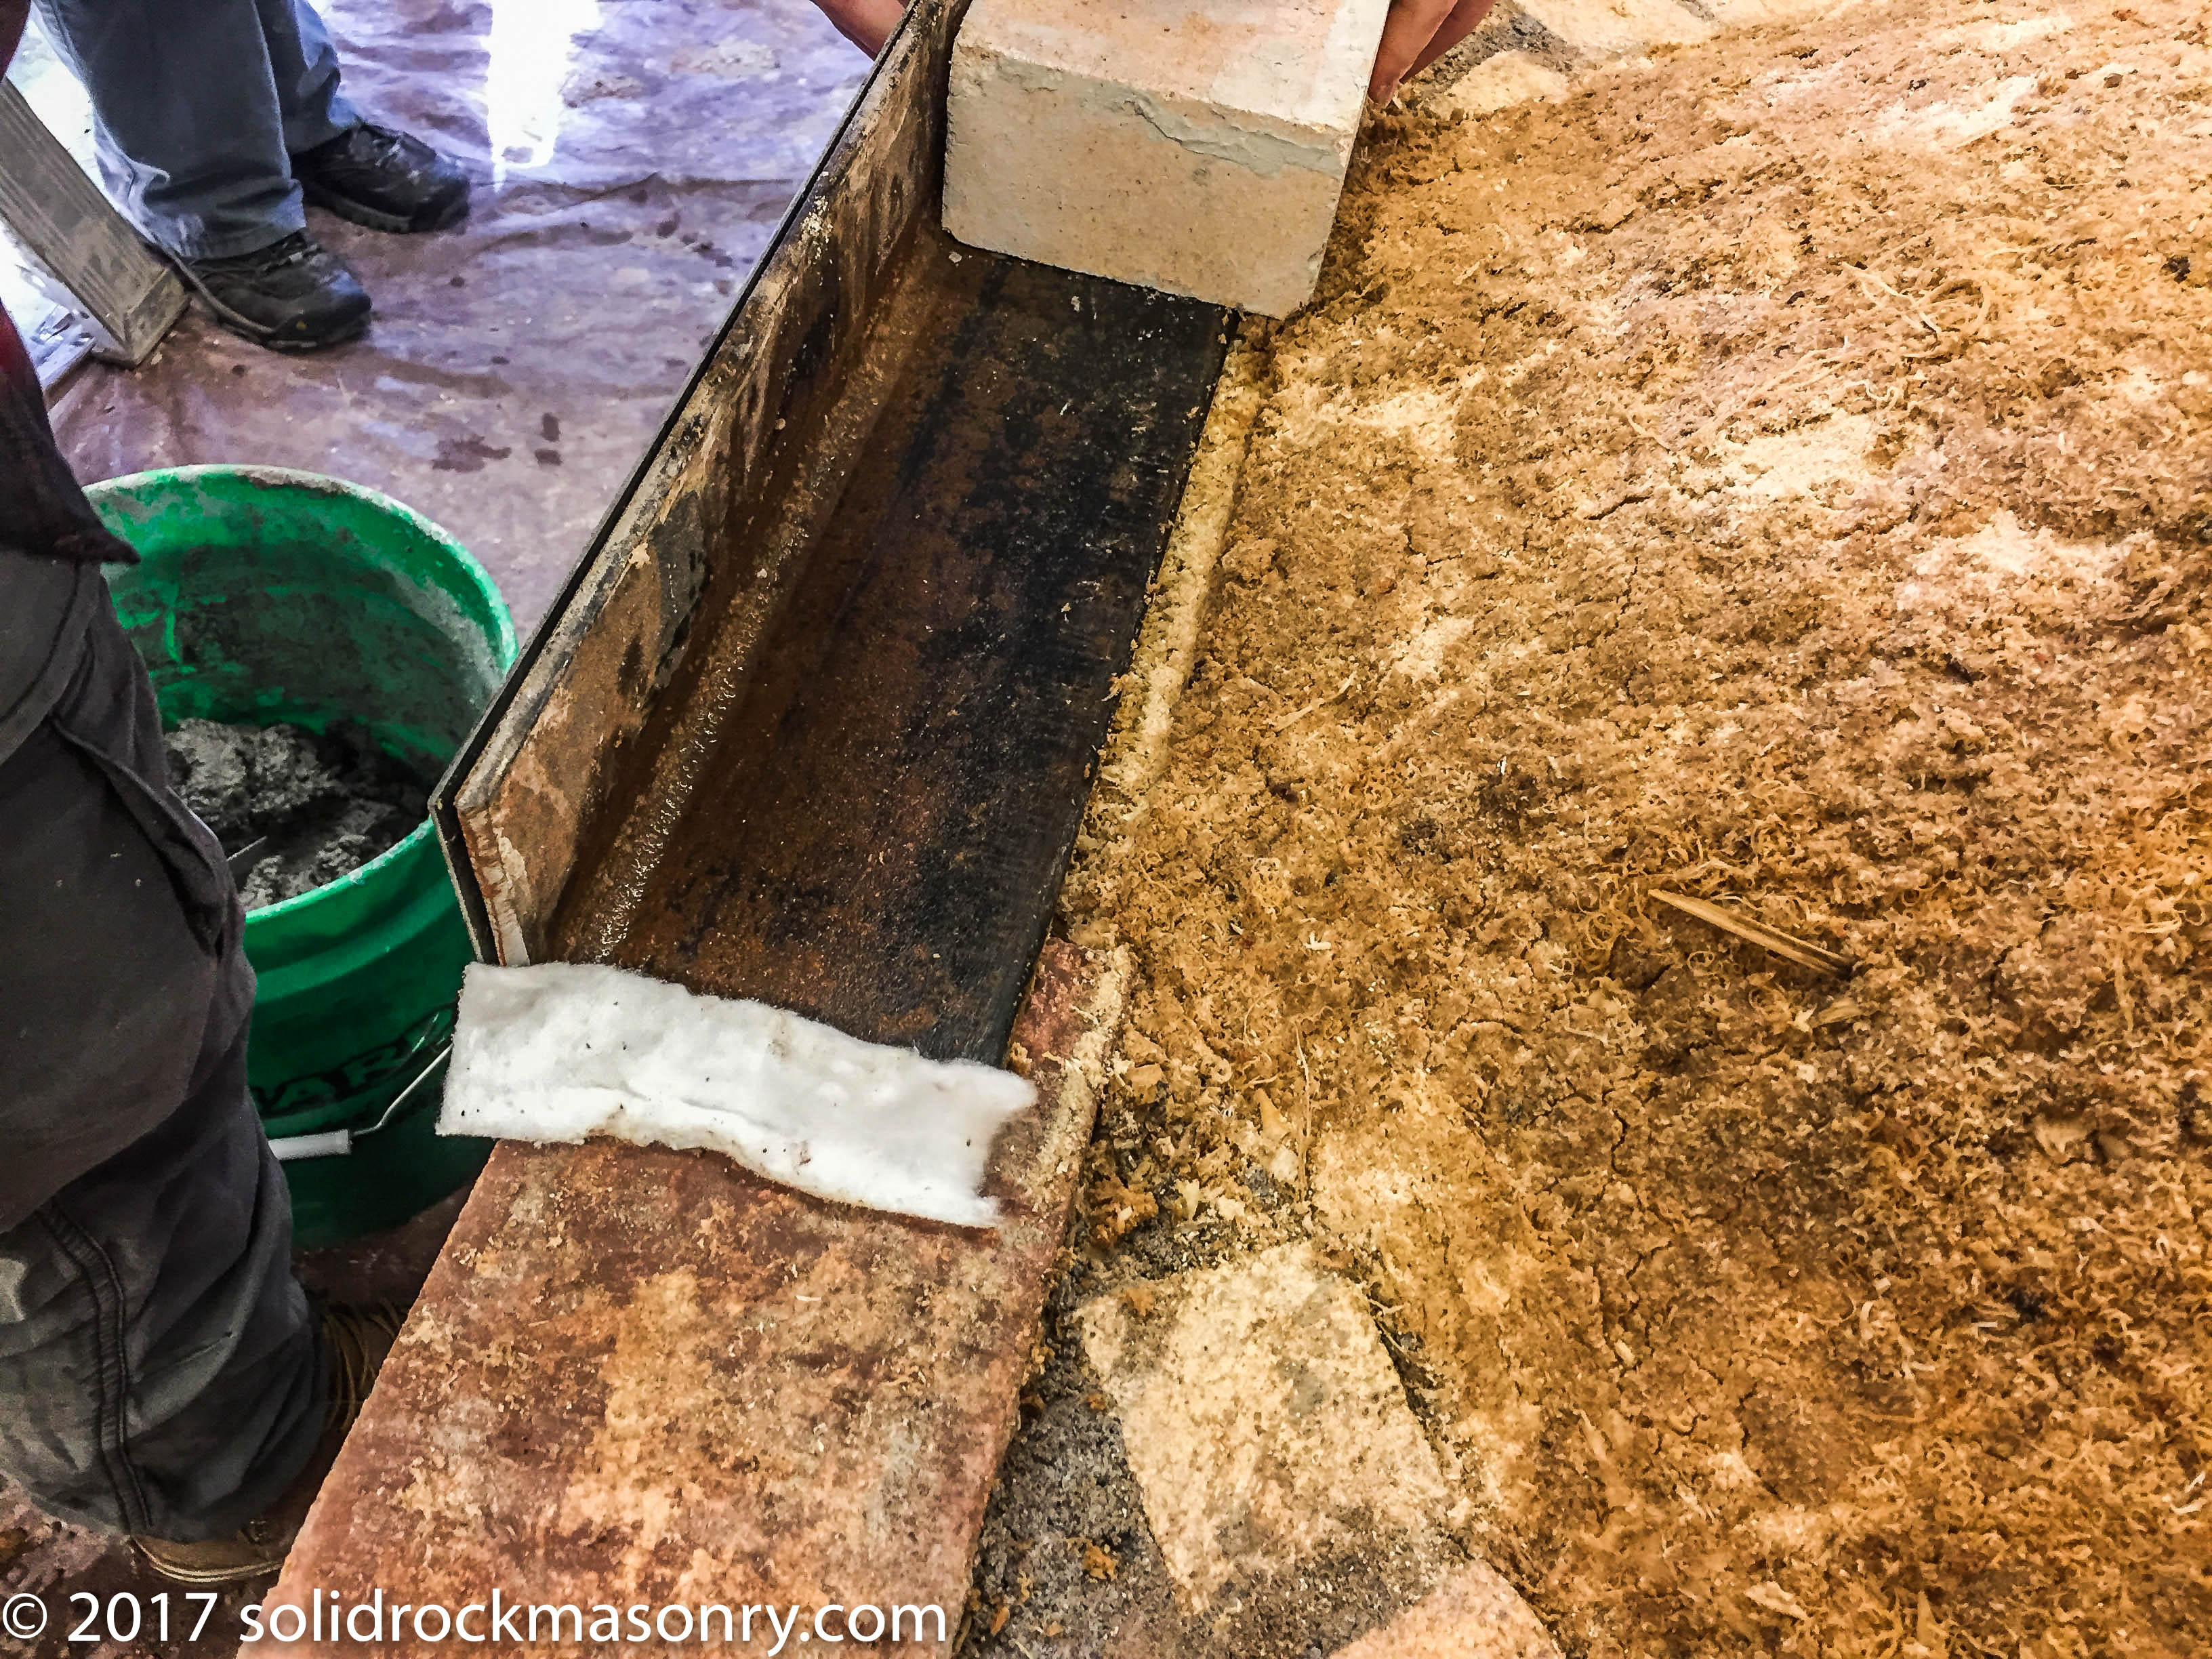
Use a small strip of insulation to cover the ends of the angle iron system. This will allow the angle iron to expand and contract with the heat.
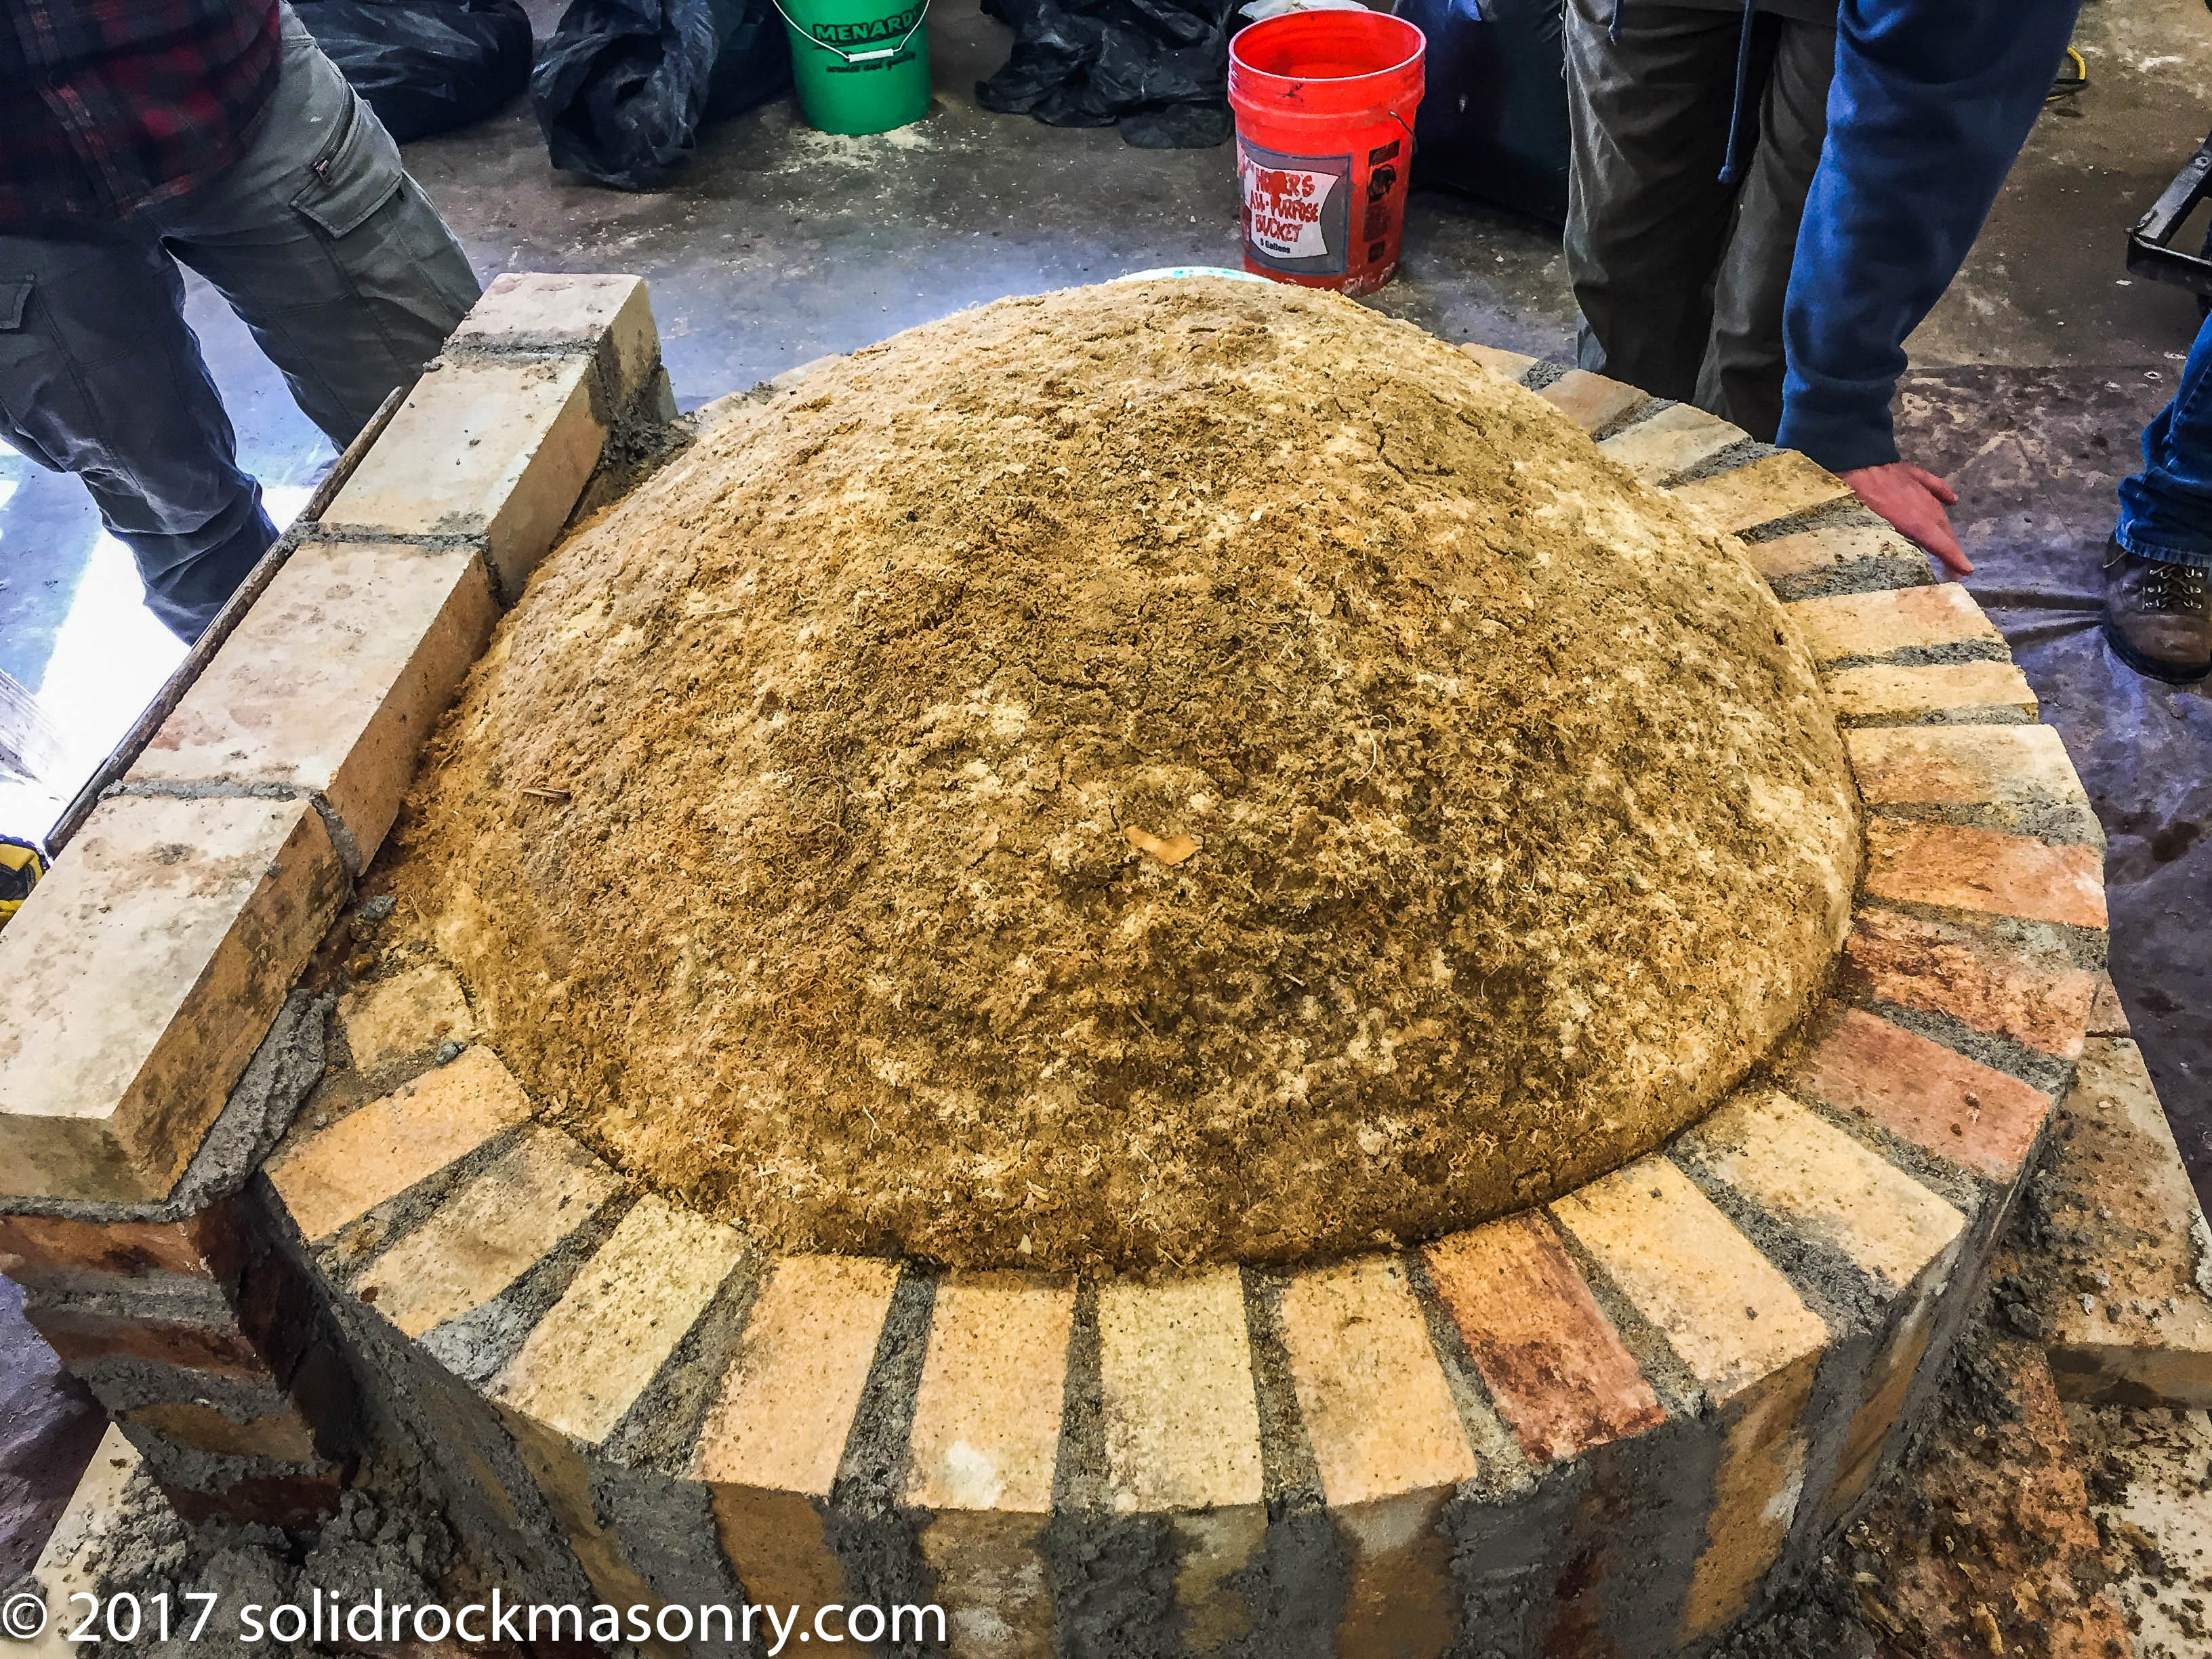
Set a course of firebrick flat across the door lintel. Use a brick hammer or a hammer and a brick chisel to cut the brick to length. You do not need a brick saw to do this with.
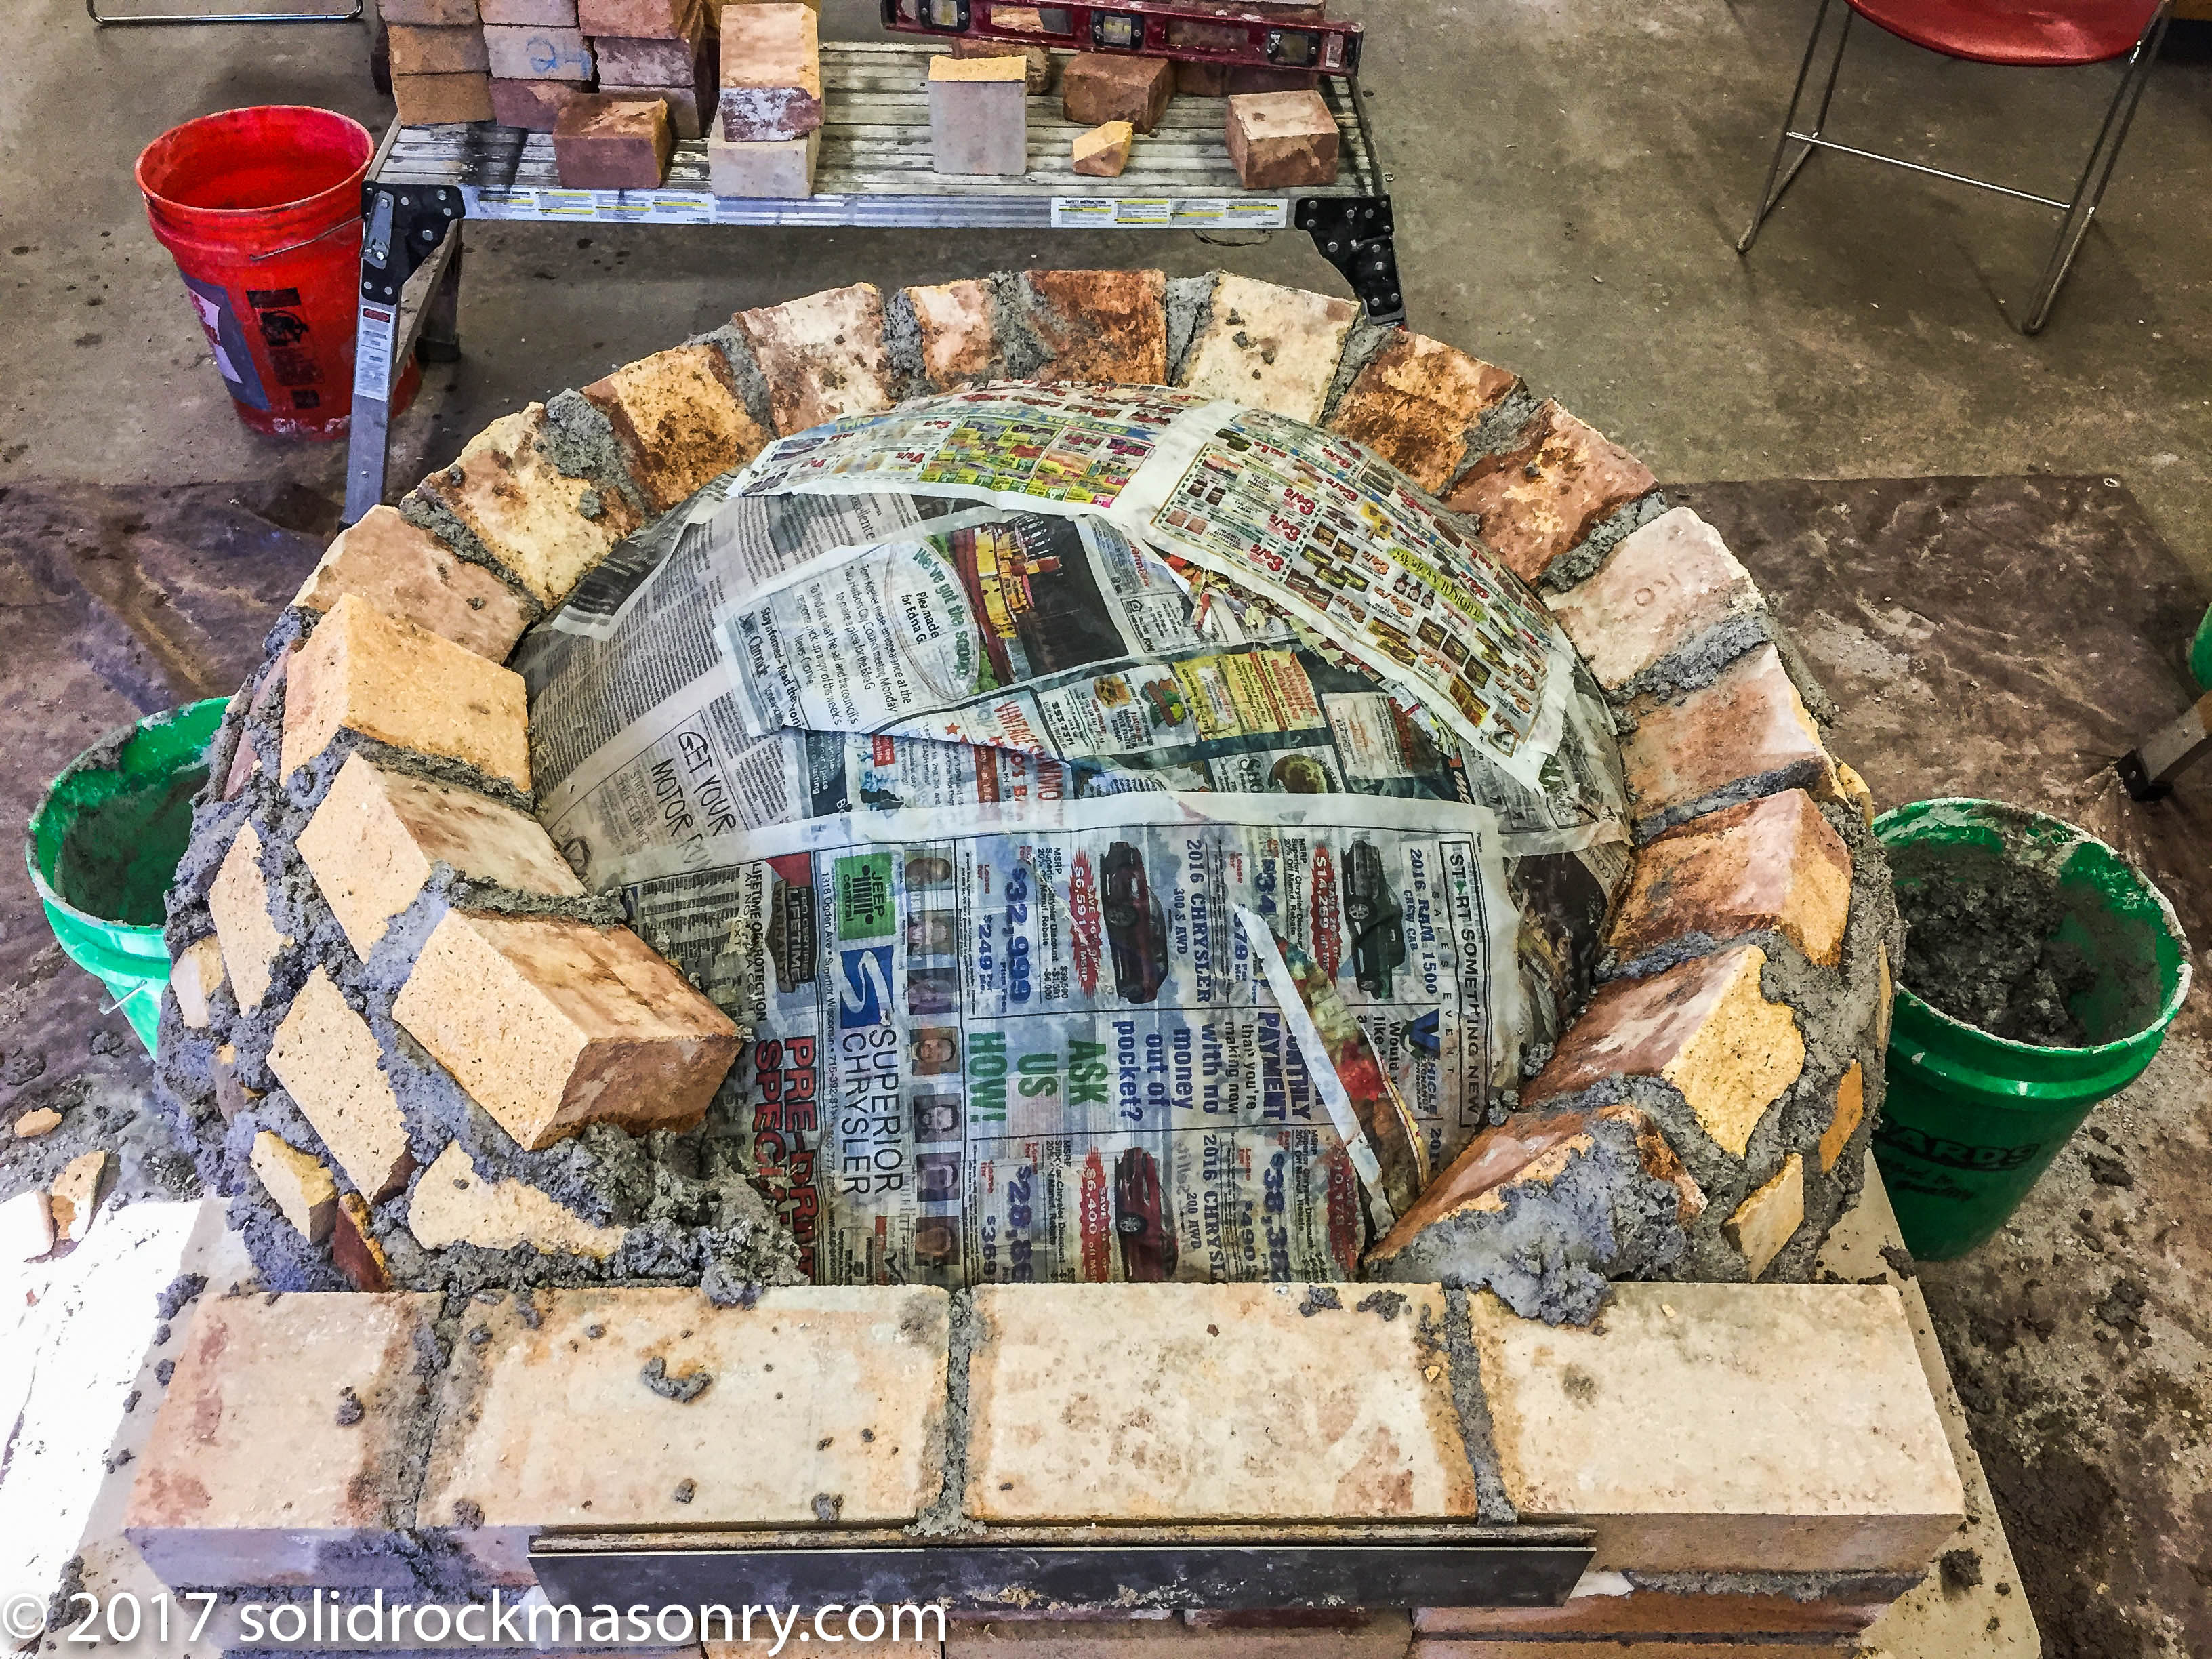
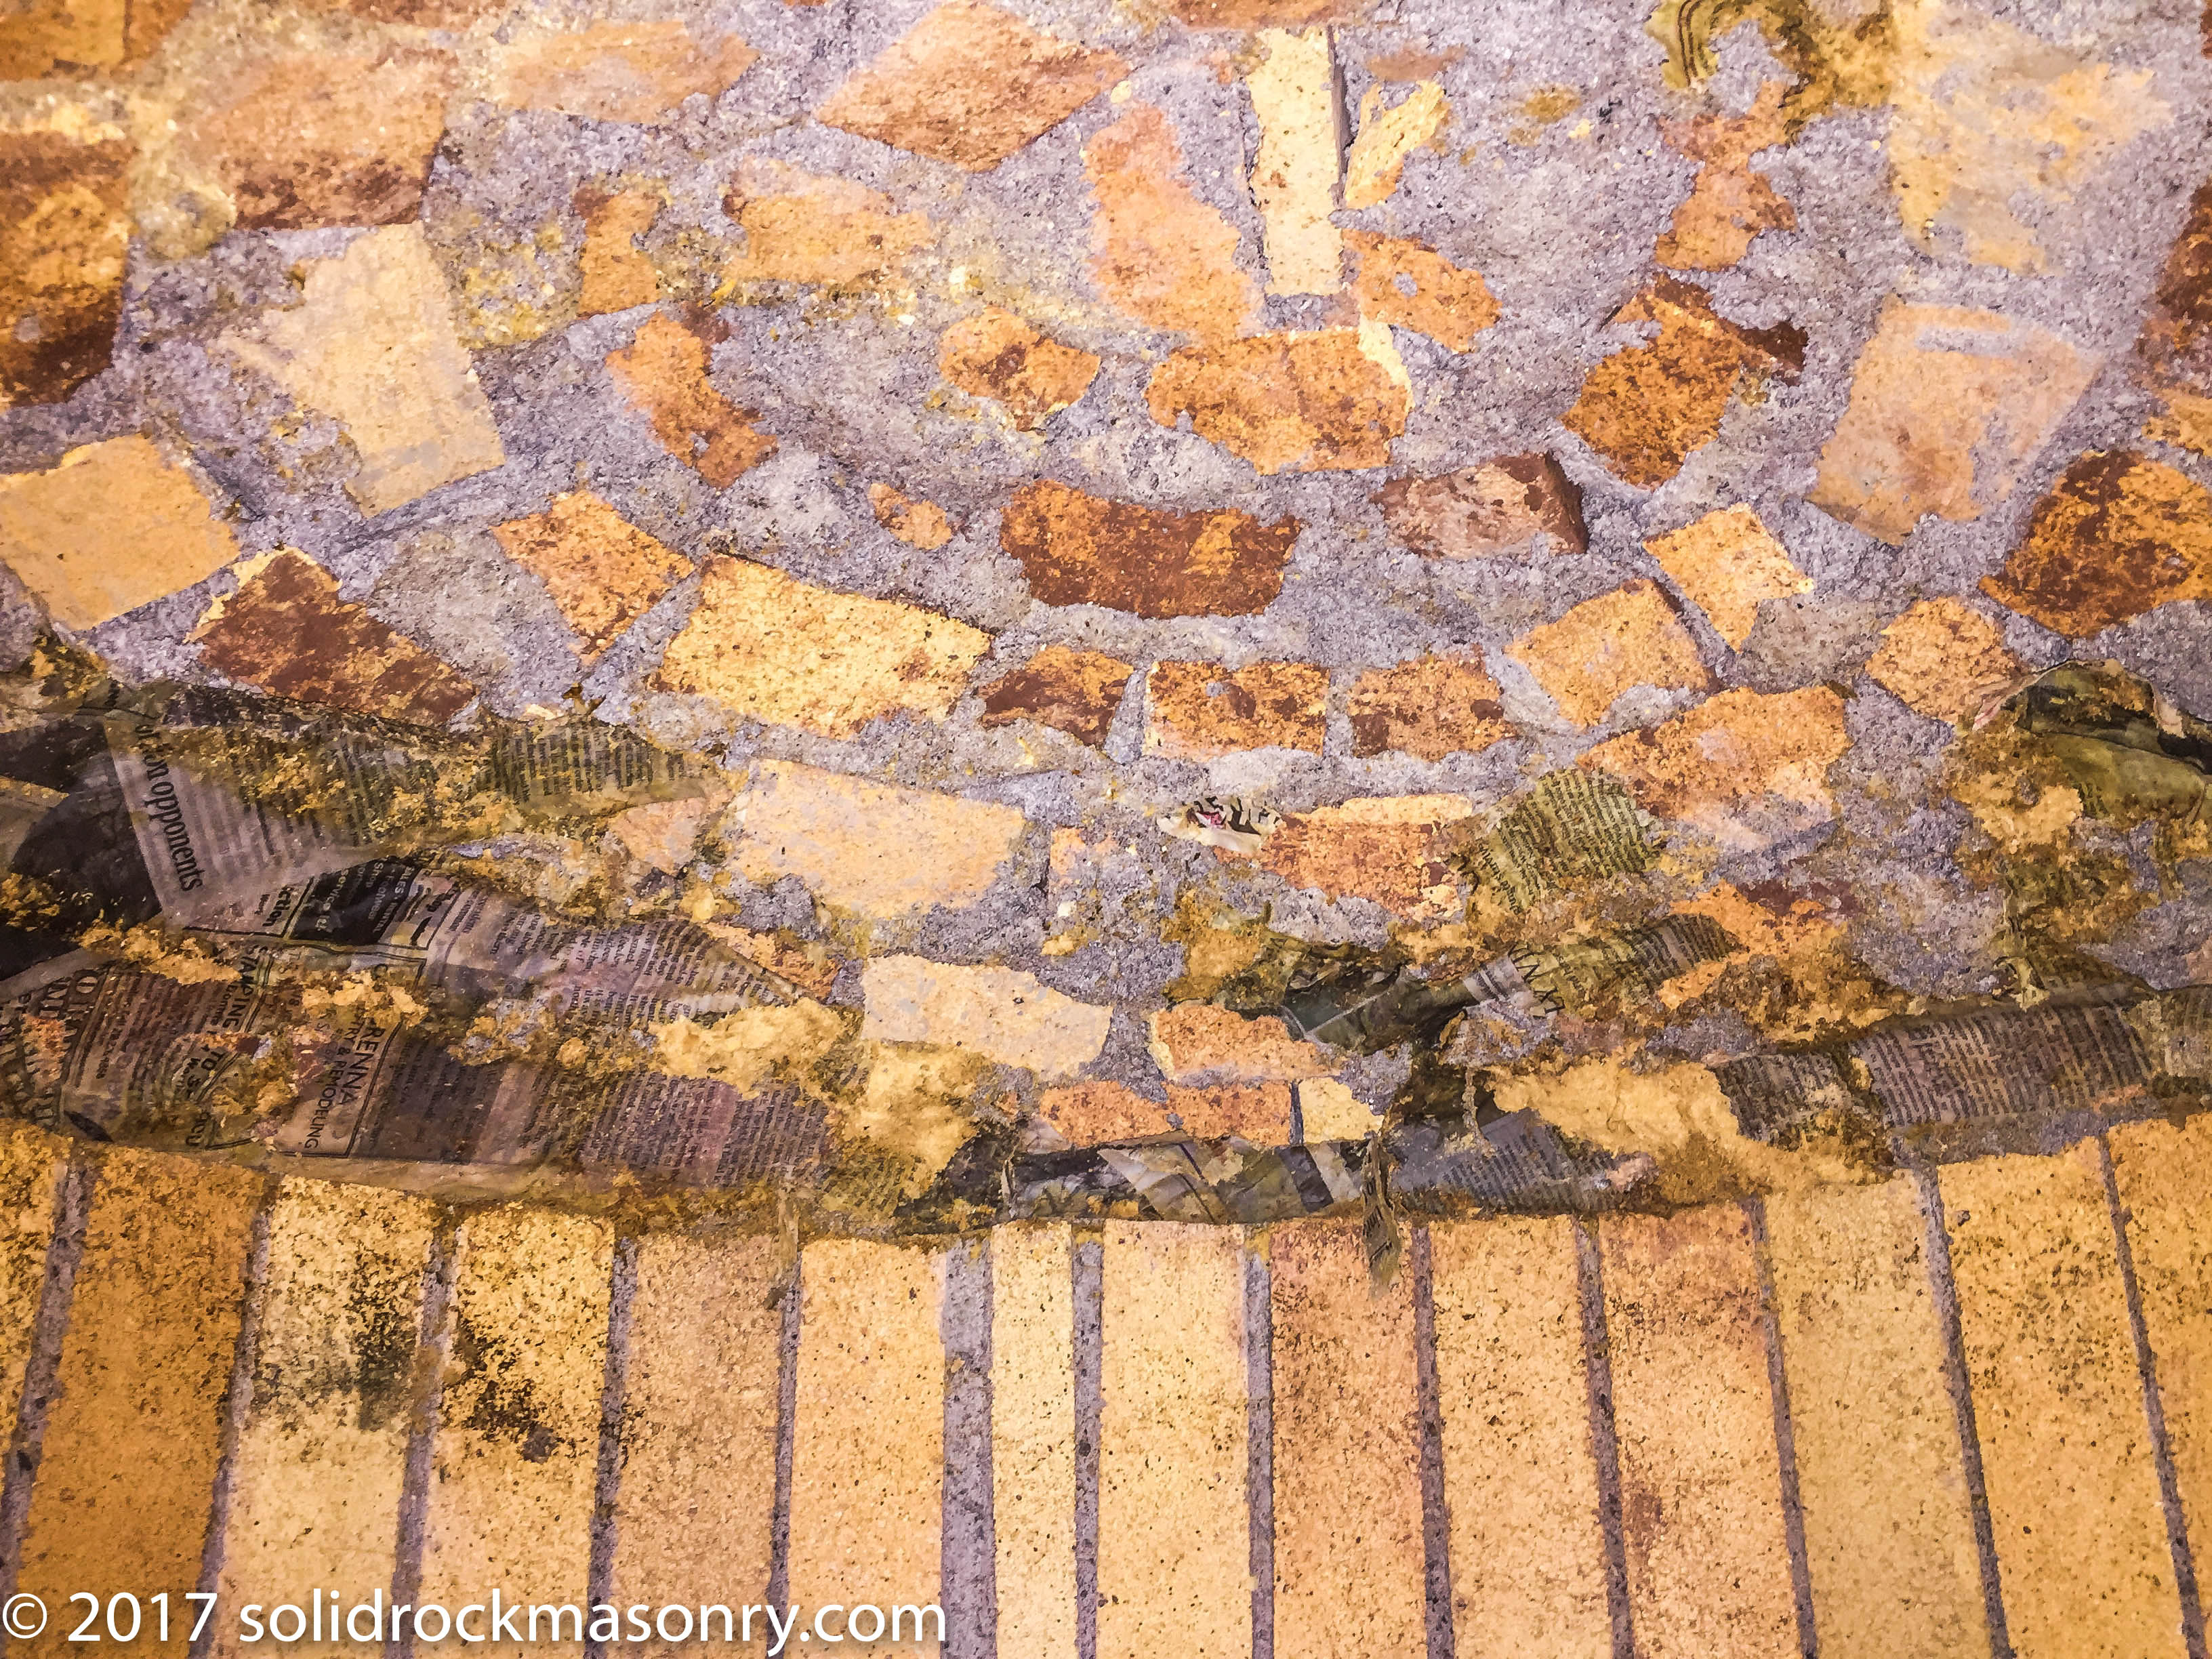
Place a layer of damp newspaper on top of the sawdust. This will keep the sawdust out of your mortar joints. All of the bricks for the oven dome are now cut in half so that they are ~ 4.5″ long and set on a bed of lime mortar with the non cut side facing inside the oven. When setting the bricks to the oven dome form you want the inside face of the bricks to be sitting flat on the newspaper. Adjust with more or less mortar as needed. Always start laying at the door opening and work your way around the oven. These first bricks should be dry fit first and you will normally need to hammer or chisel an angle in these bricks to get them to fit close. Keep the inside mortar joint 1/4″ or less and with the angle of the bricks the mortar on the outside part of the bricks will be around 1.5″ or so. Cut the bricks so that each course is slightly offset so that you don’t have straight joints lining up vertically.
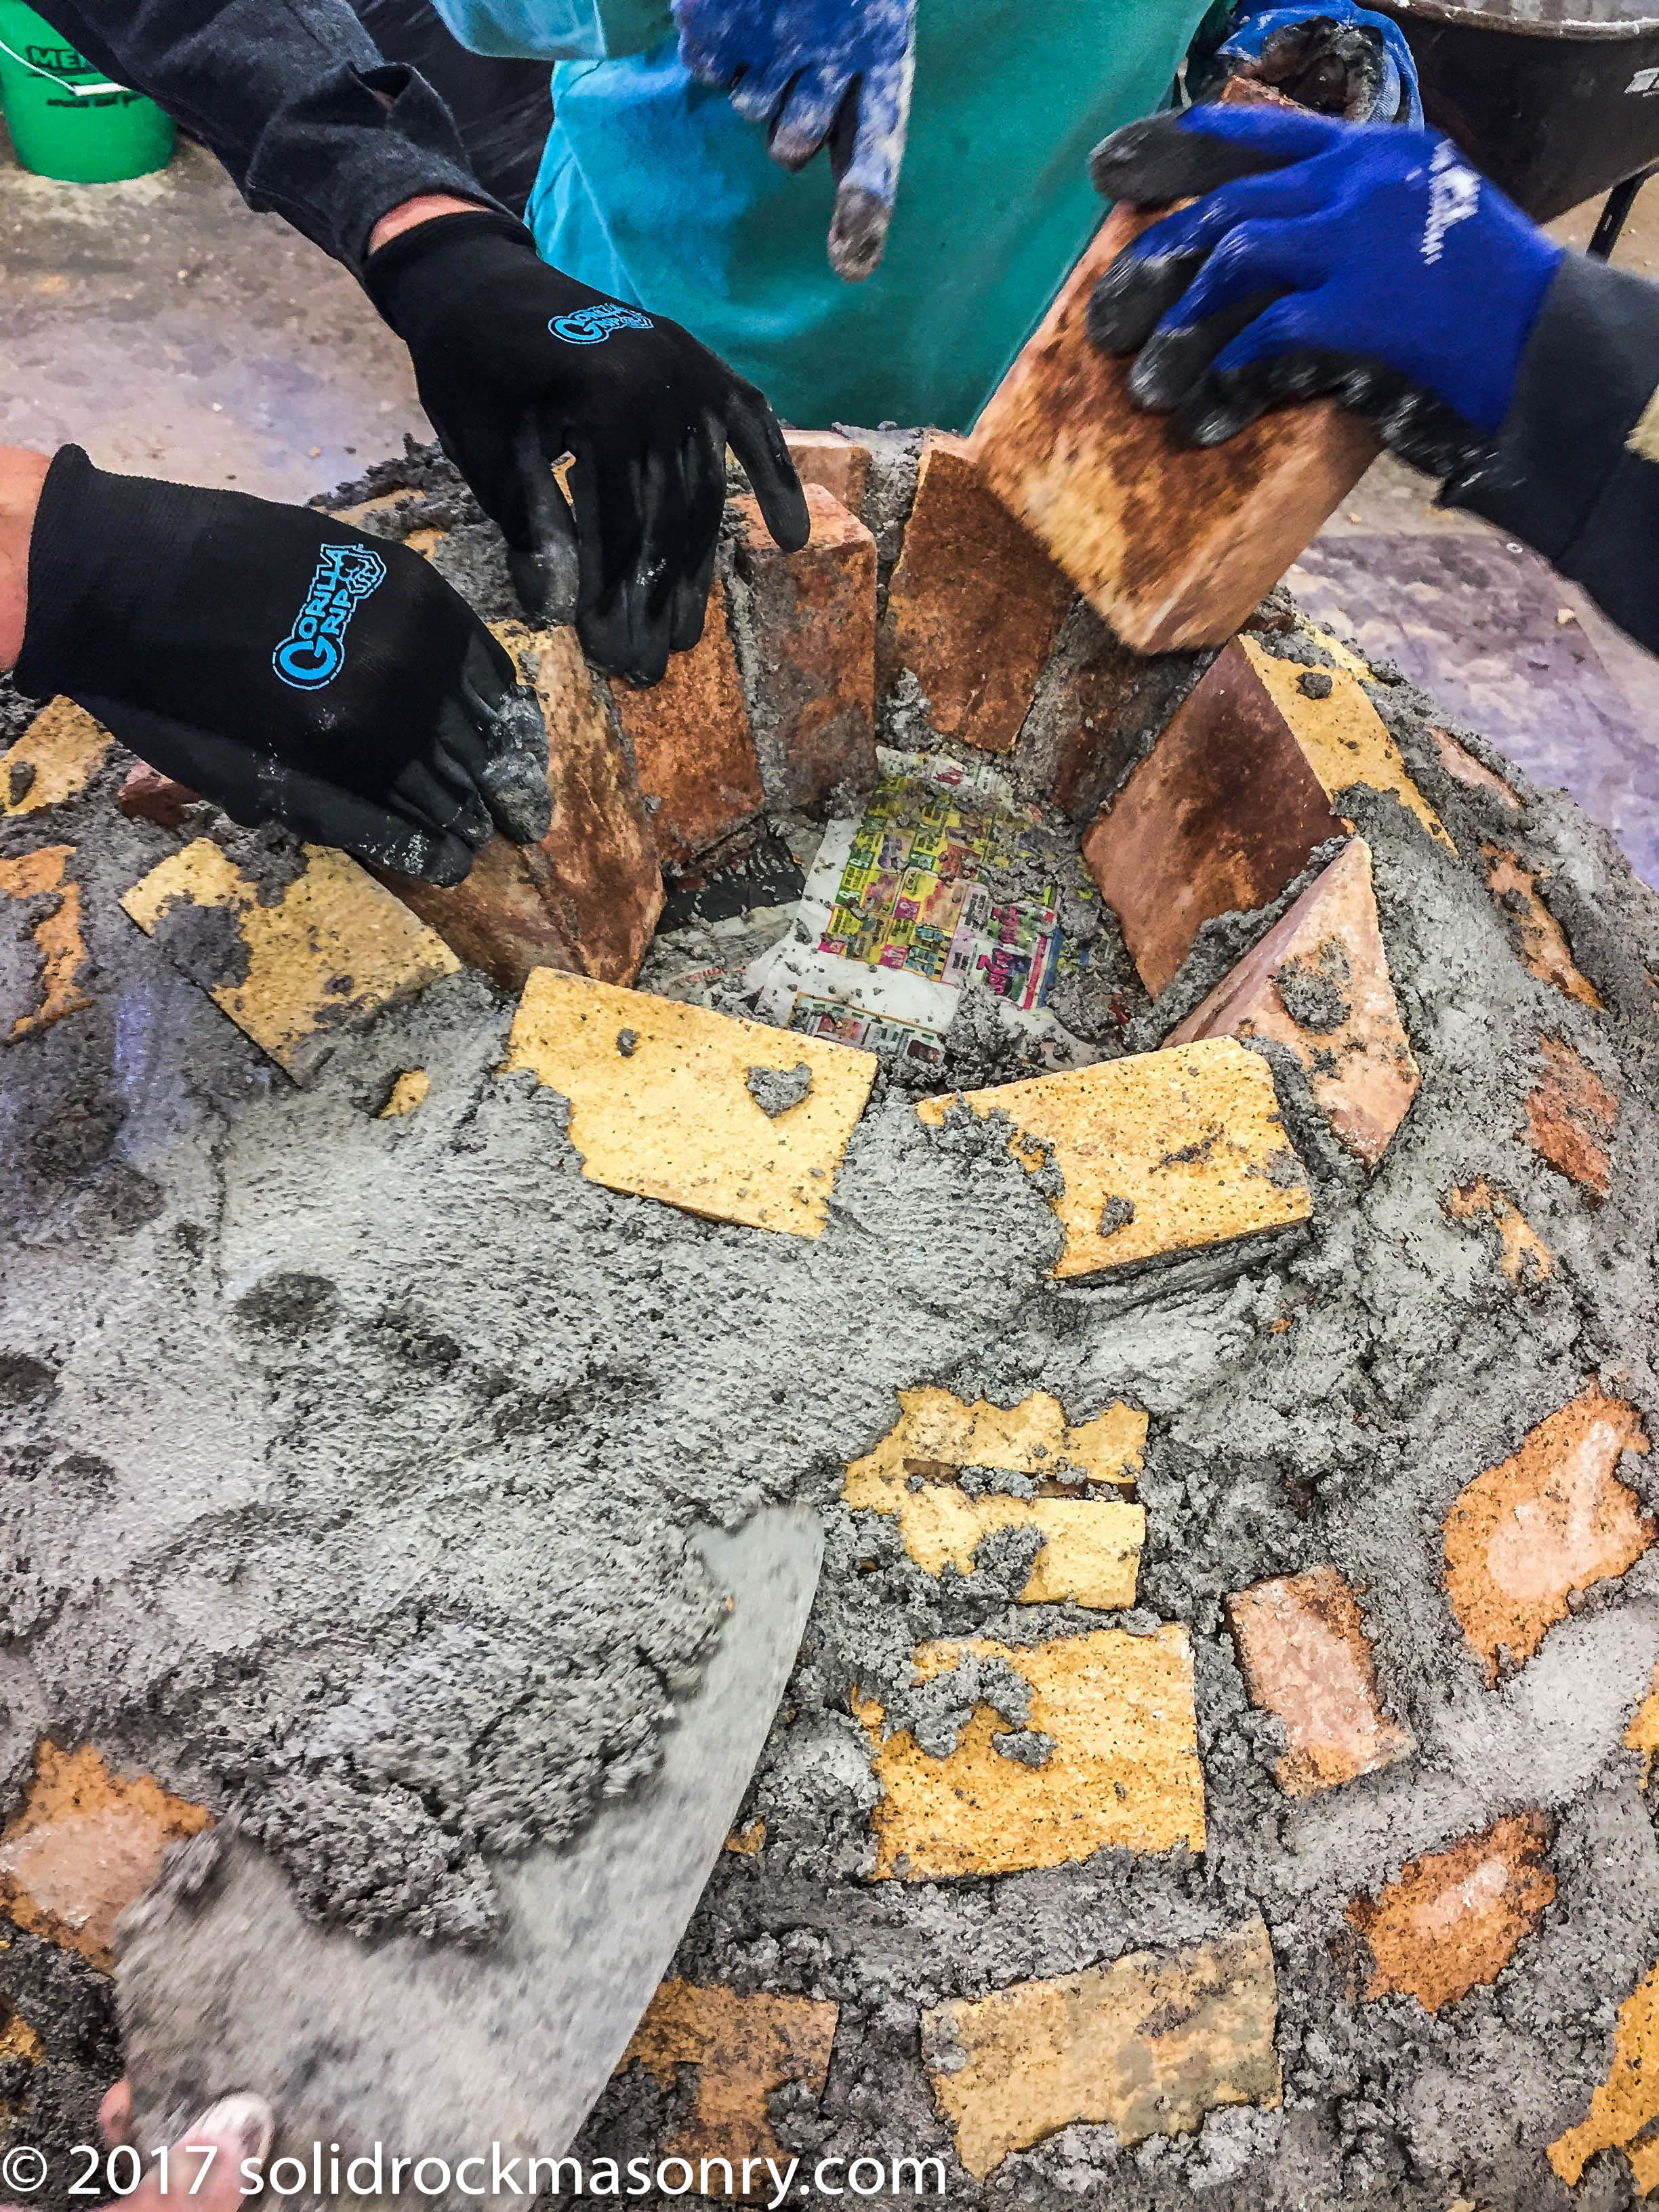
Cut bricks as needed to keep joints offset as much as possible as you built up the dome. Smaller pieces are needed as you progress towards the top of the dome.
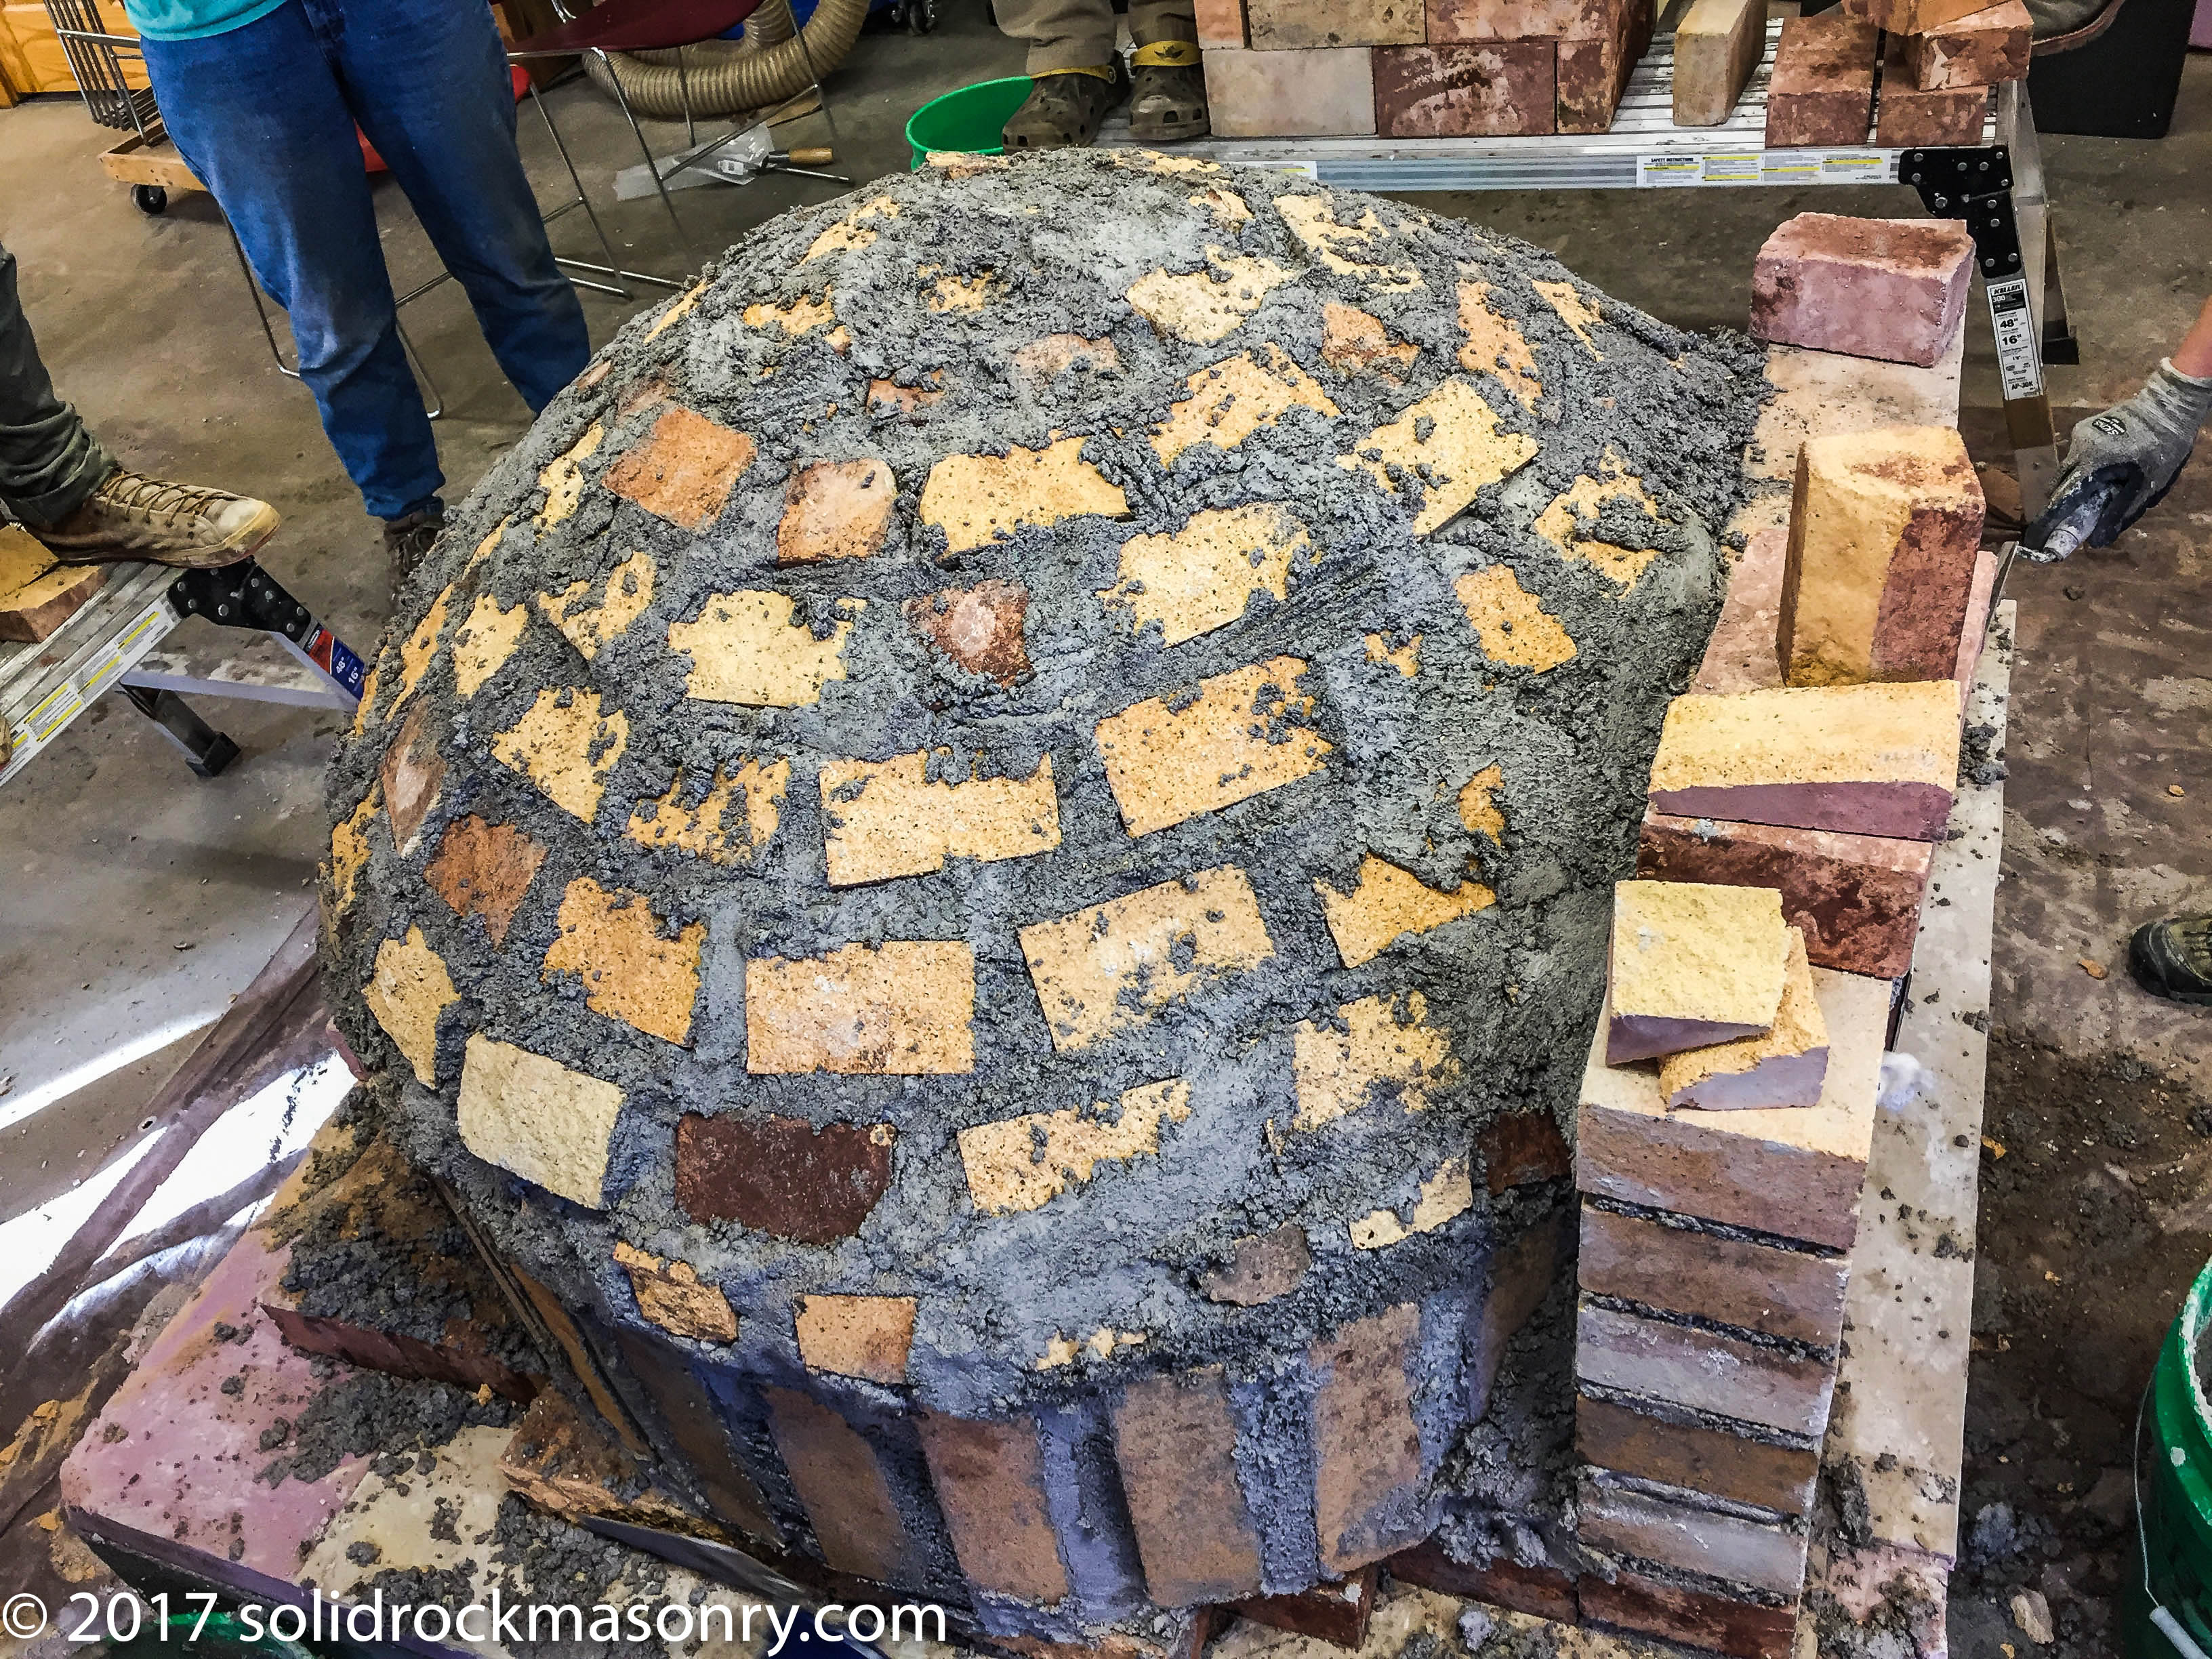
For the final brick, try to keep this cut so that there is no more than a 1/4″ on all sides for mortar. This is your keystone piece and should be tight so that your arch is strong.
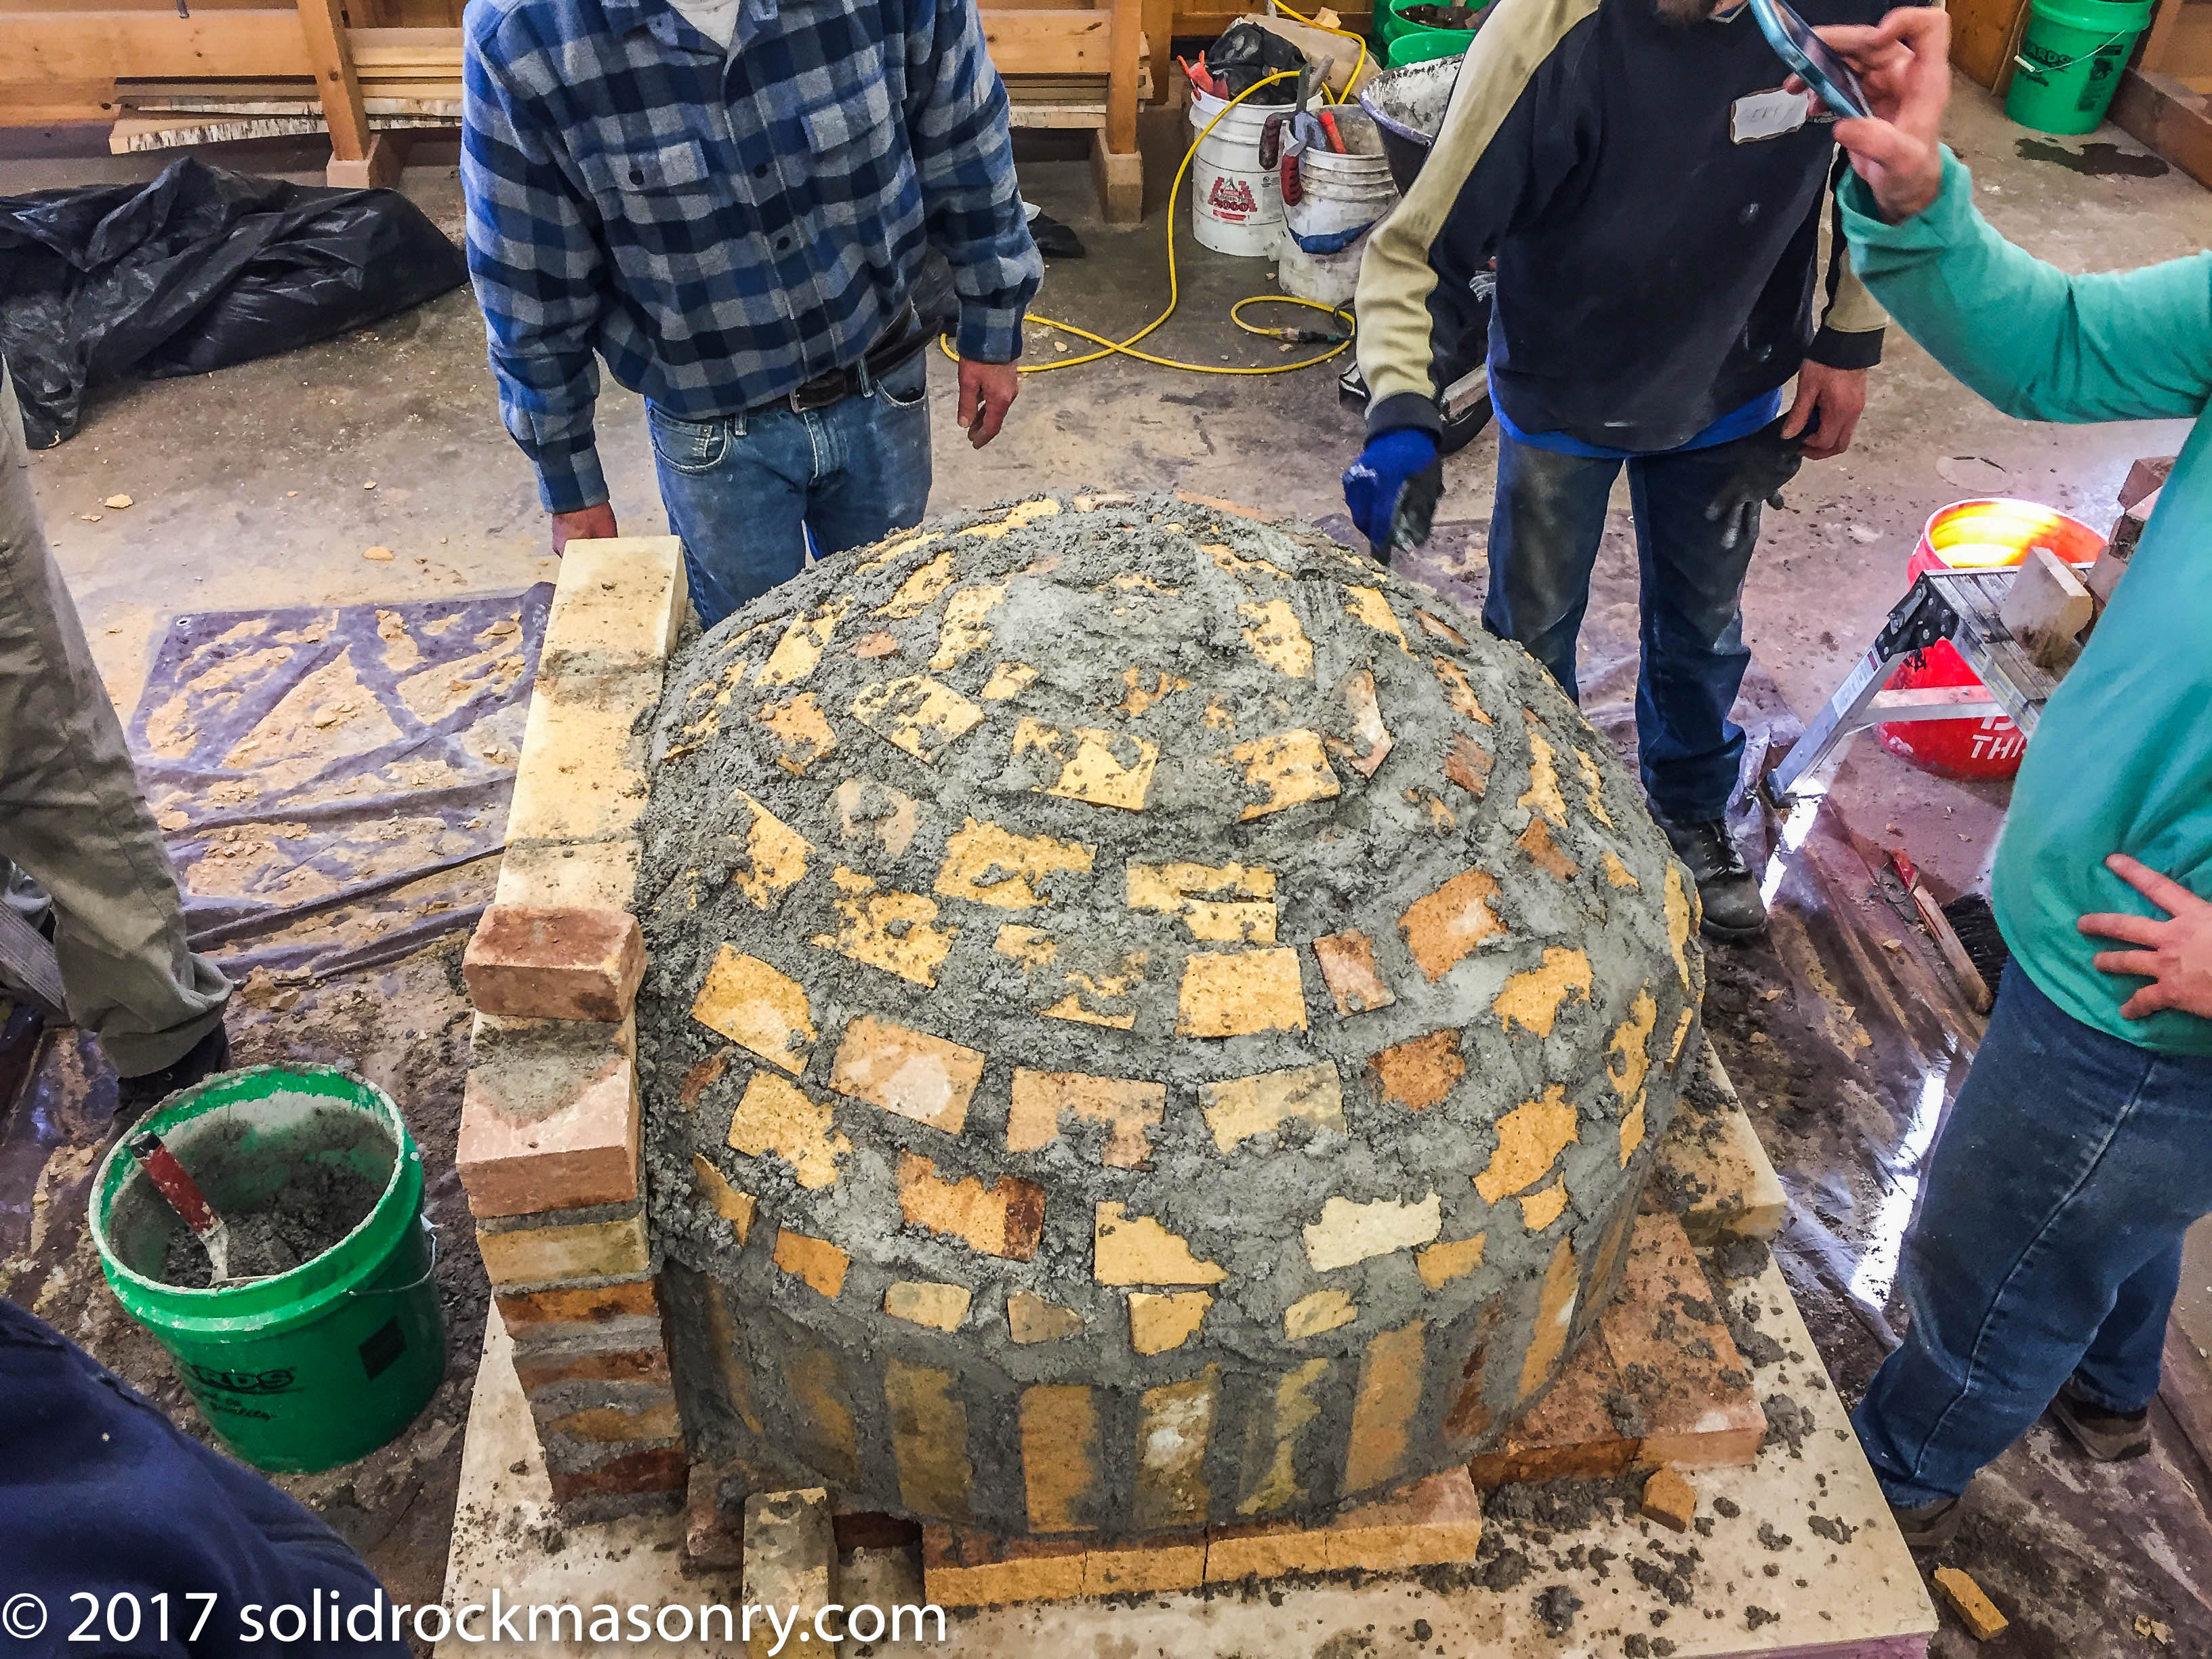
After you have set your final keystone brick go around and fill in any mortar gaps with more mortar.
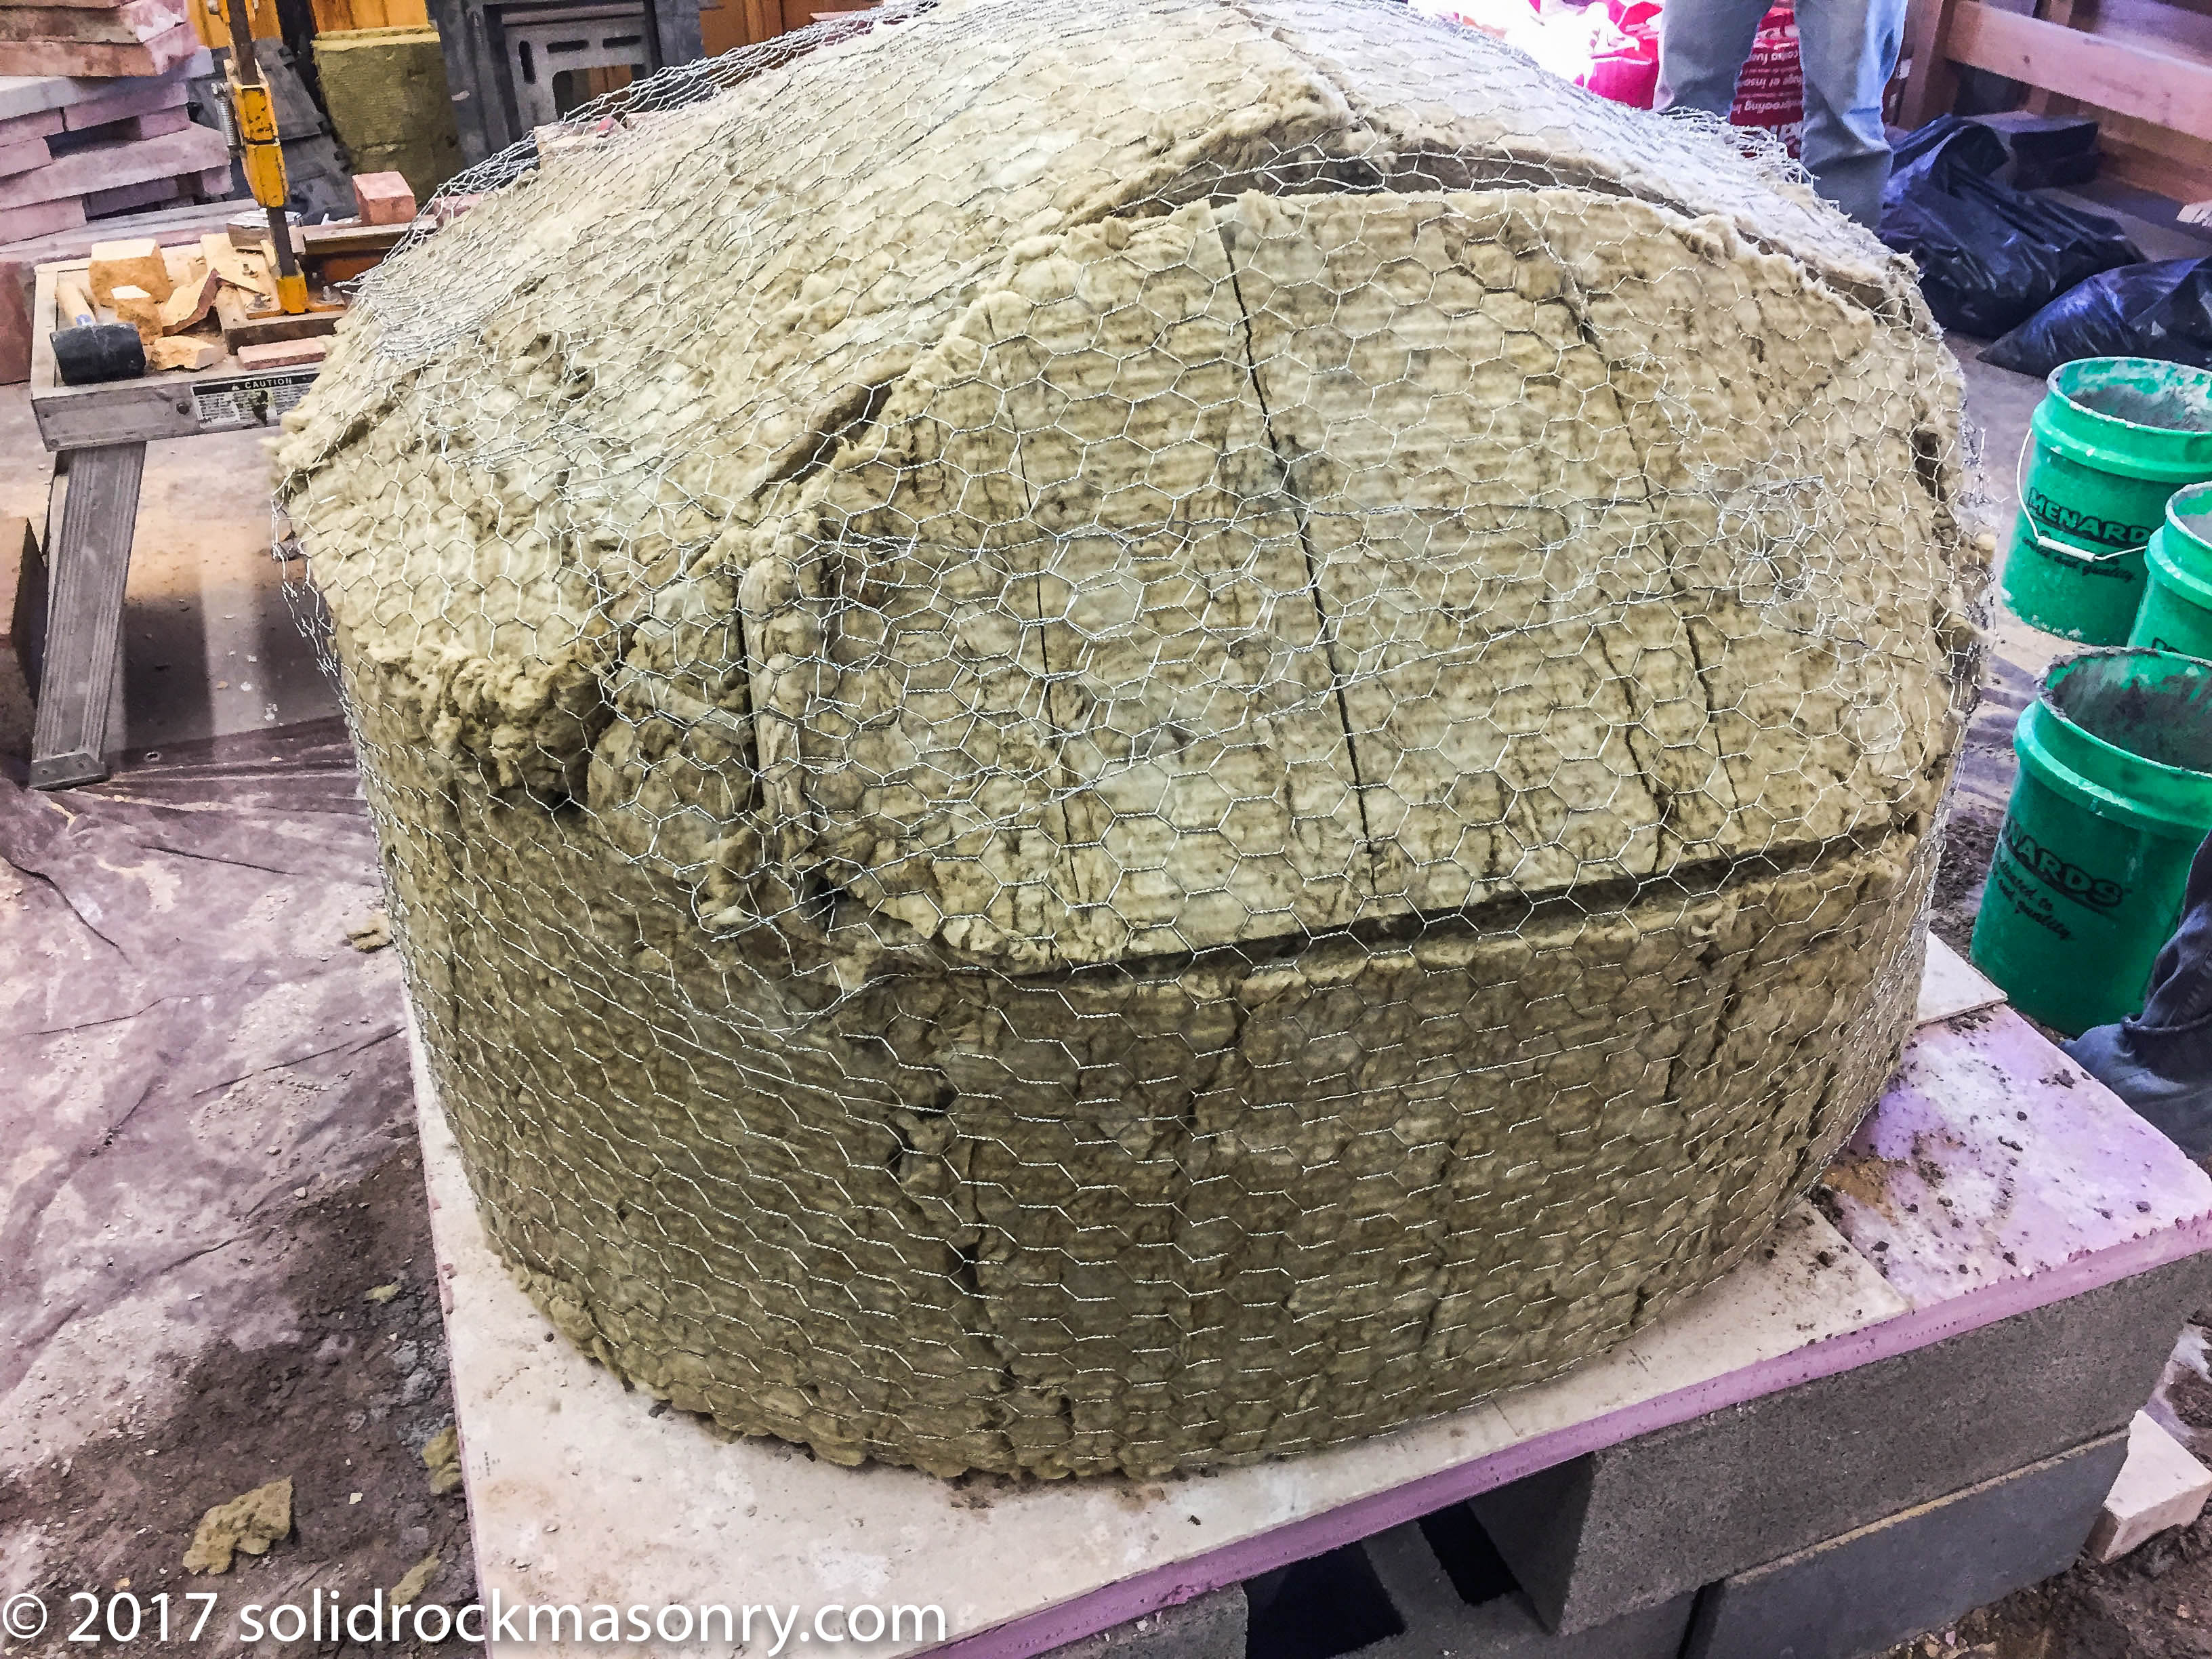
For insulating this wood-fired brick oven we used 3.5″ Roxul mineral wool that you can buy from a big box store. This is a 1900º high heat insulation that is used for sound proofing walls. Buy the softer more flexible kind if they offer it so that it will bend around the oven dome. Cut the insulation as needed with a long knife. You can hold the insulation in place temporarily with packing tape until you have stuccoed over the top. Once the insulation is in place we wrap the insulation with chicken wire and bend and fold the chicken wire to shape as needed.
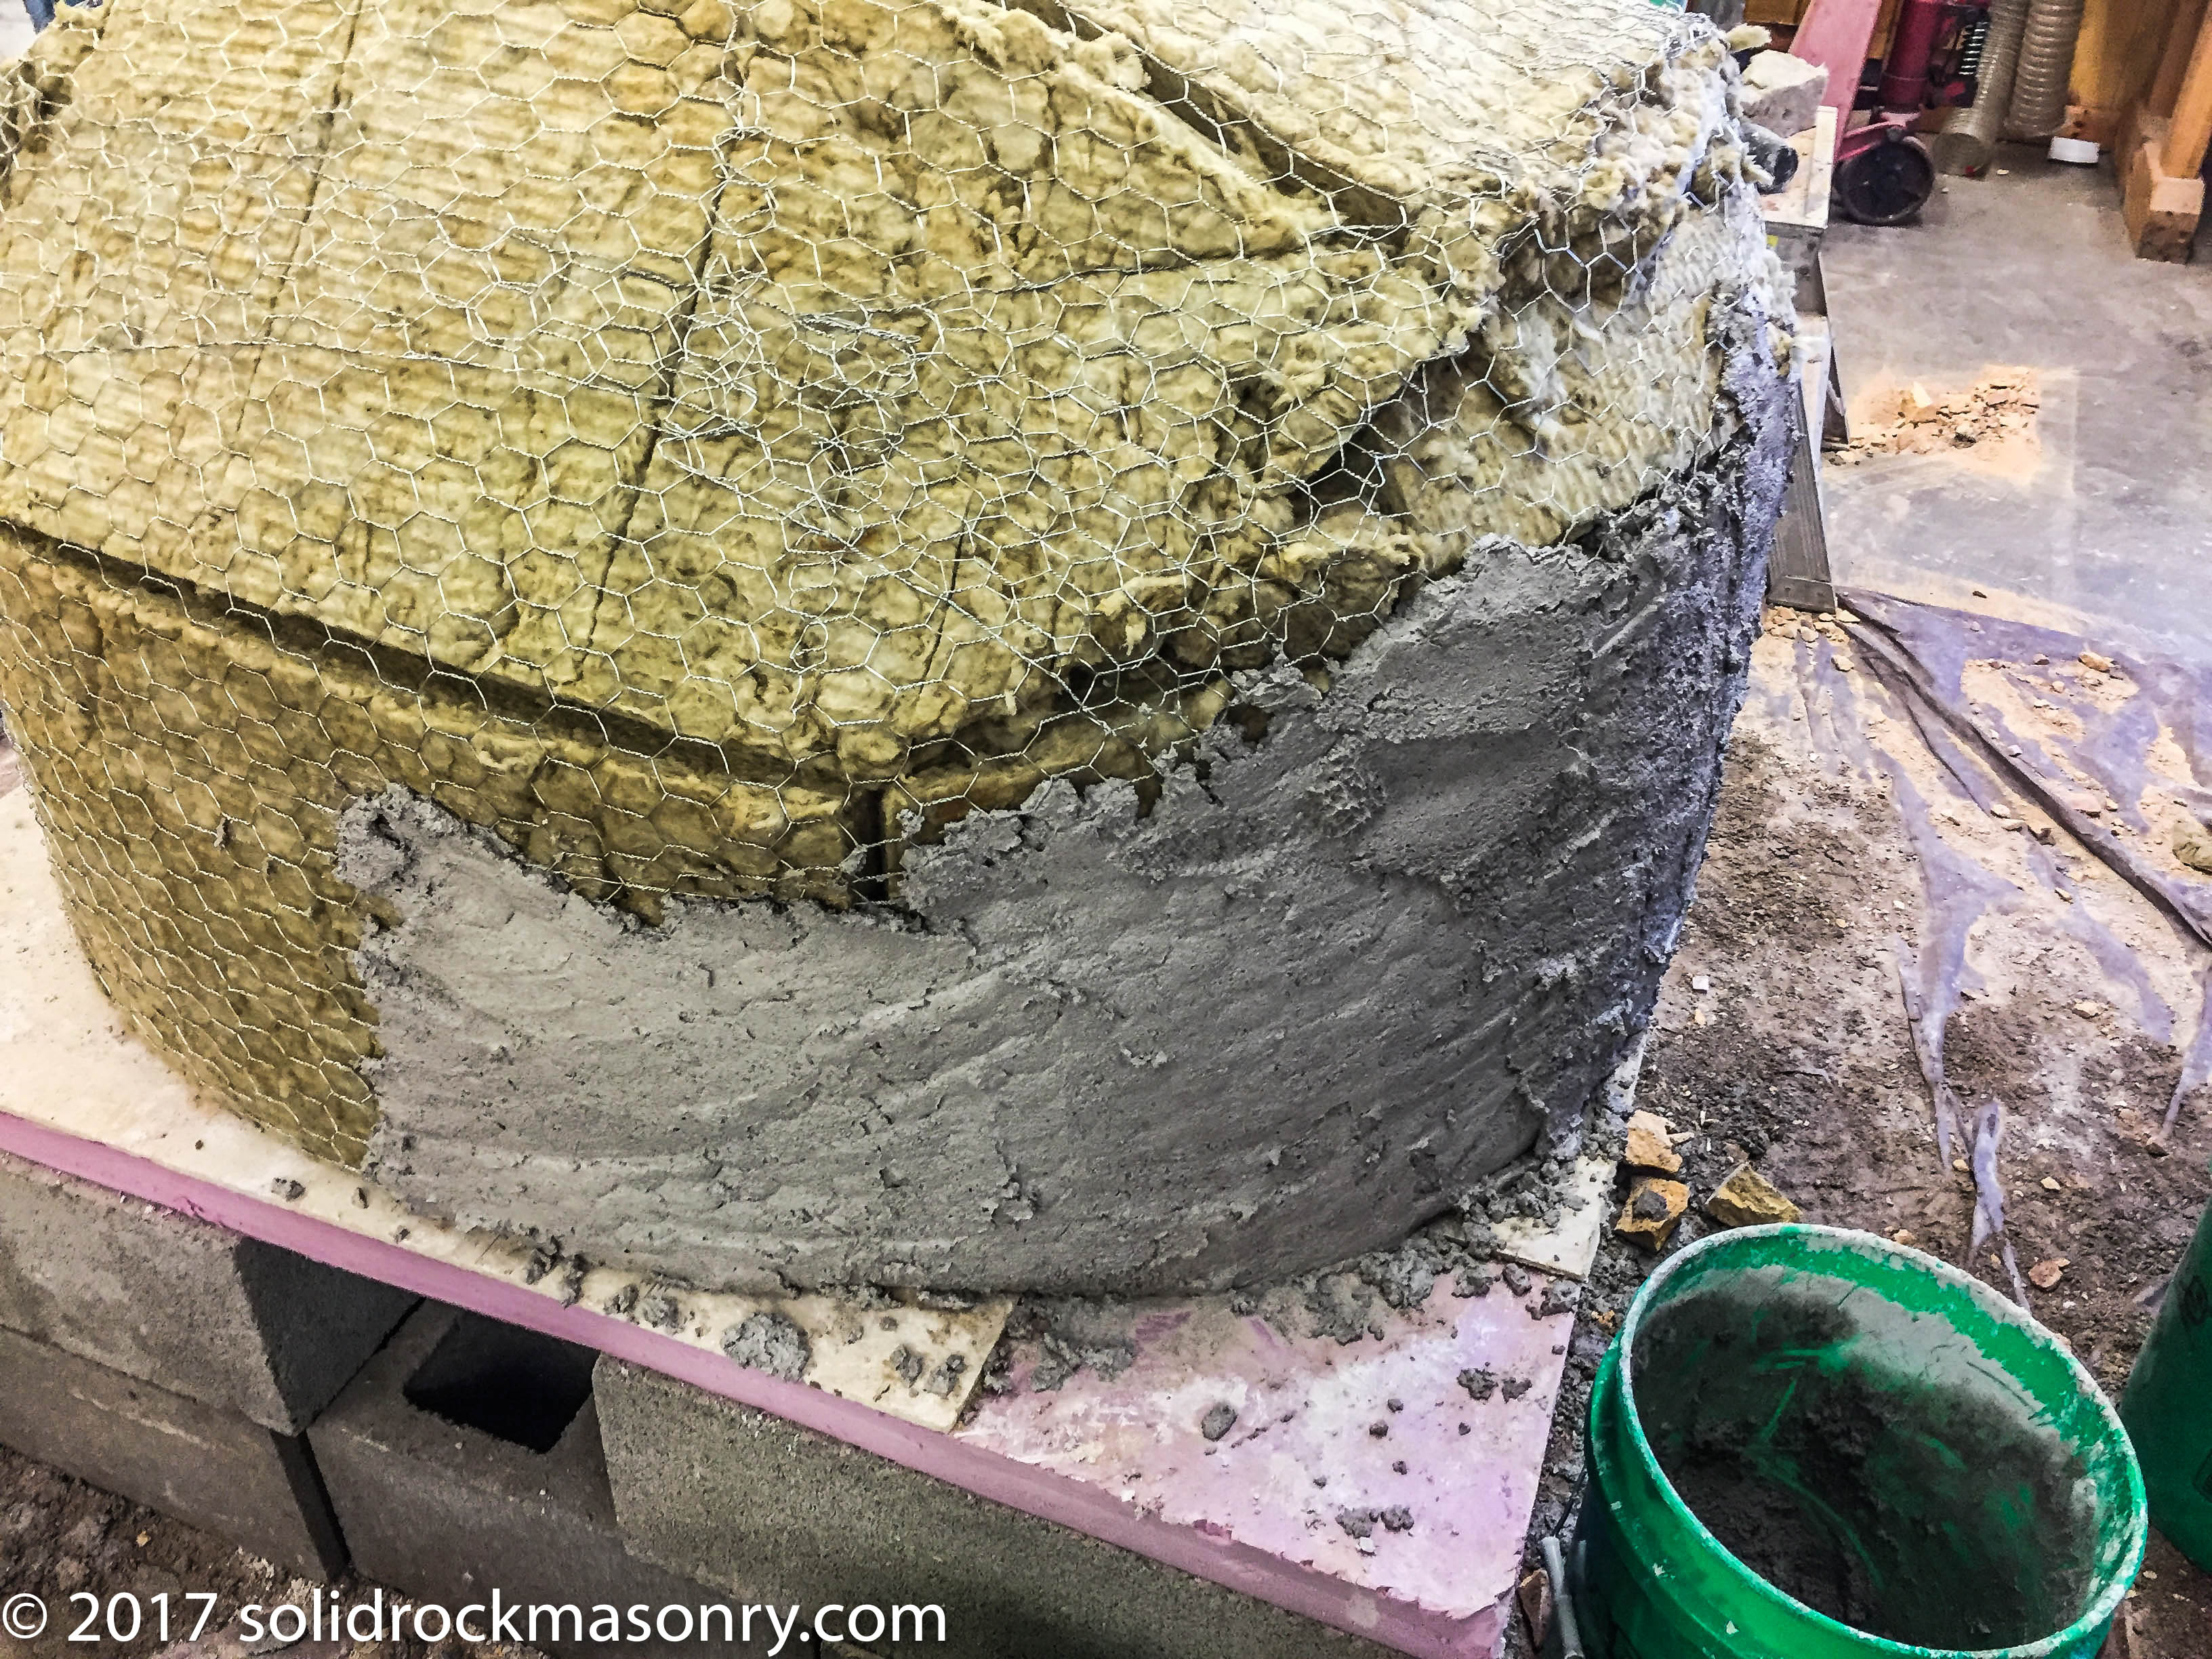
After you are finished wrapping the insulation with chicken wire we then stucco over the insulation with the lime and sand mortar that we used for laying the bricks with. You would first get a rough coat embedded into the wire, let that dry overnight and then come back and install another coat of lime stucco, dampen the first coat with a mist of water first.
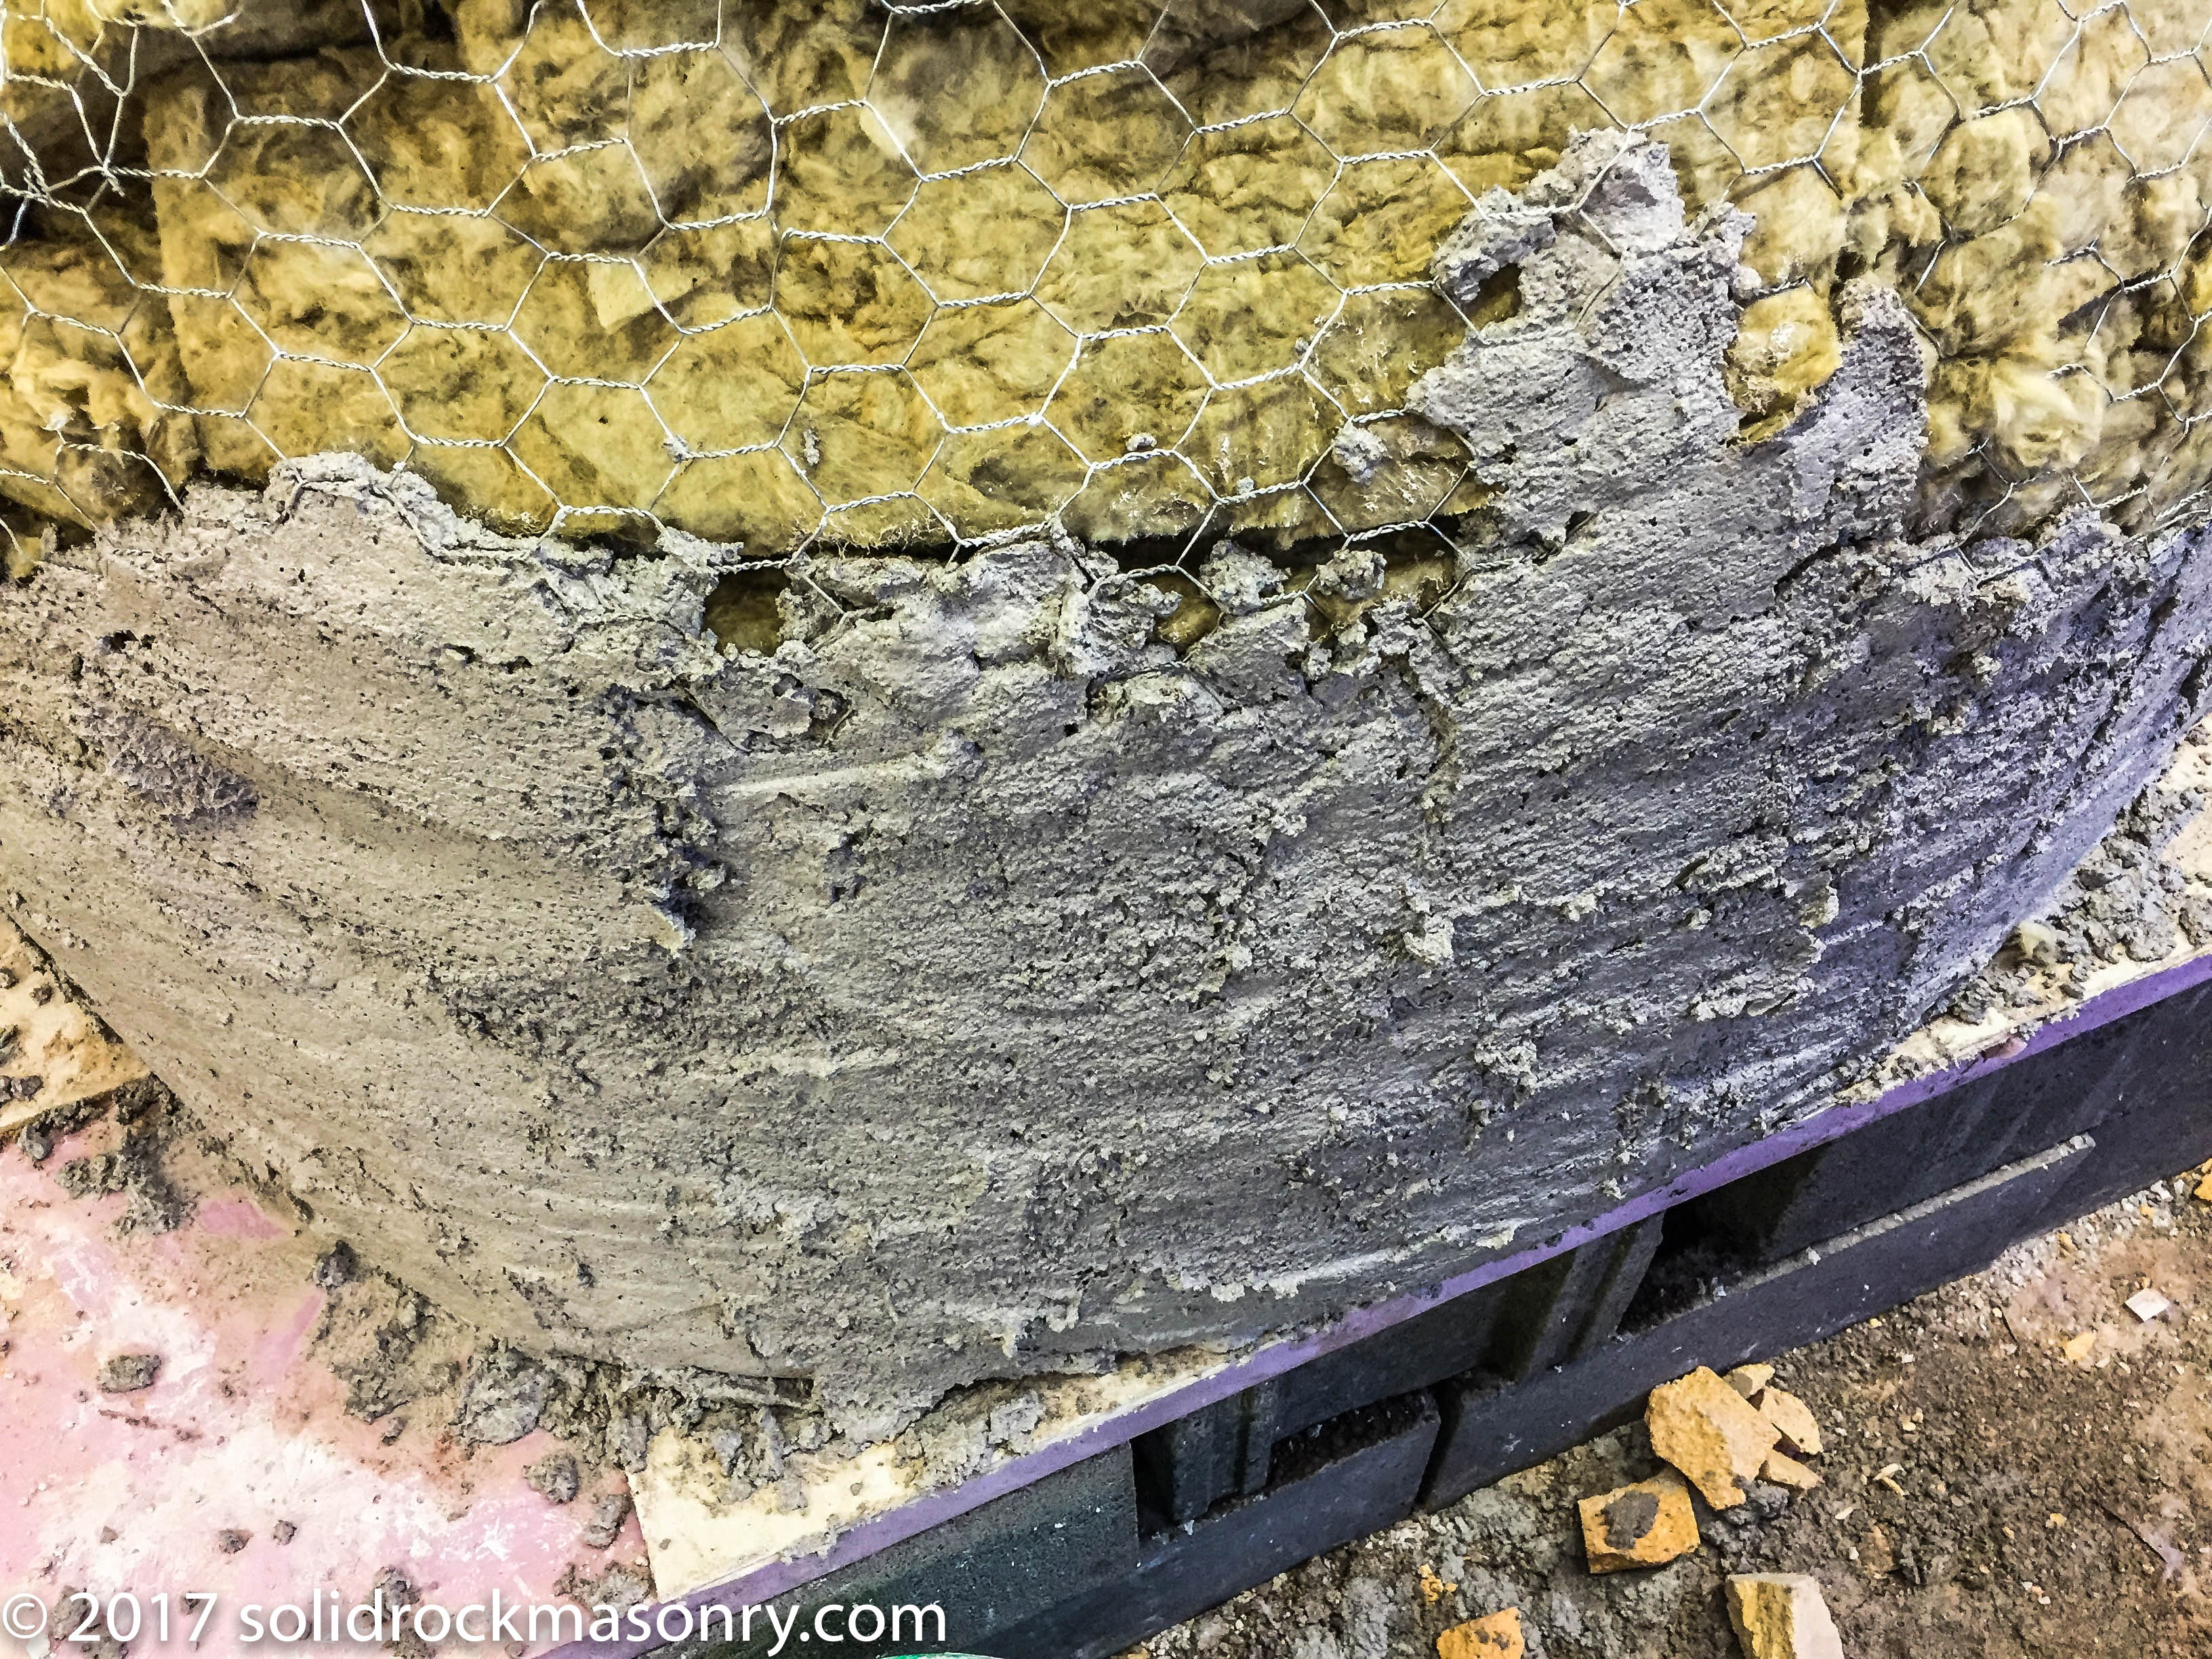
The lime stucco is not meant to be a water proofing layer. You should build a roof over the wood-fired brick oven to keep water off of the oven or finish the oven with other masonry option to keep water from penetrating.
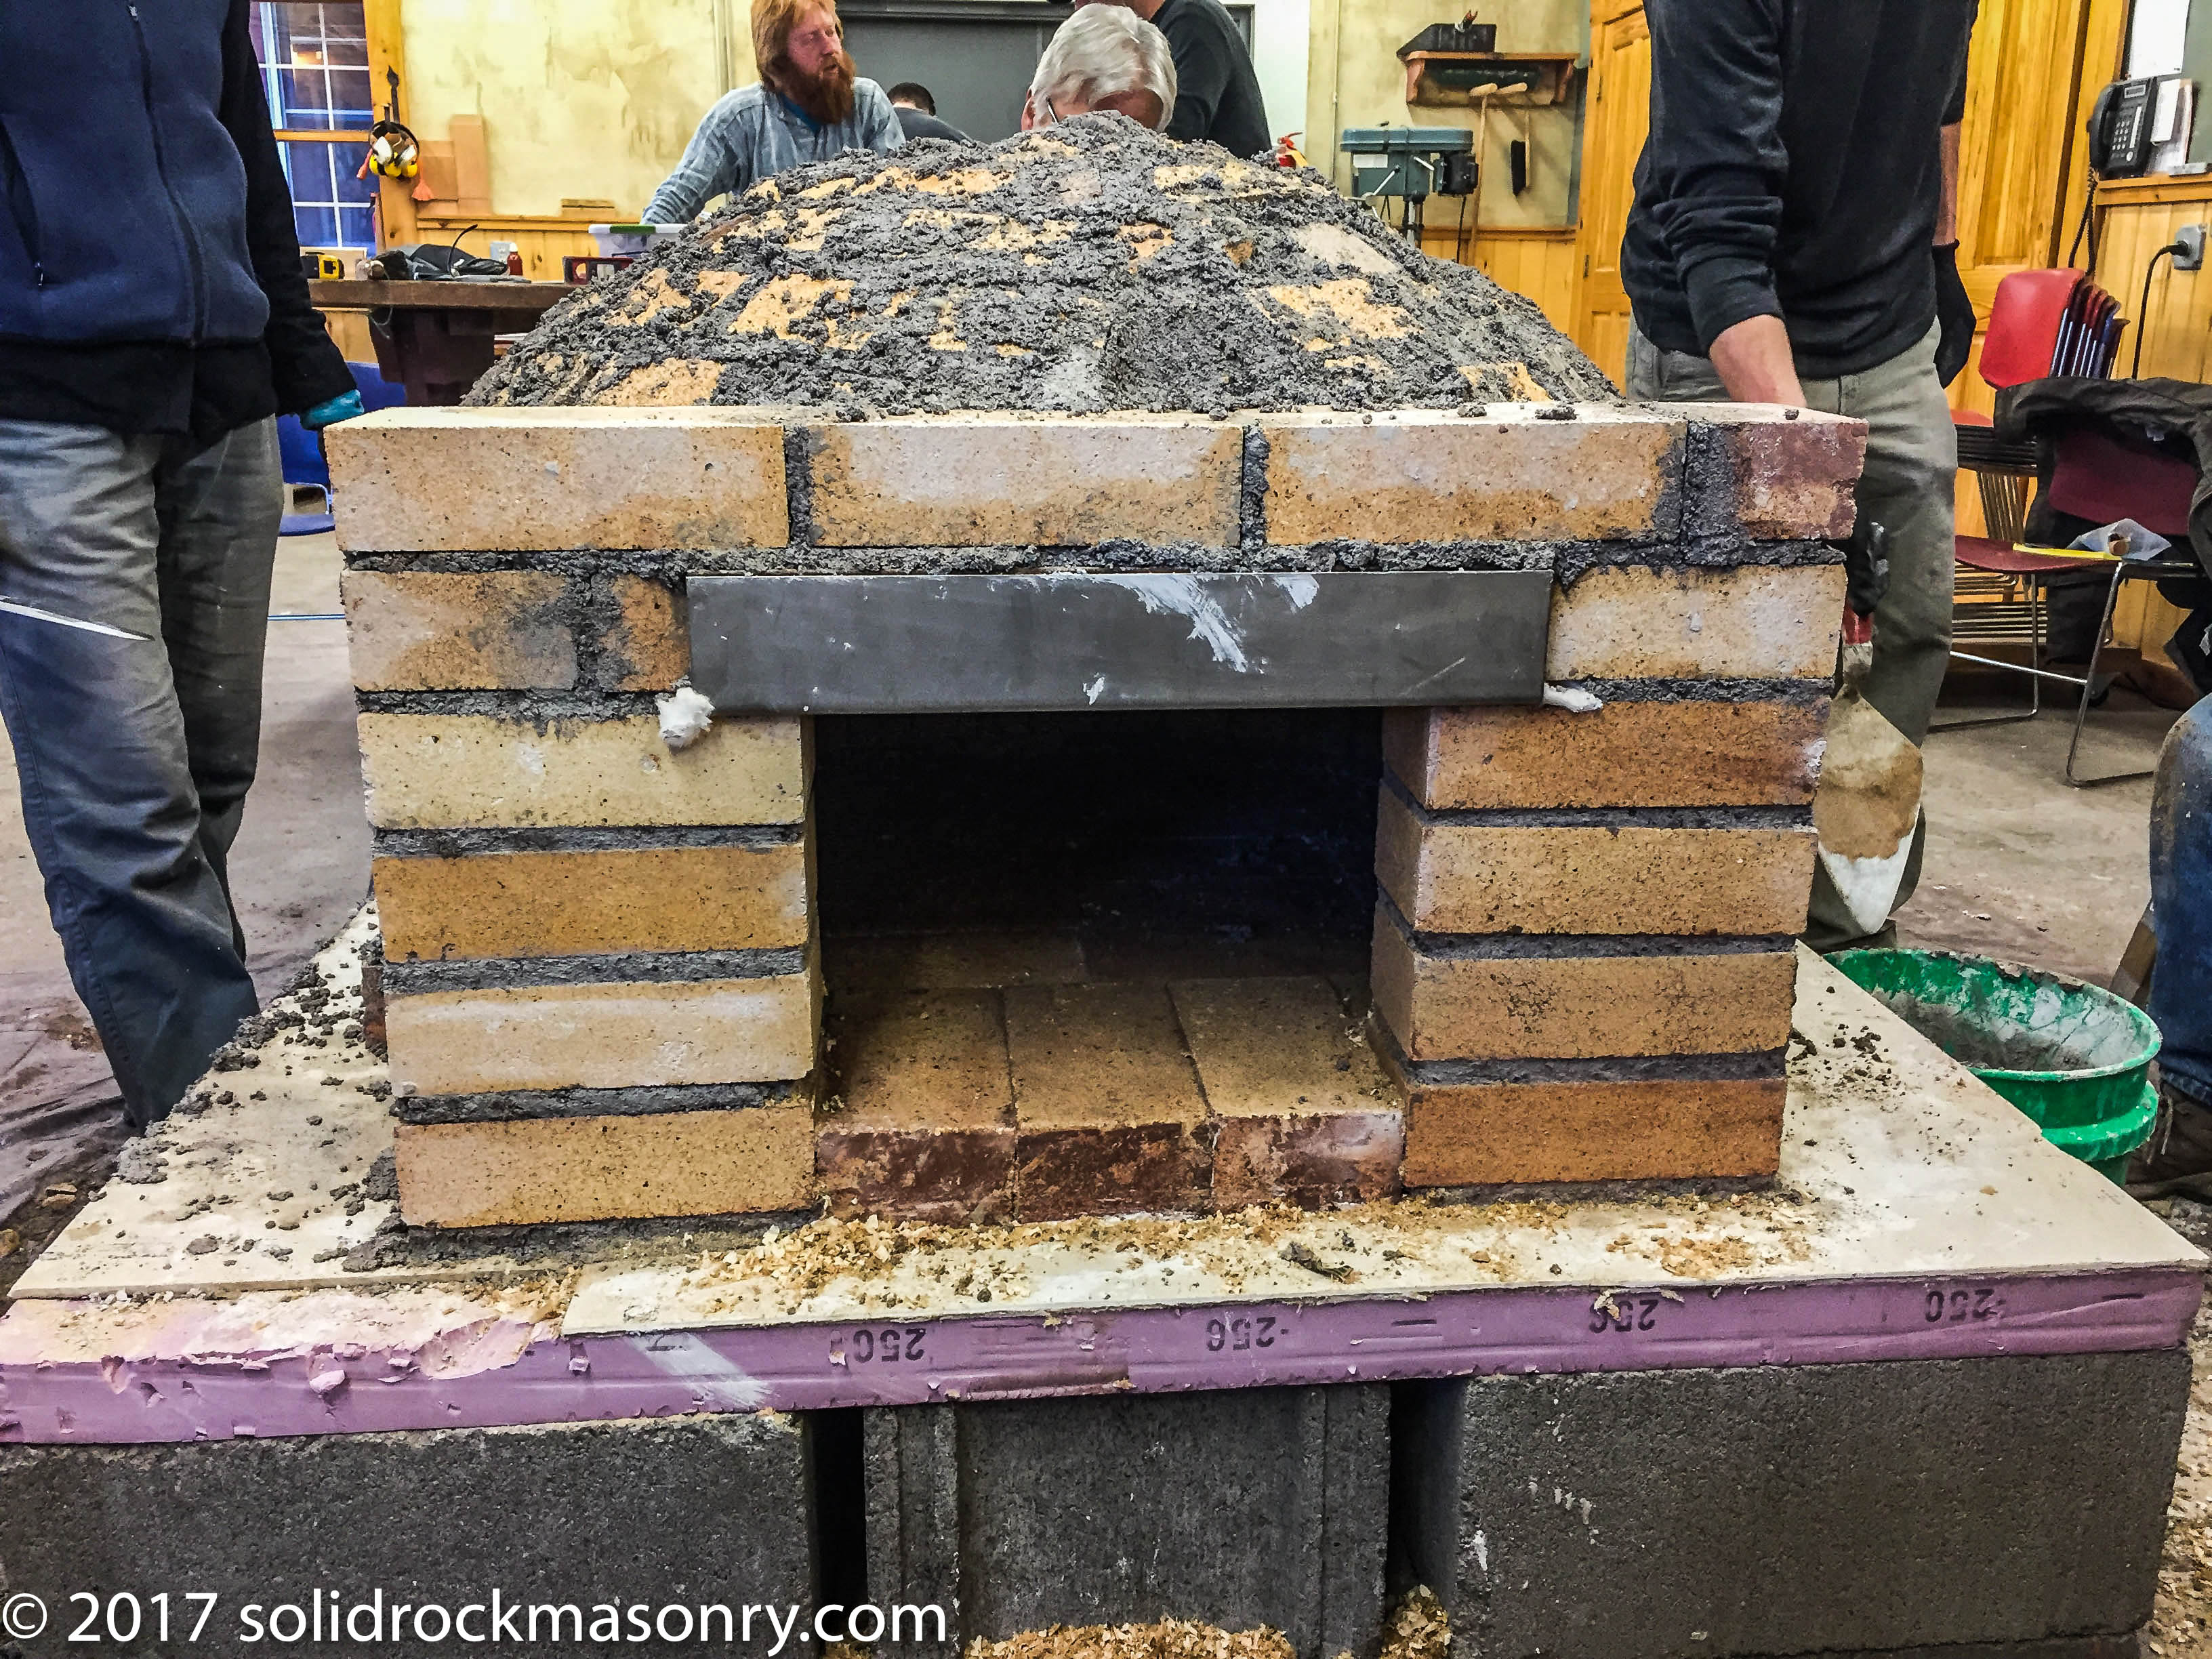
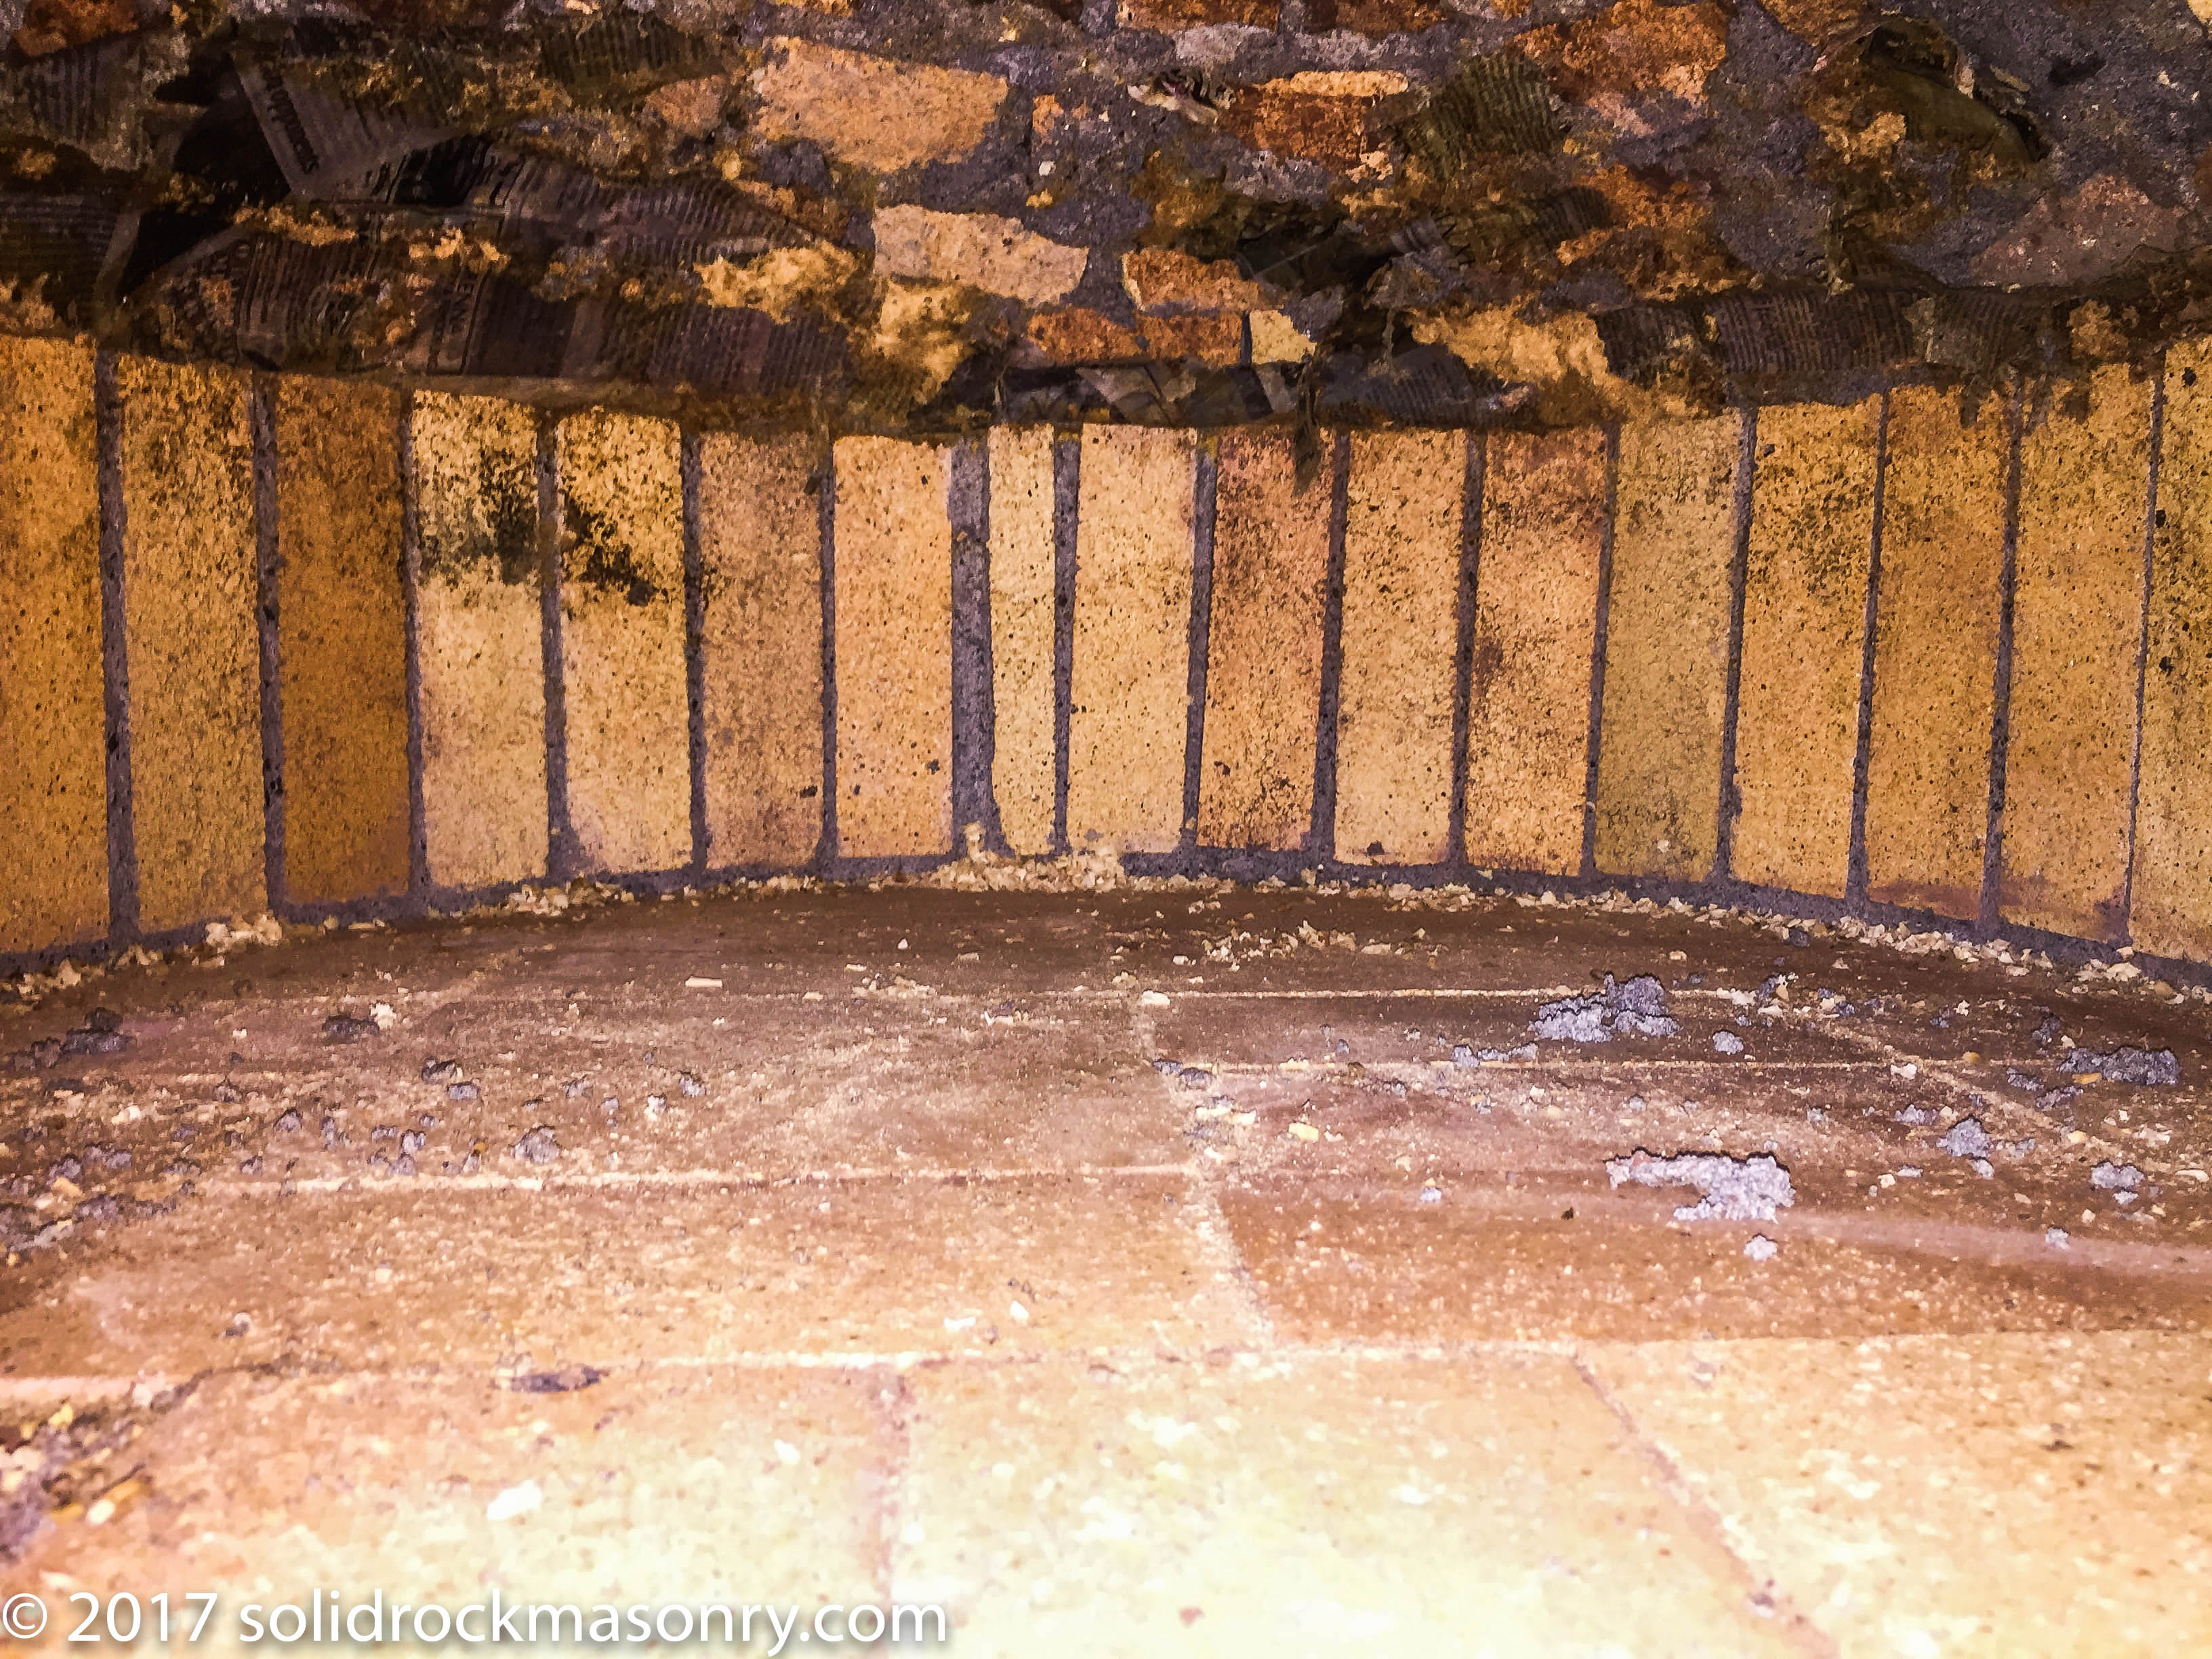
Interior of oven after the sawdust was removed with a small garden hoe. You can use the hoe to scrape off the sawdust and newspaper off the dome also, or just let it burn off in the first fire’s. Fill any missing mortar joints with mortar on the inside. It is normal best practice to keep the oven damp and covered with a tarp for 7 days so that the mortar can cure. After the mortar has cured you can then start curing fires with a small fire and building up to a larger one over a few days.
