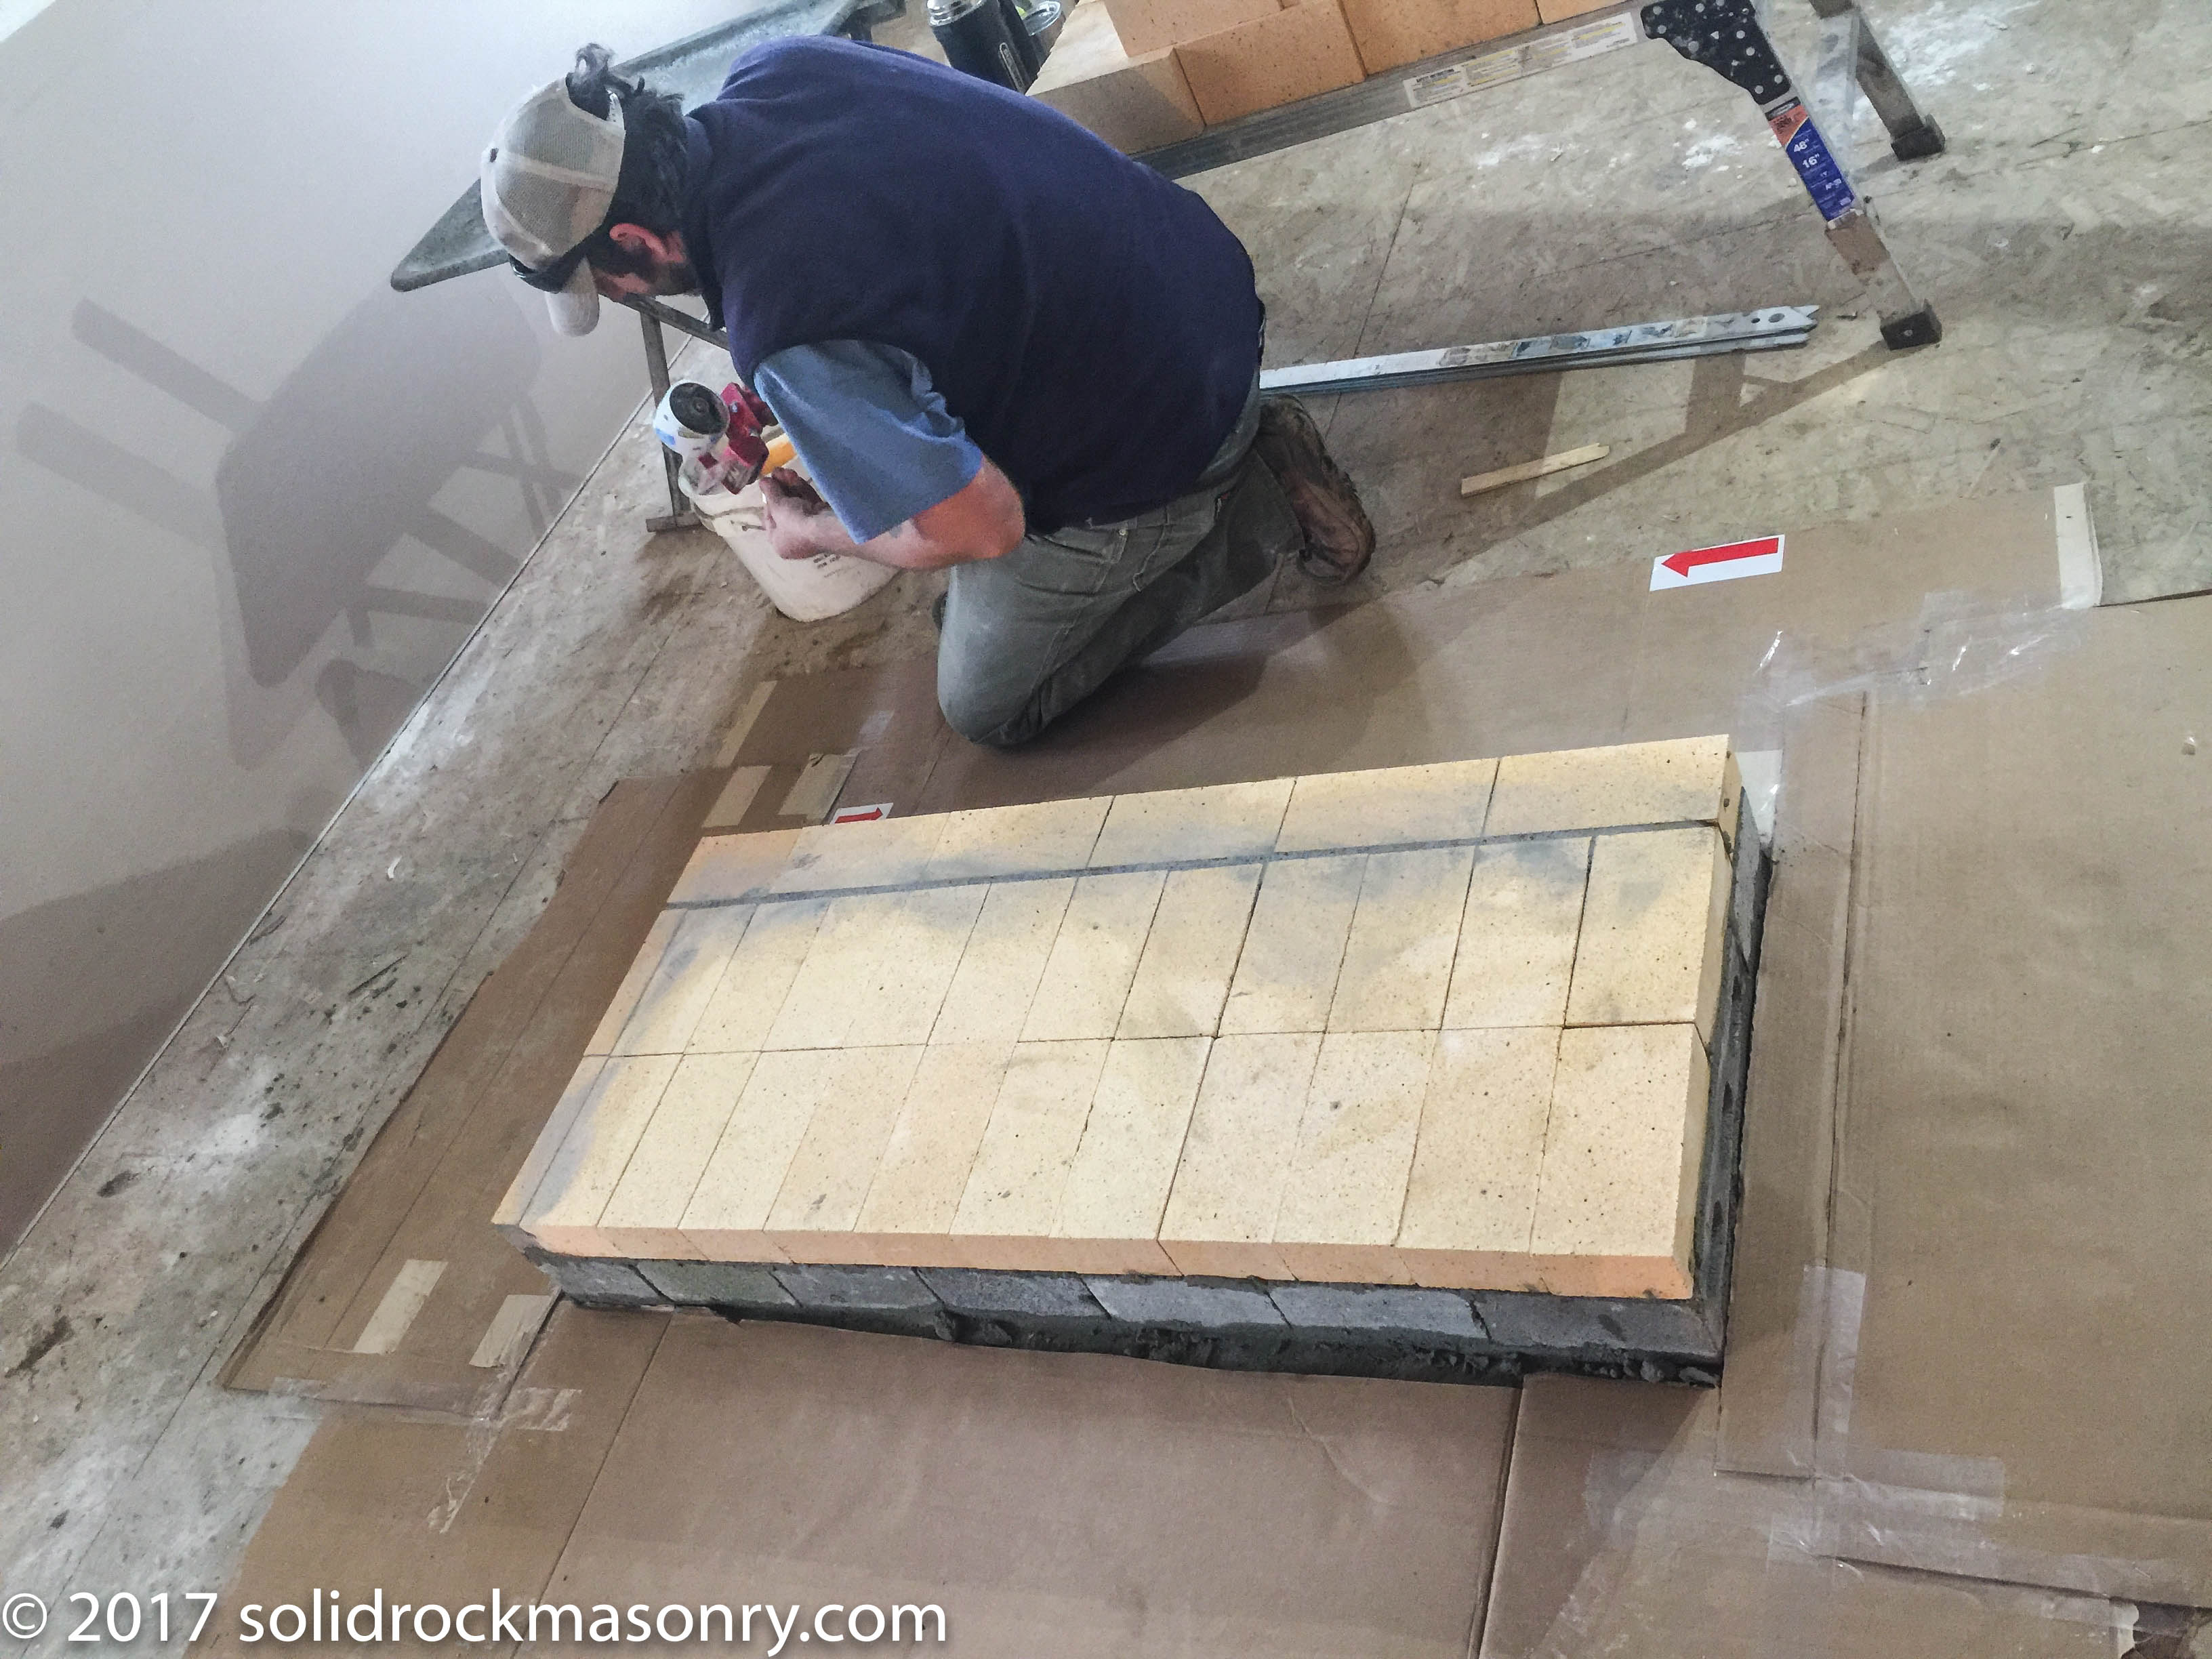
4″ Solid concrete block base to add height to firebox. Base course of firebrick floor laid.
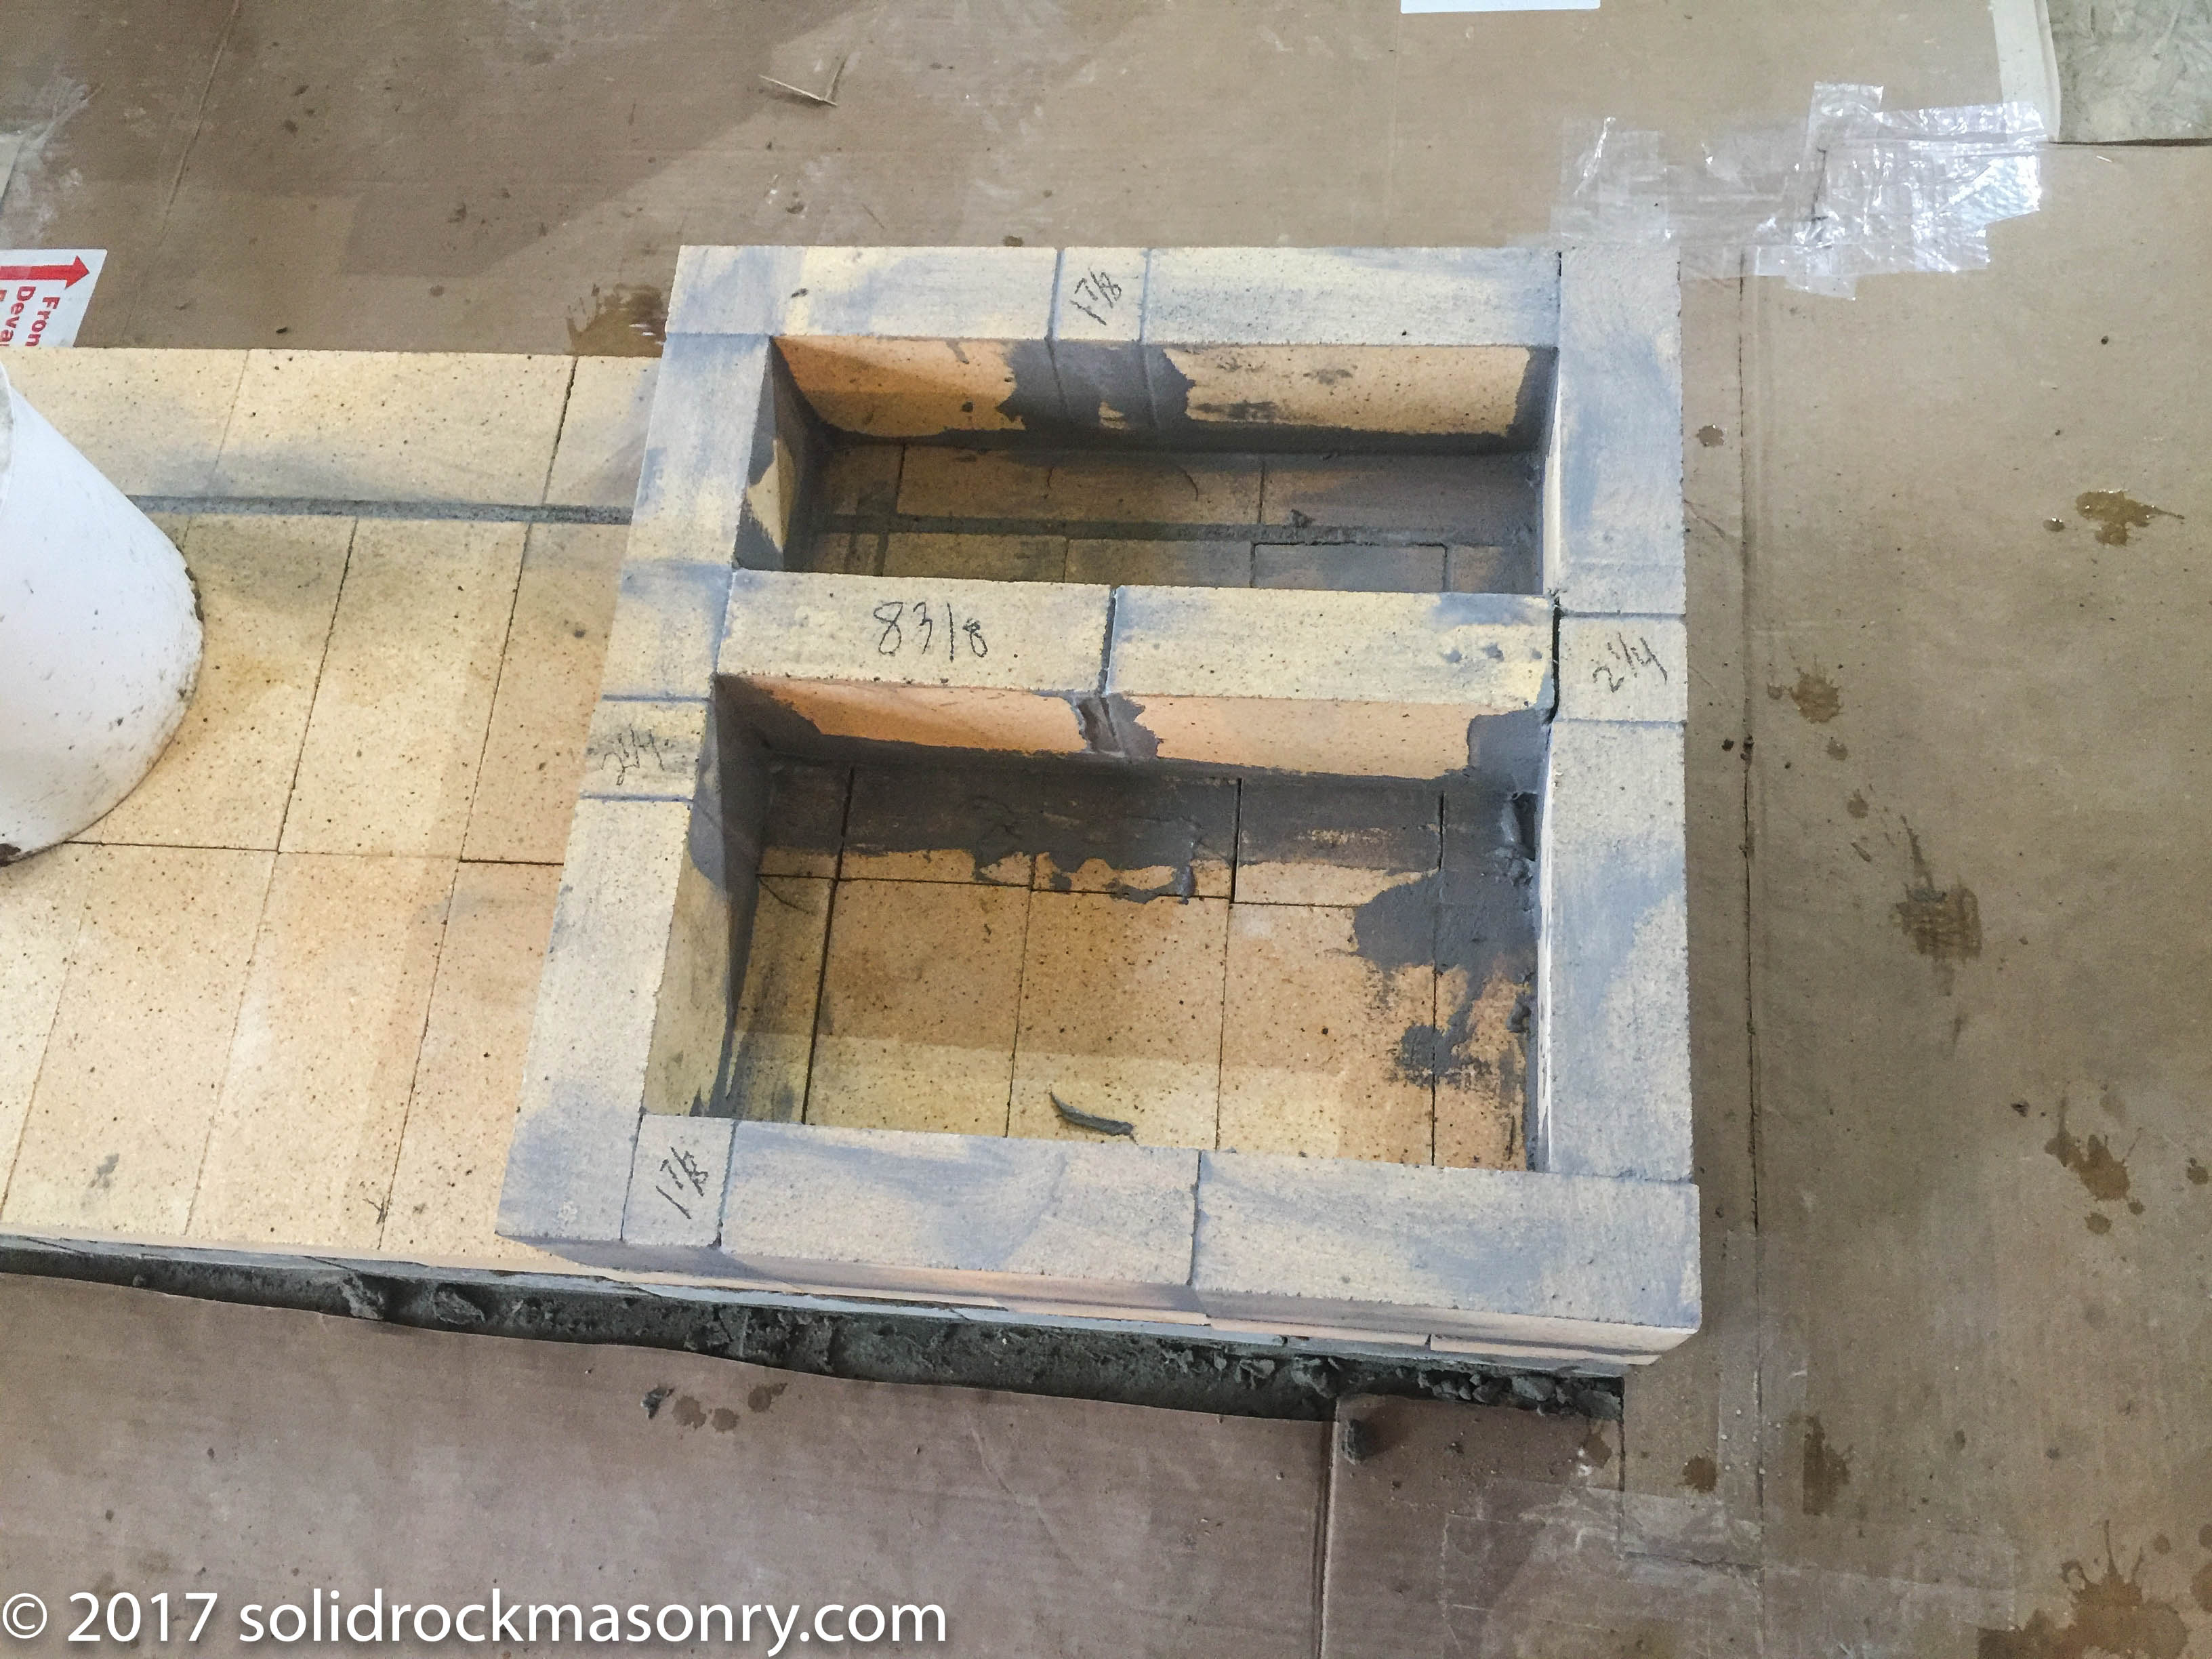
Firebox and ash drop being built
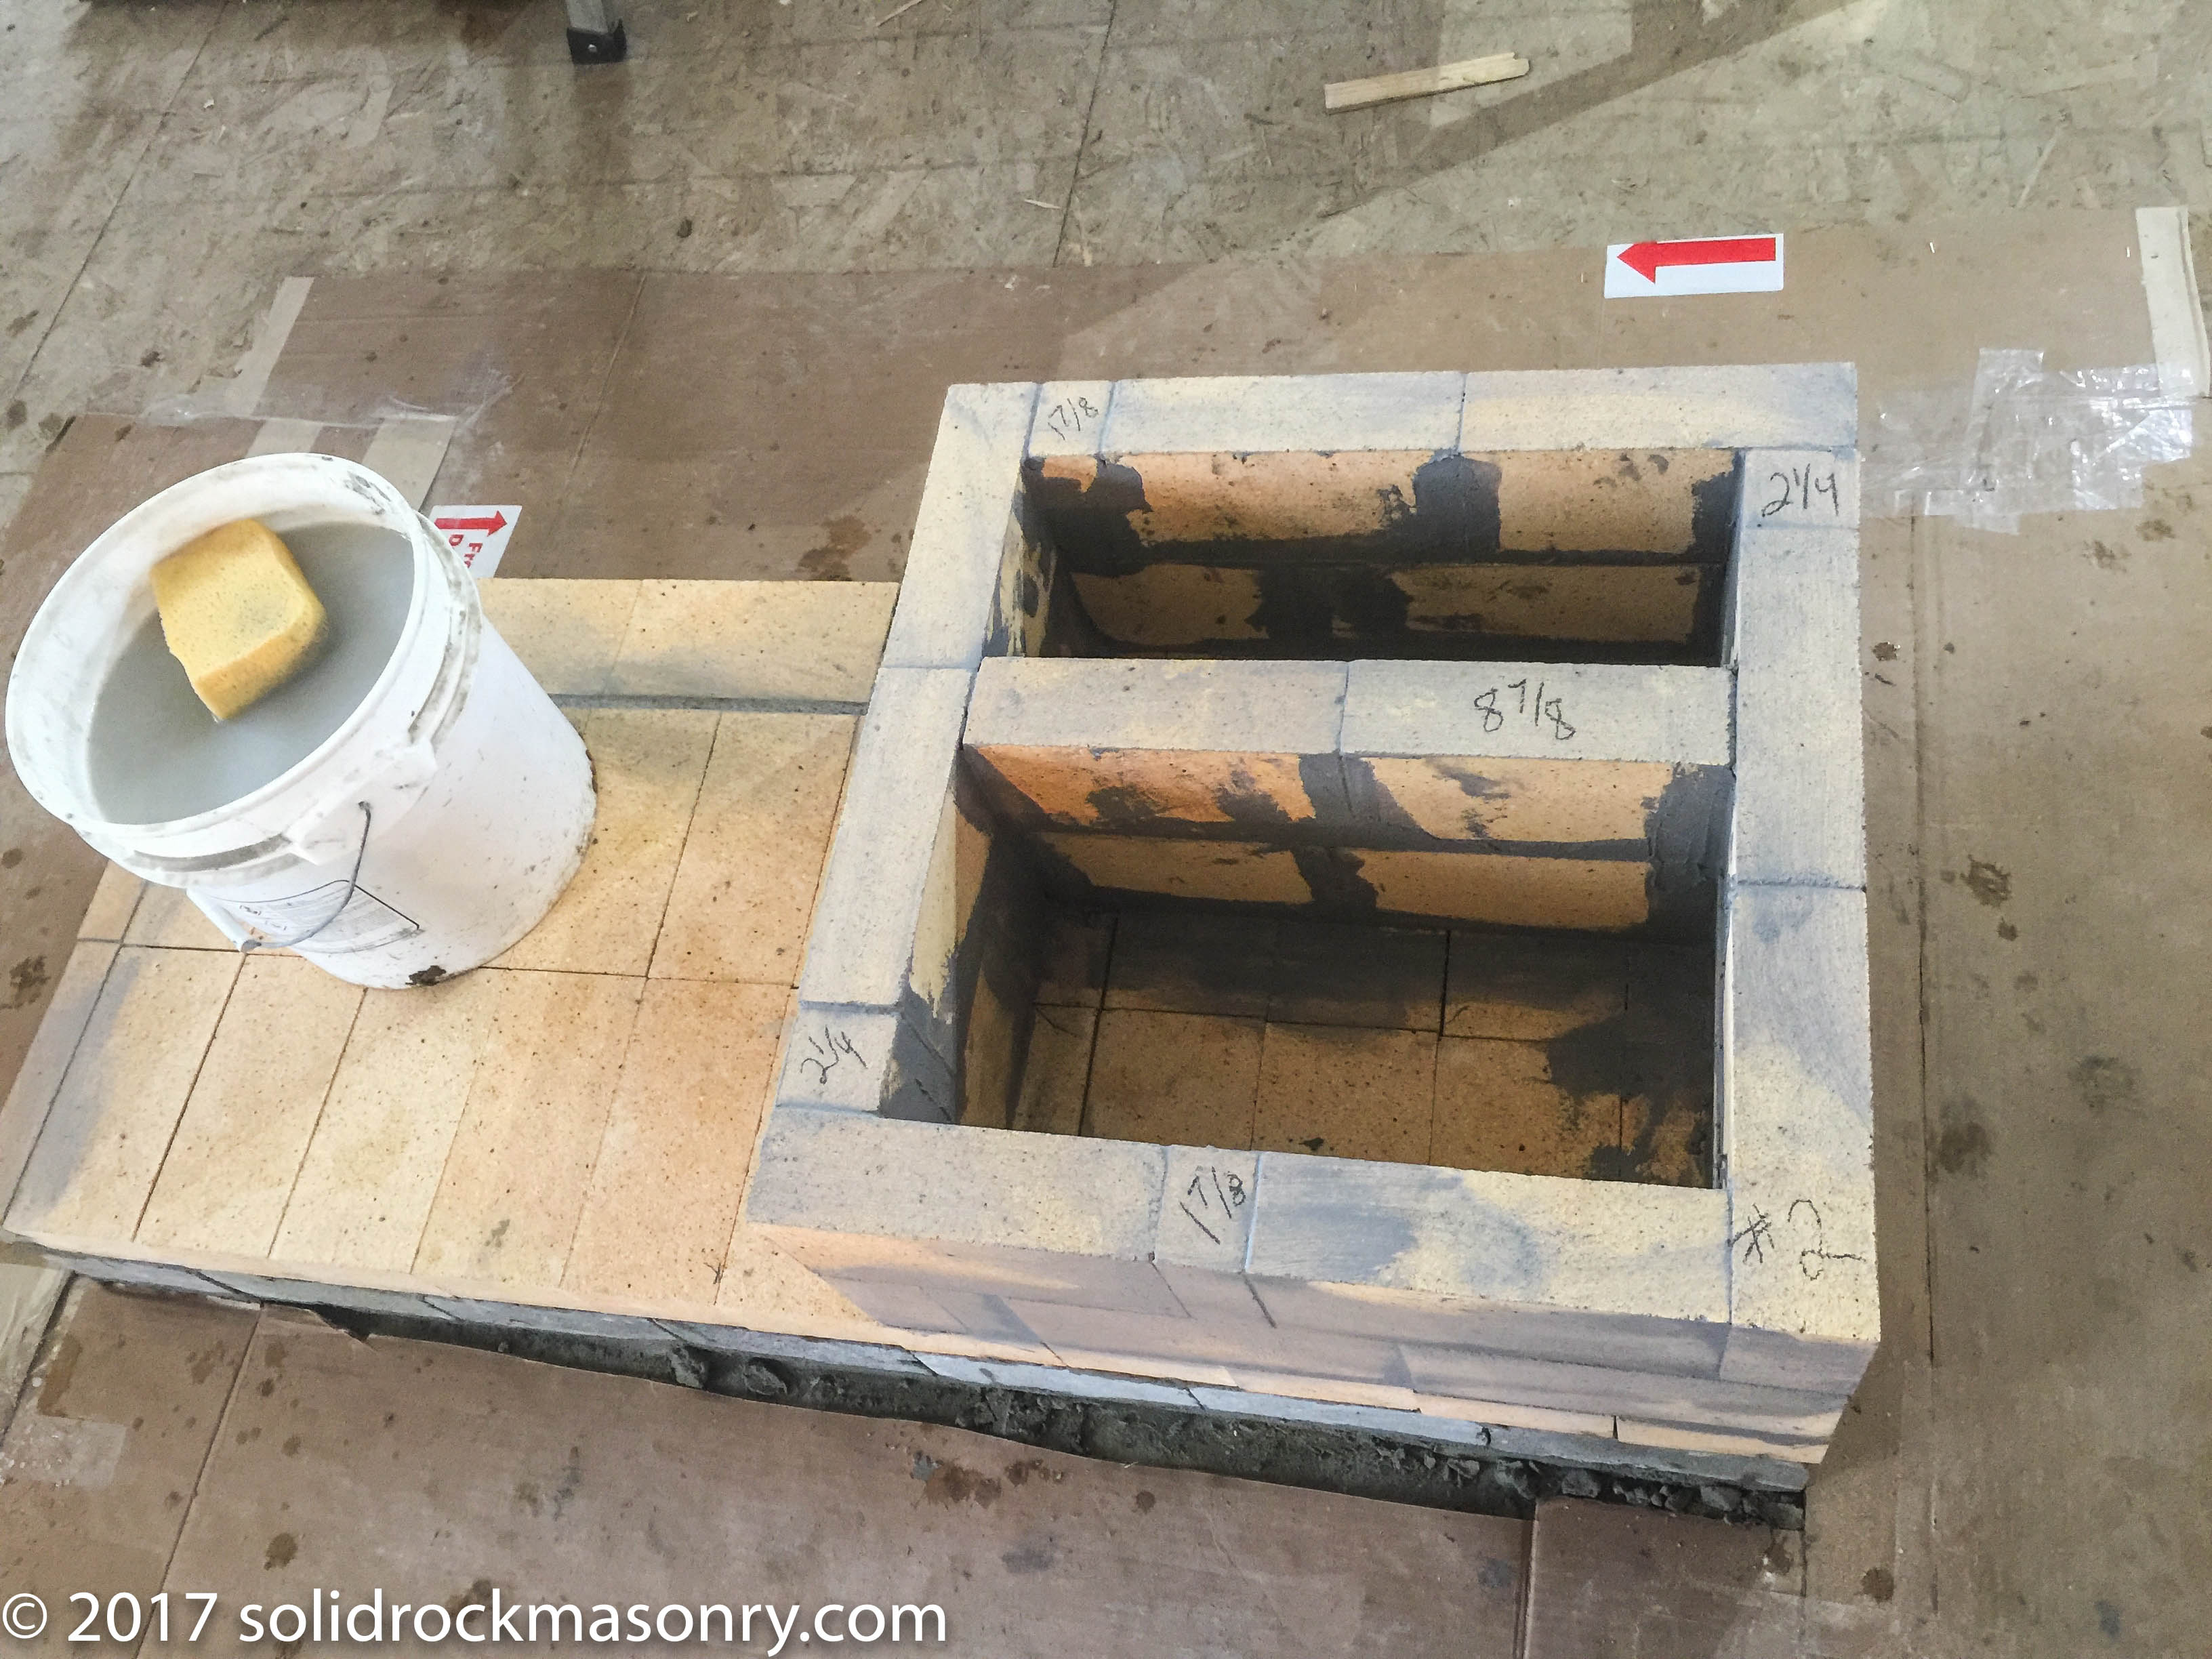
2nd course of firebox and ash drop
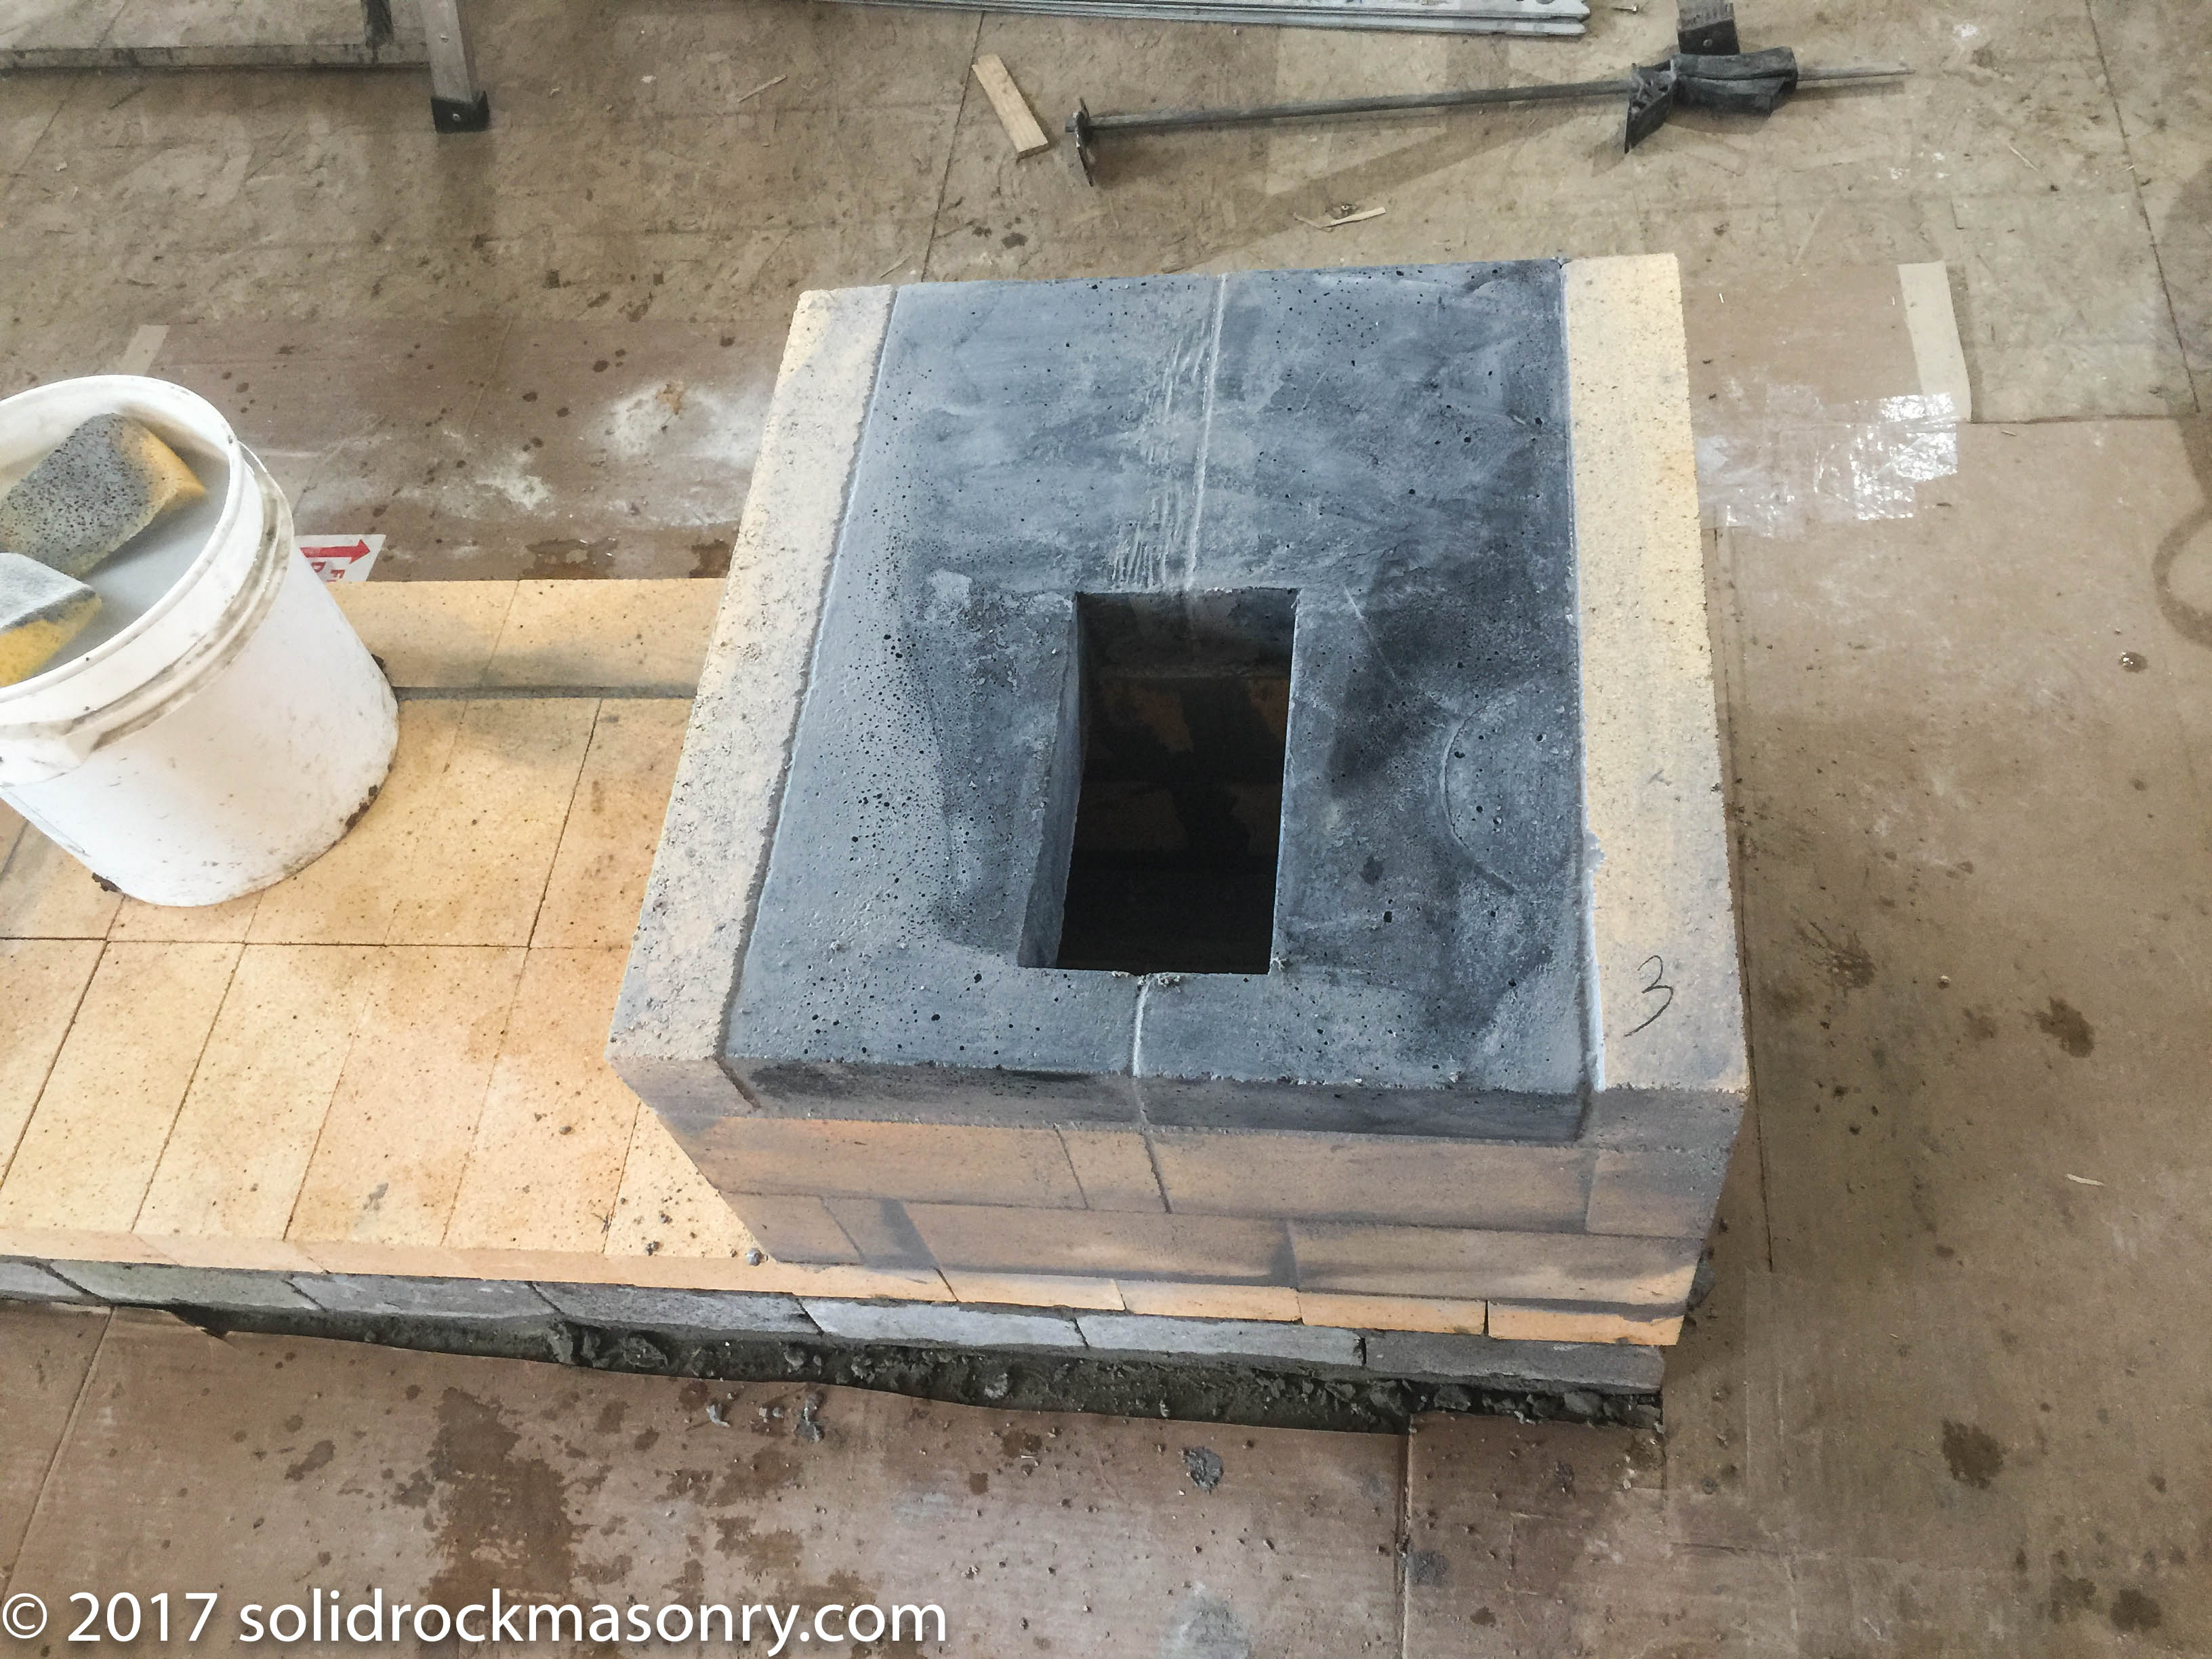
Firebox floor slabs in place with ash drop
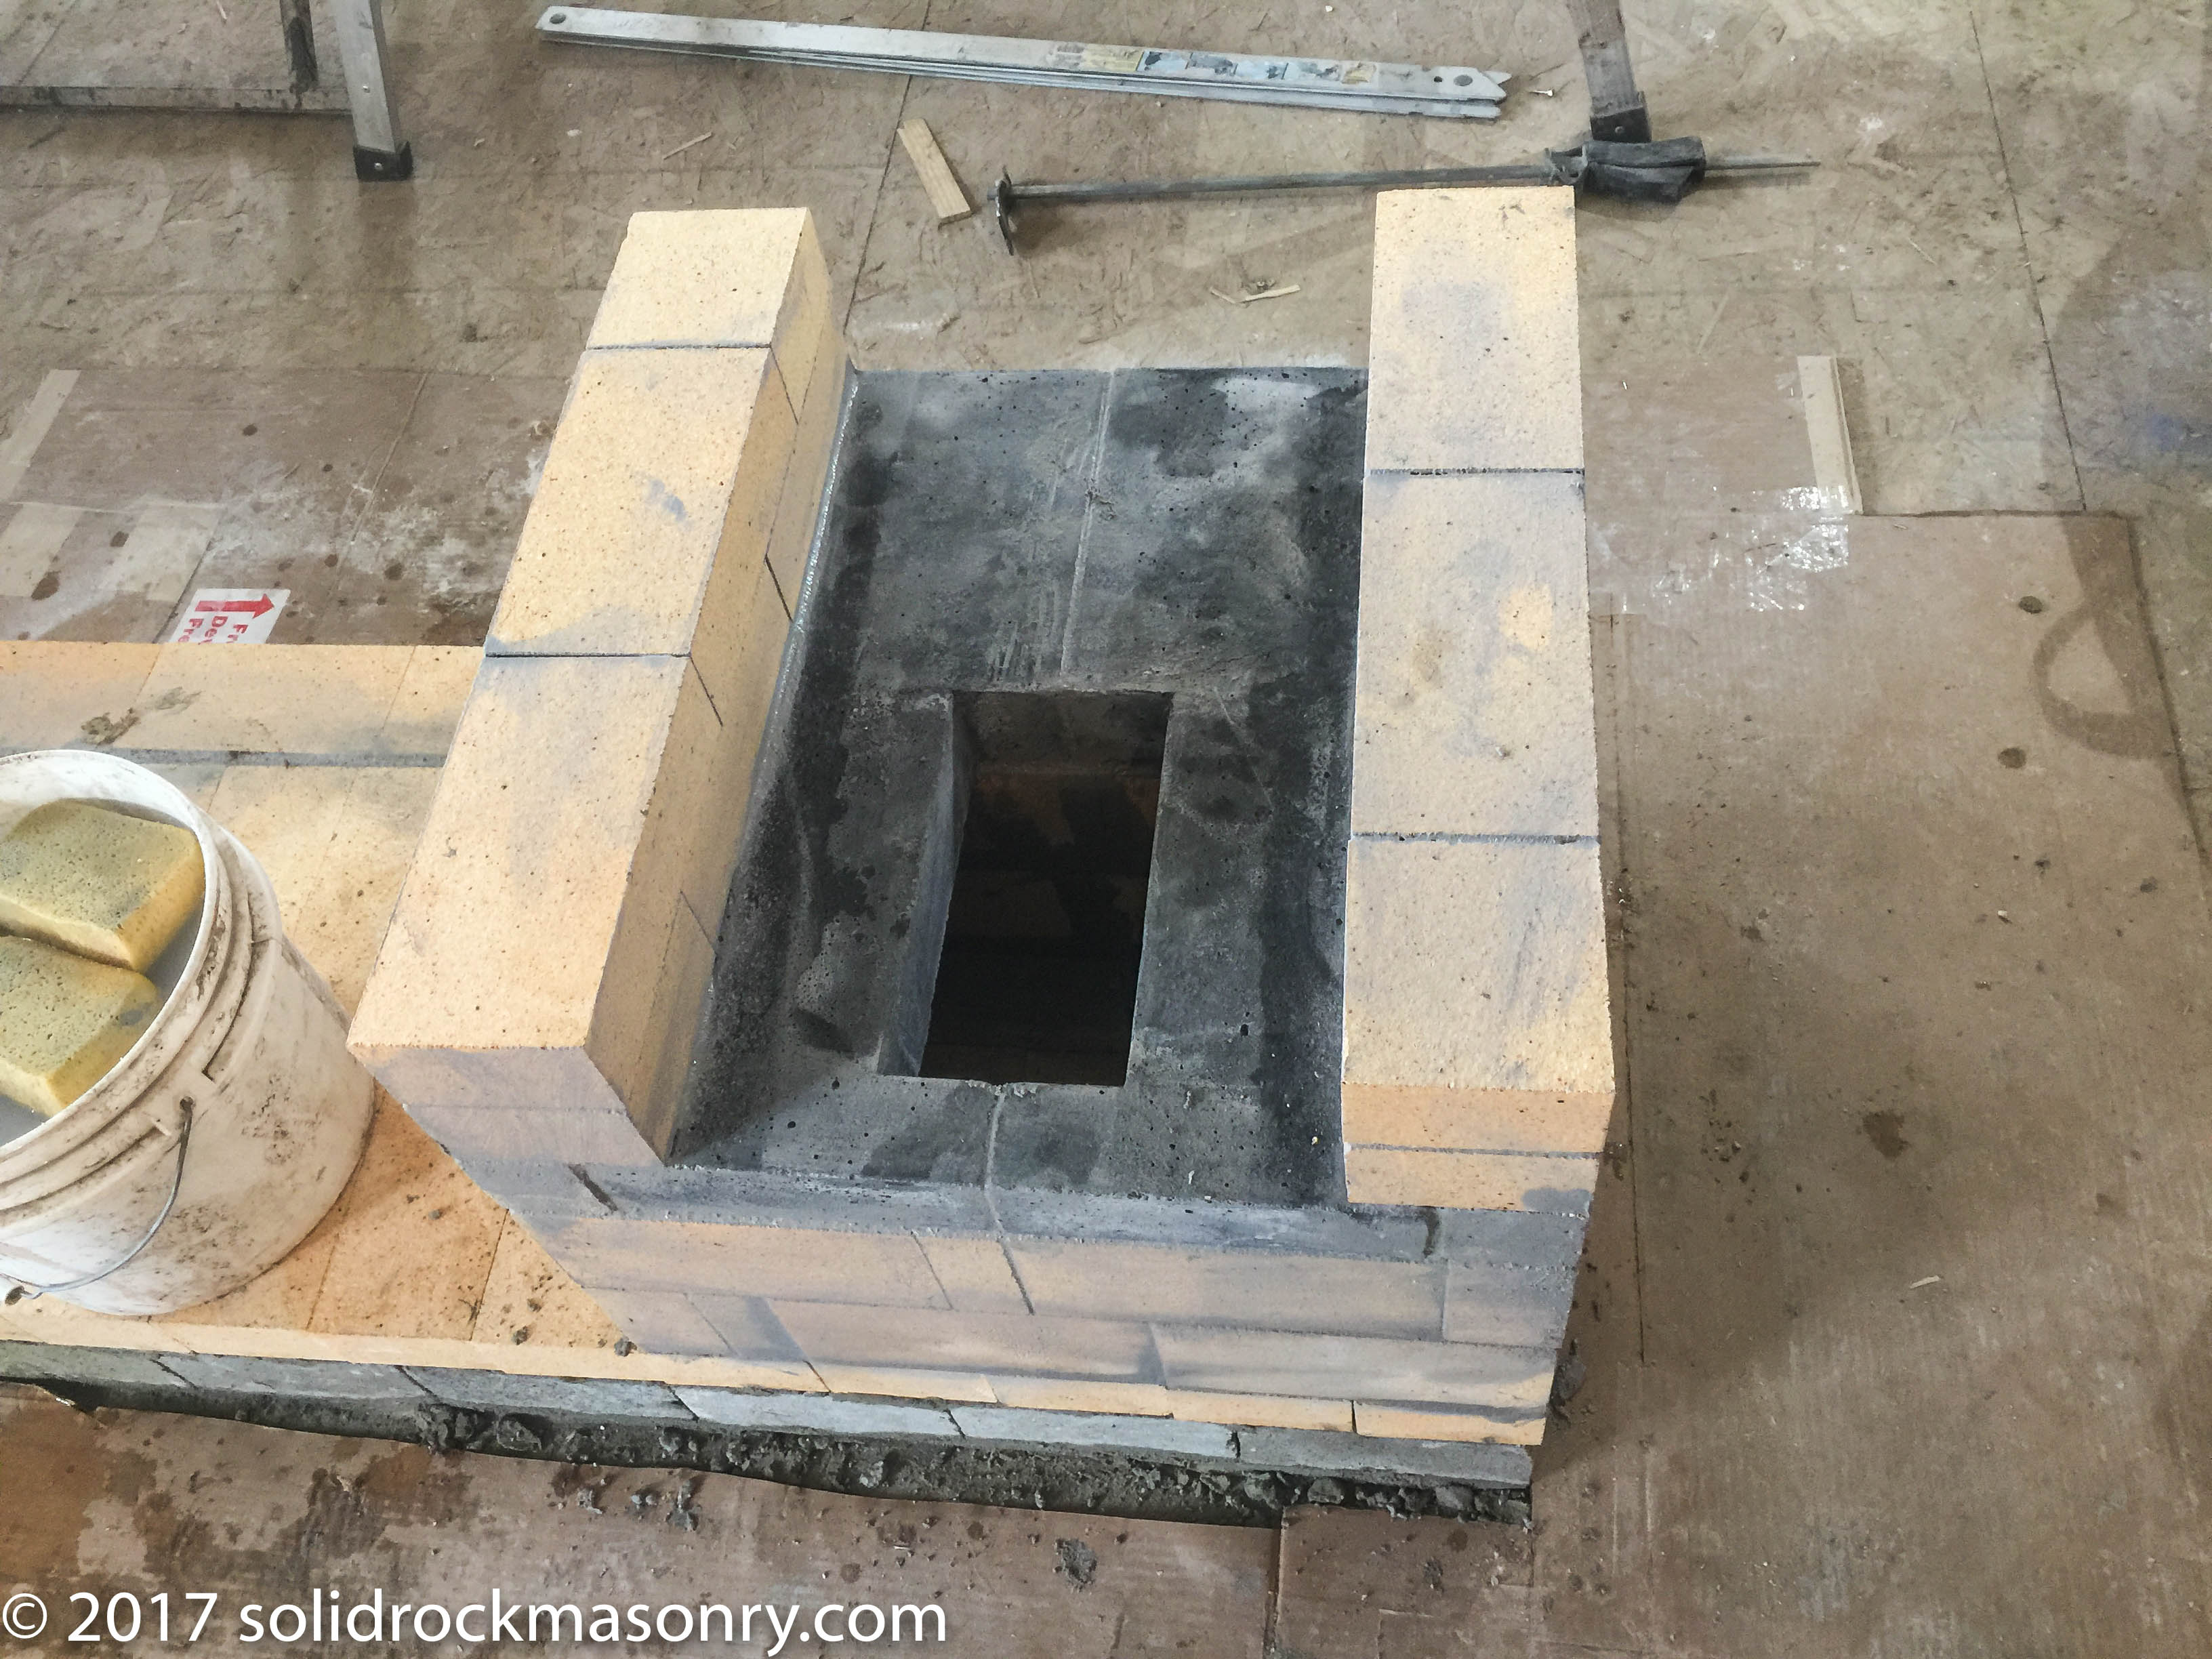
See-thru firebox walls being built
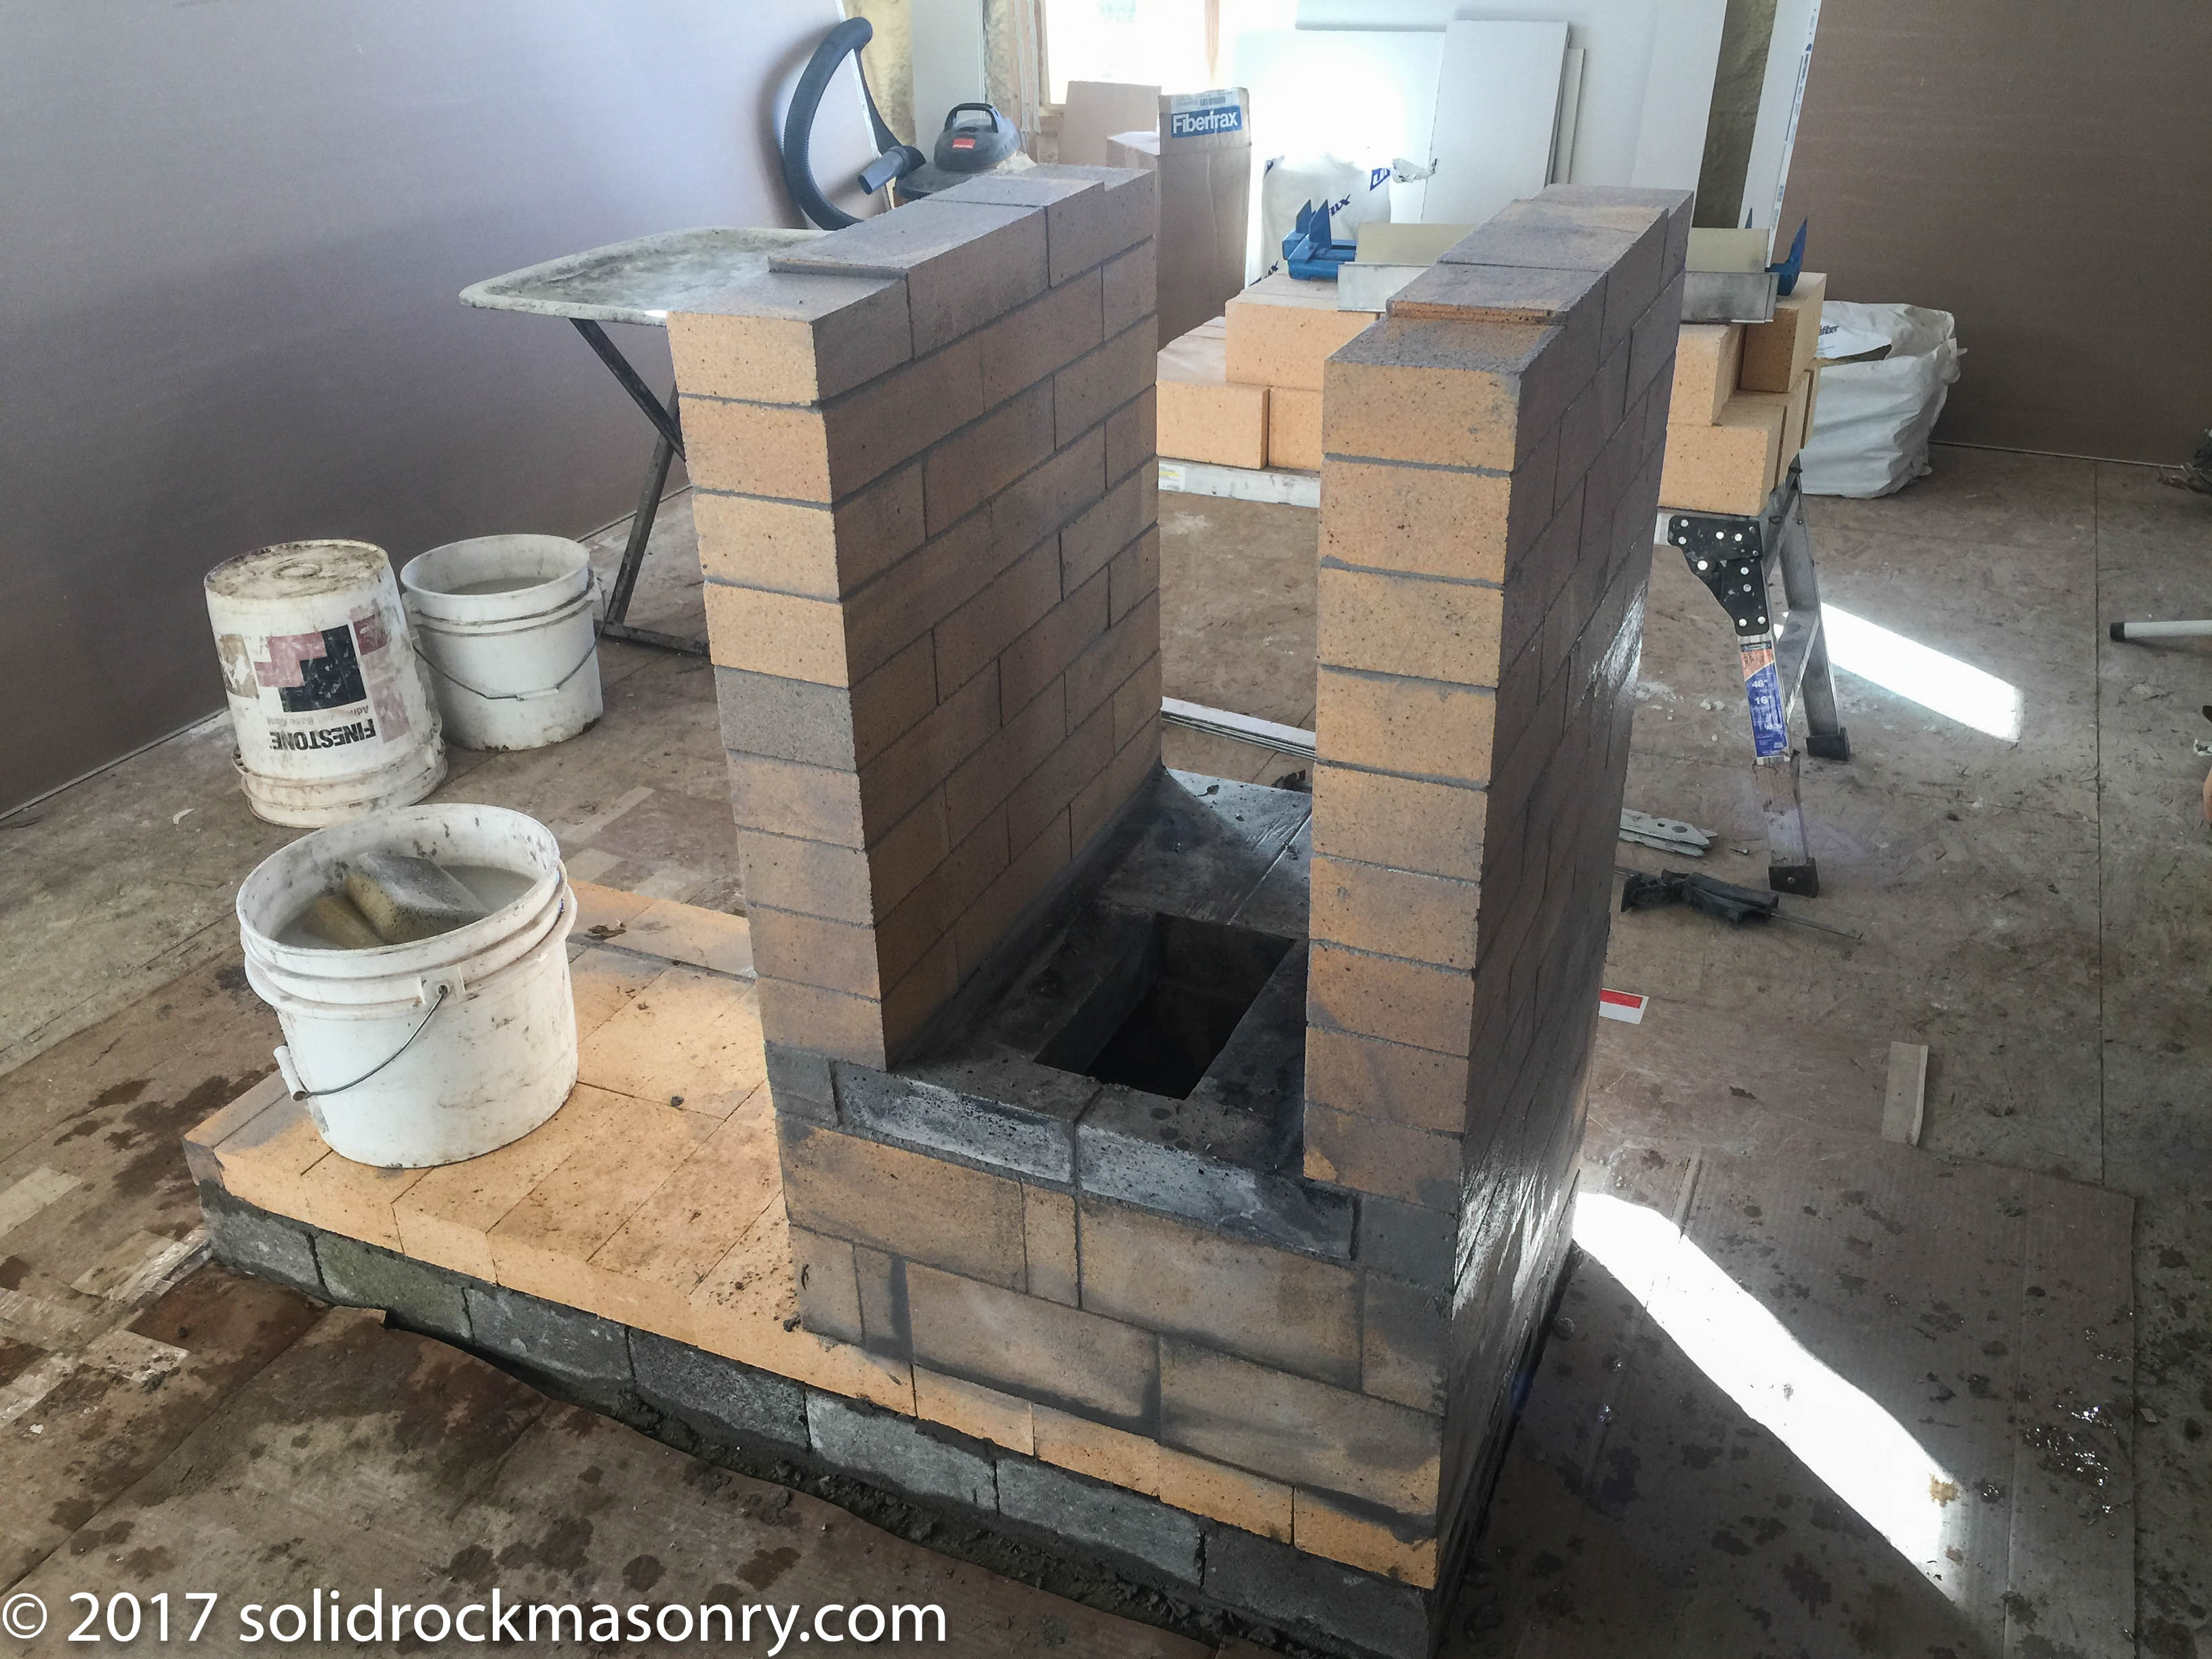
See-thru firebox walls finished
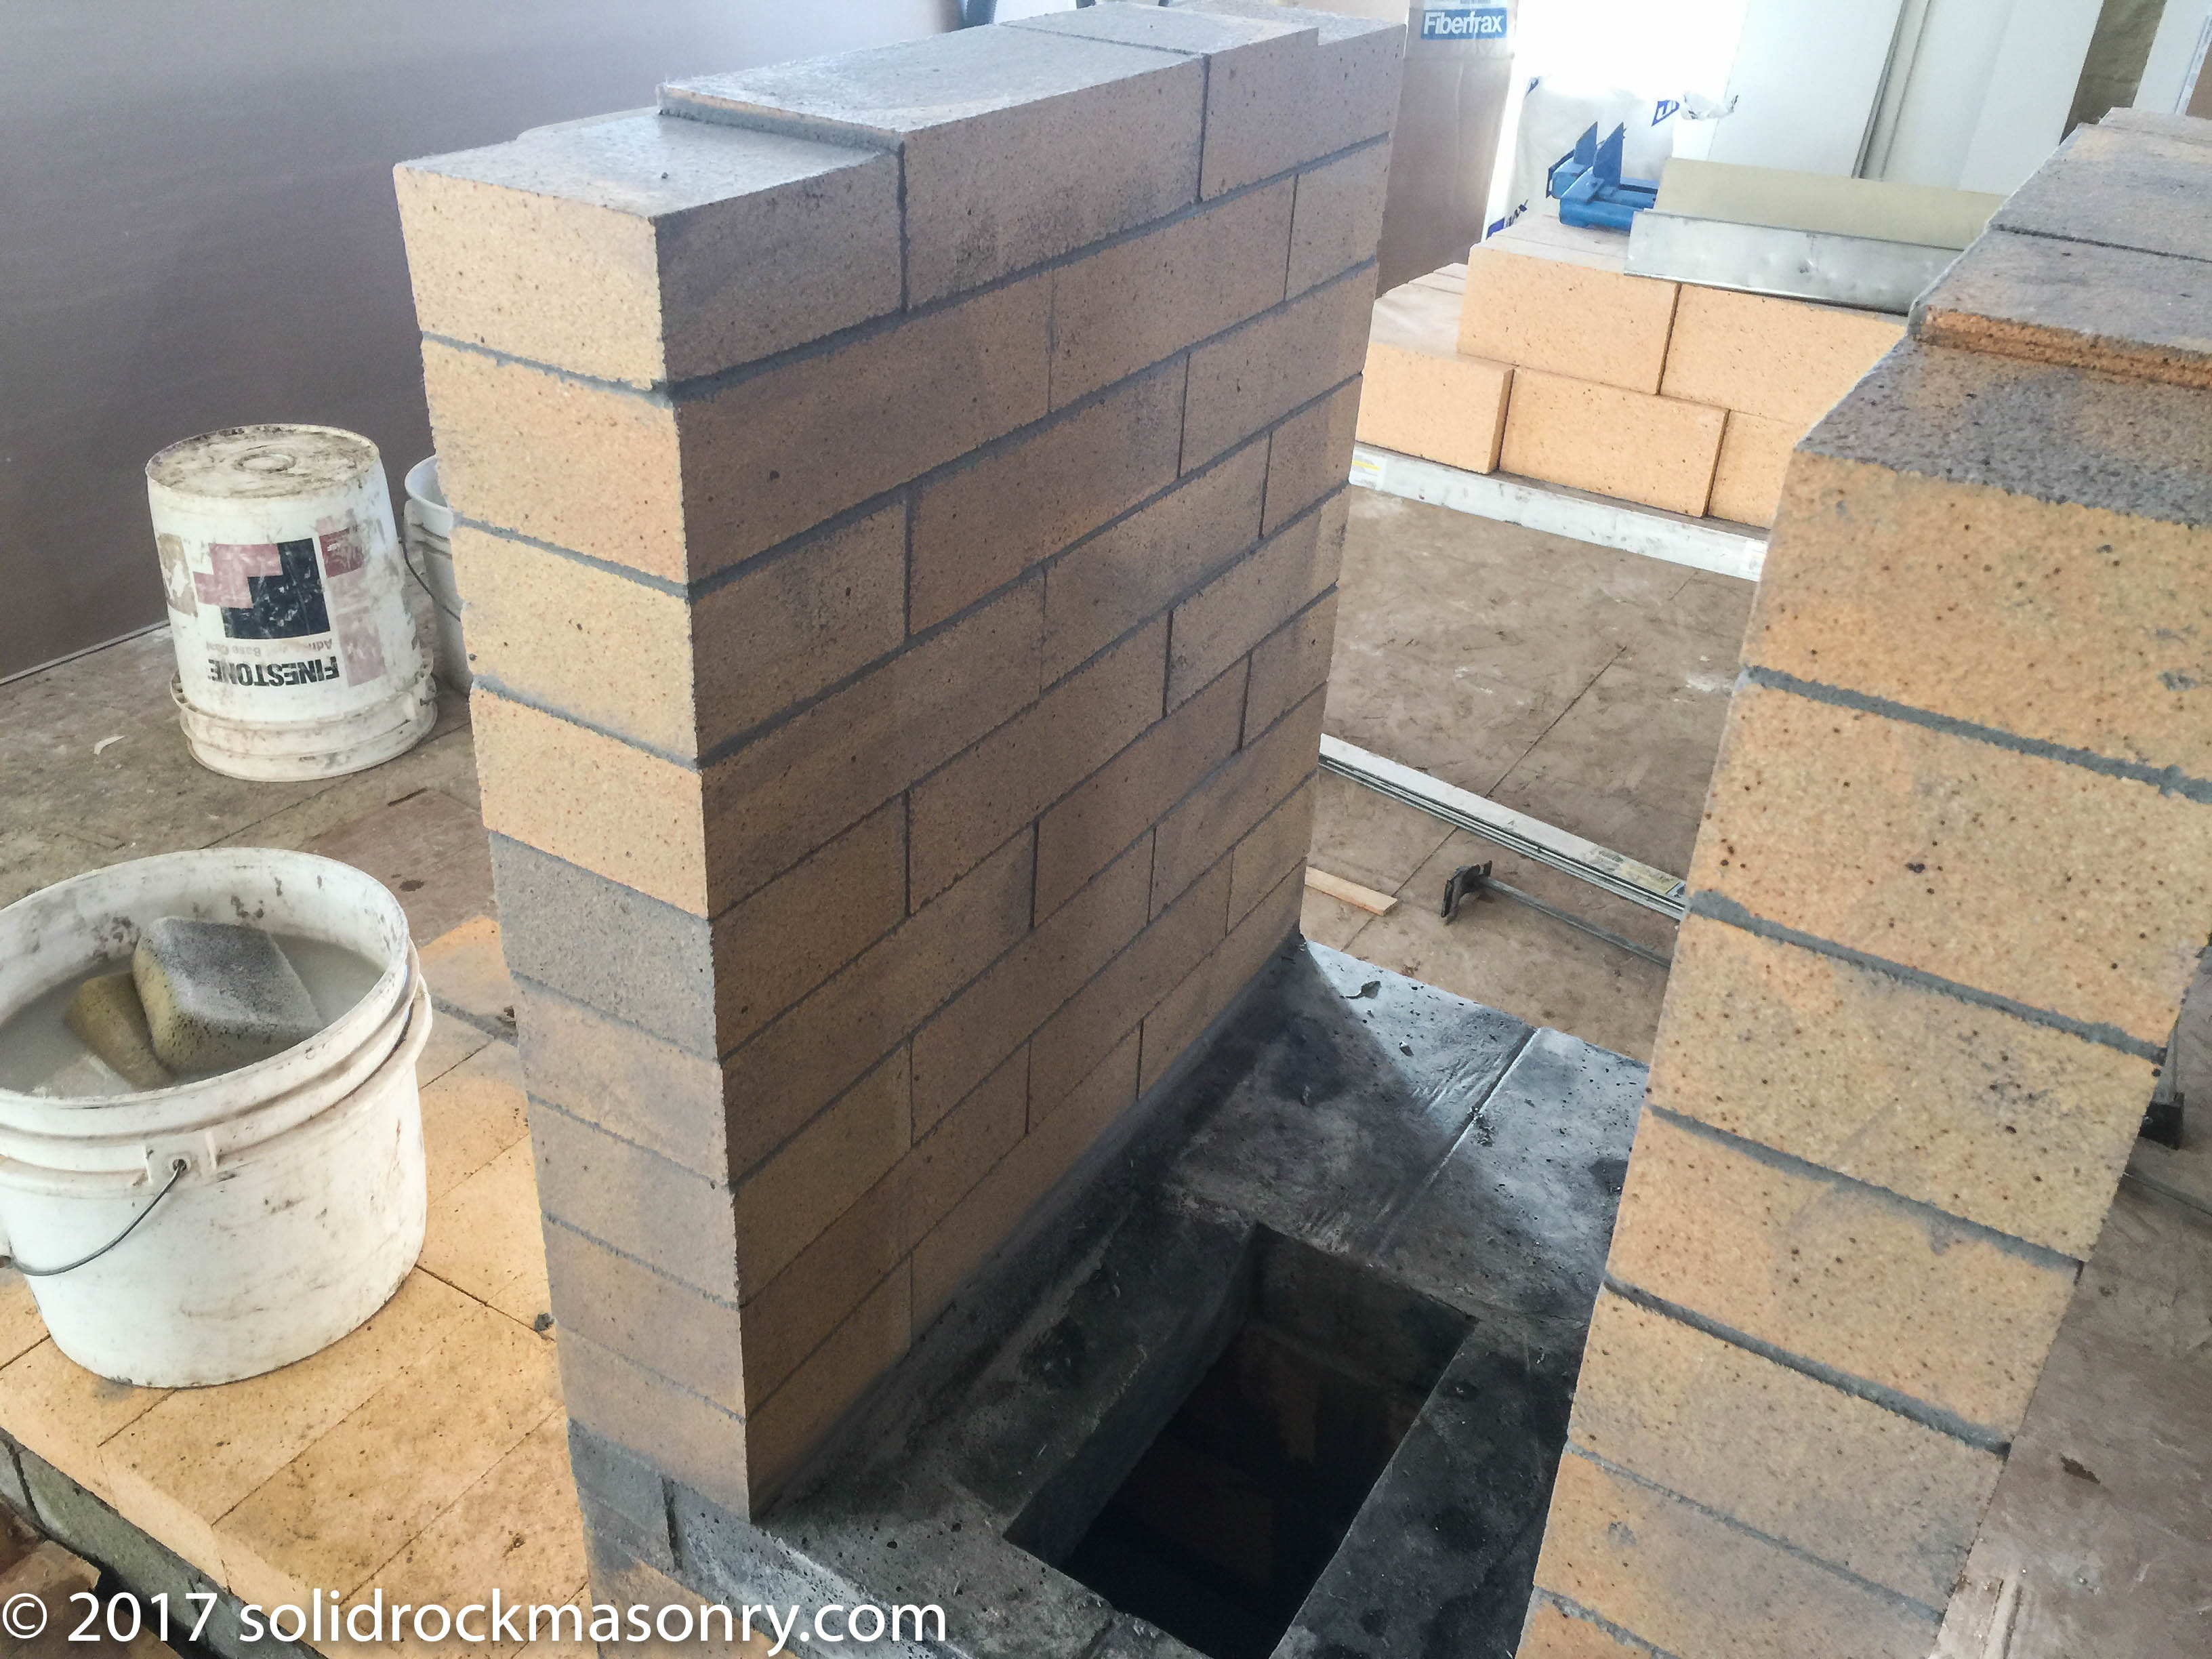
This firebox and ash drop are designed to be used with our SR Doors. Firebox floor will need to be designed differently if not using our SR Doors
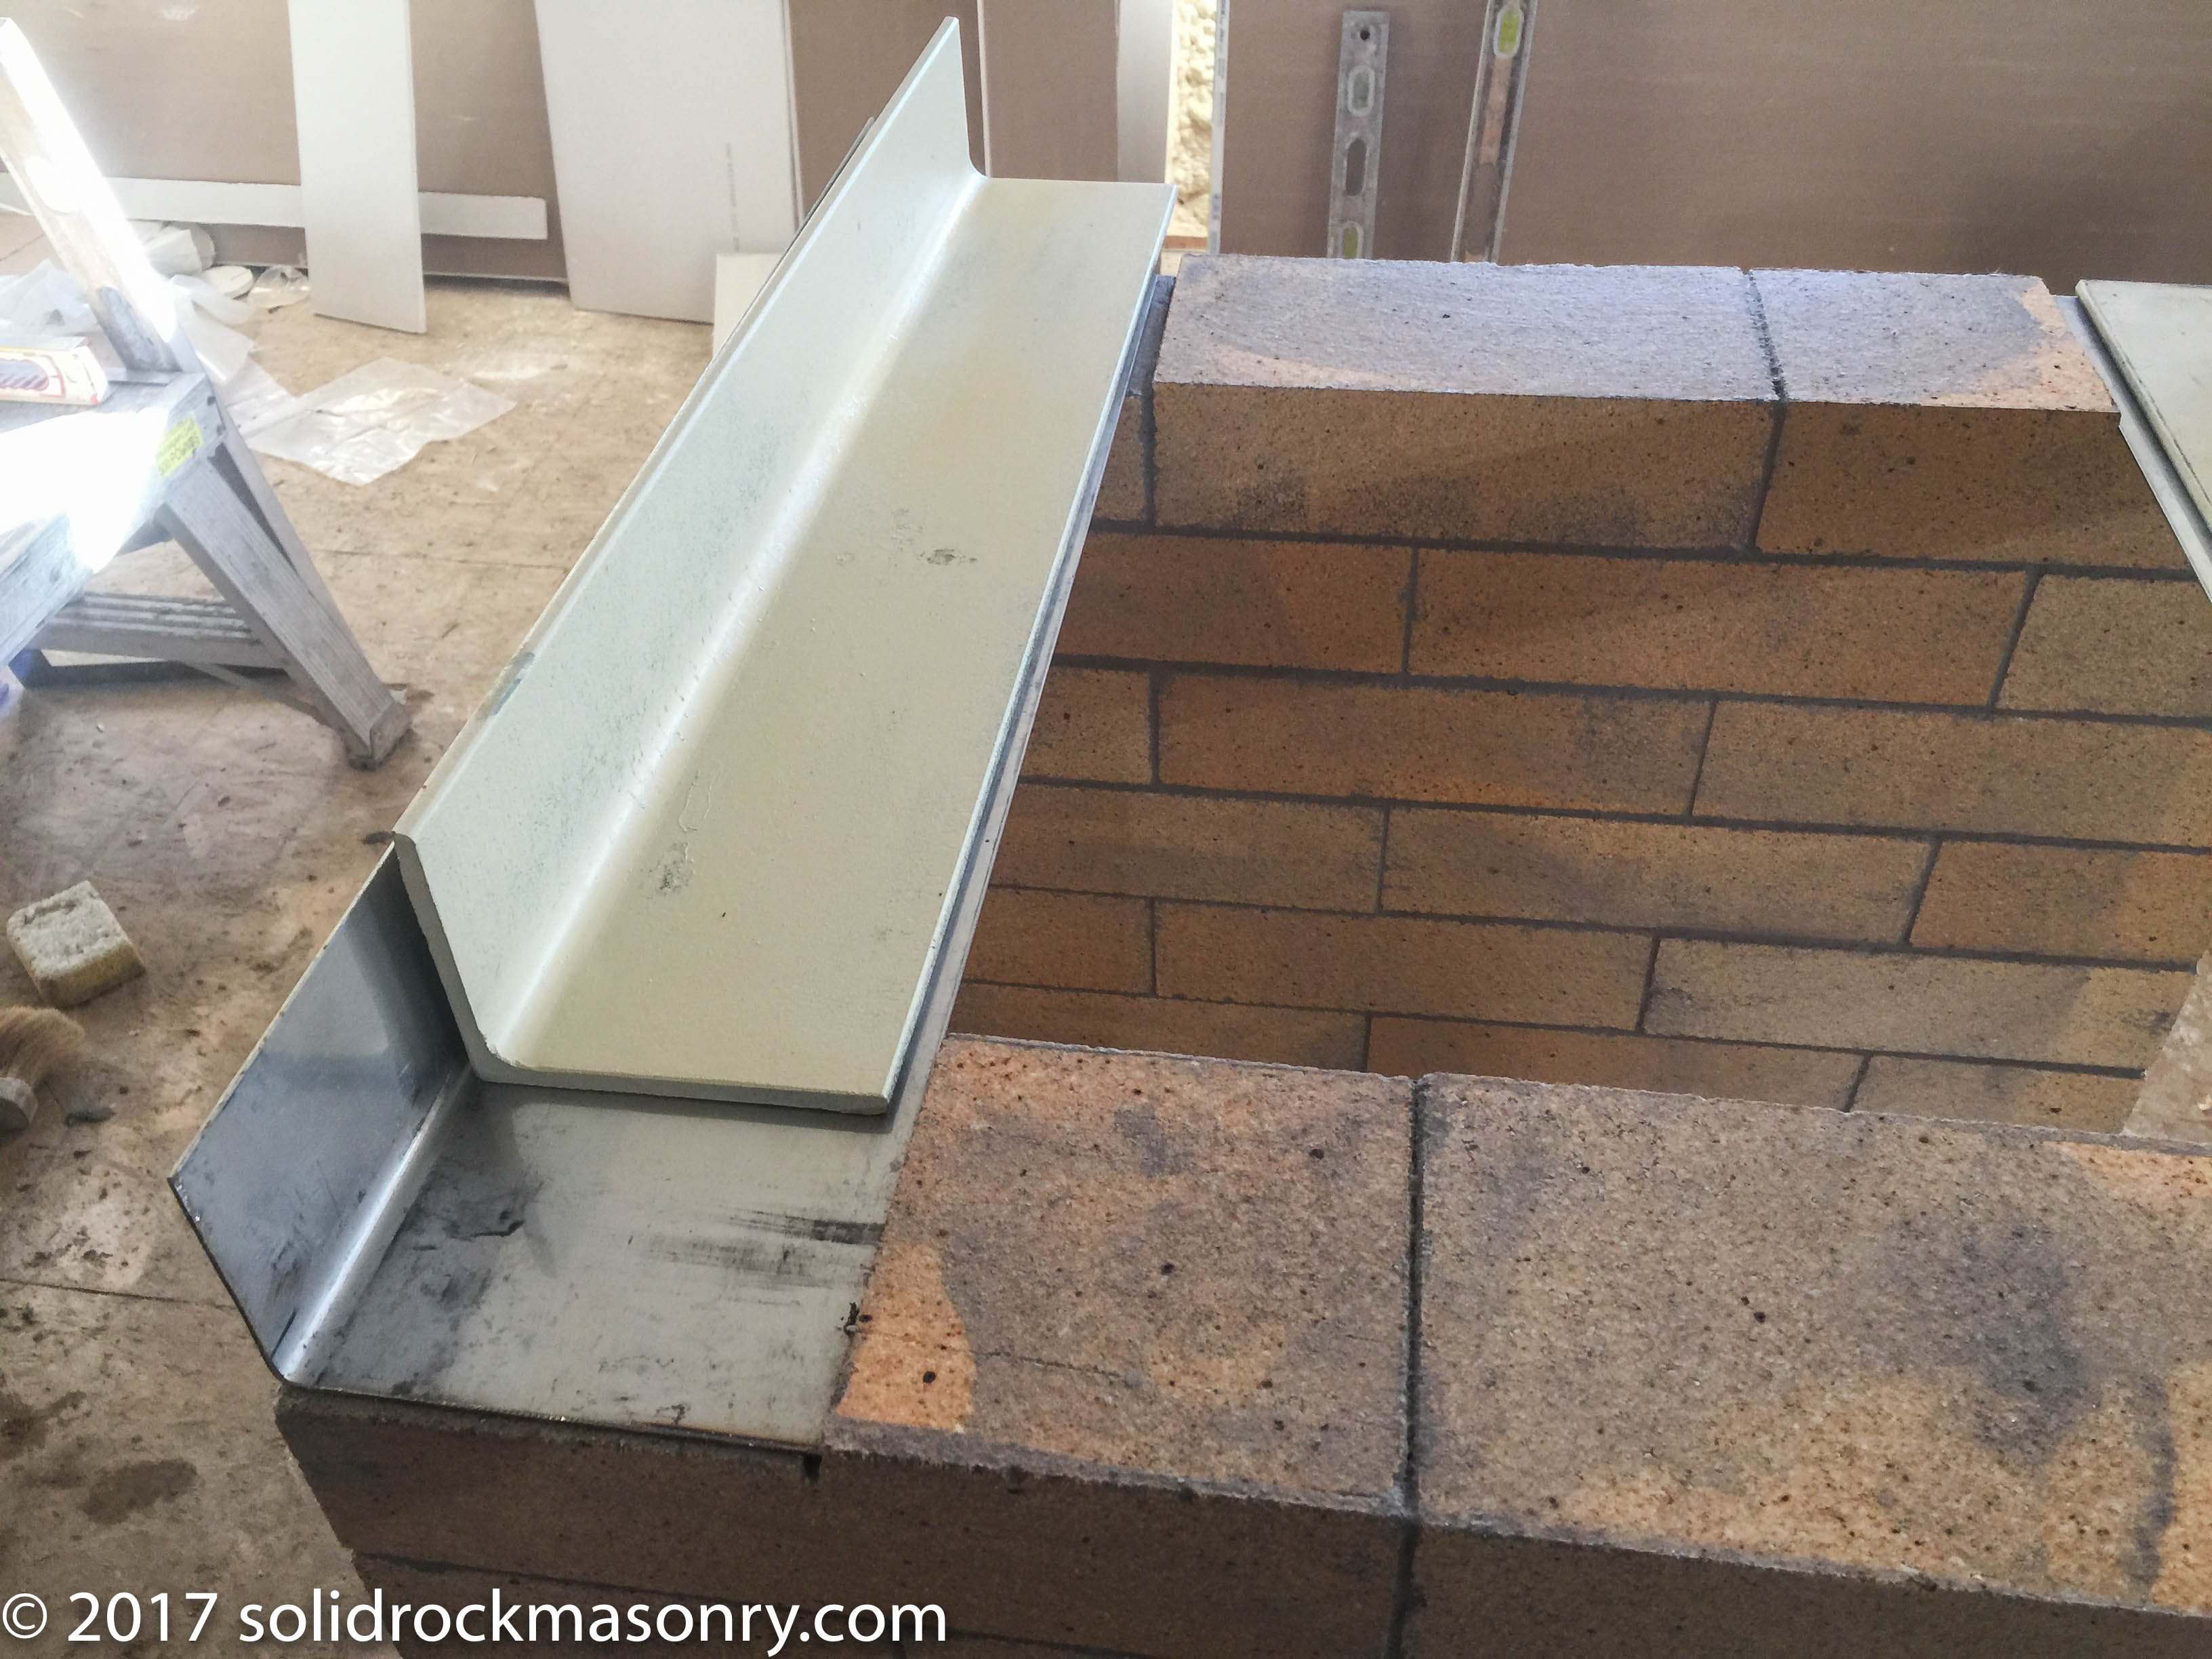
16ga. x 2.5″ x 4.5″ stainless steel bent to protect 3/16″ x 3″ x 4″ mild steel lintel support
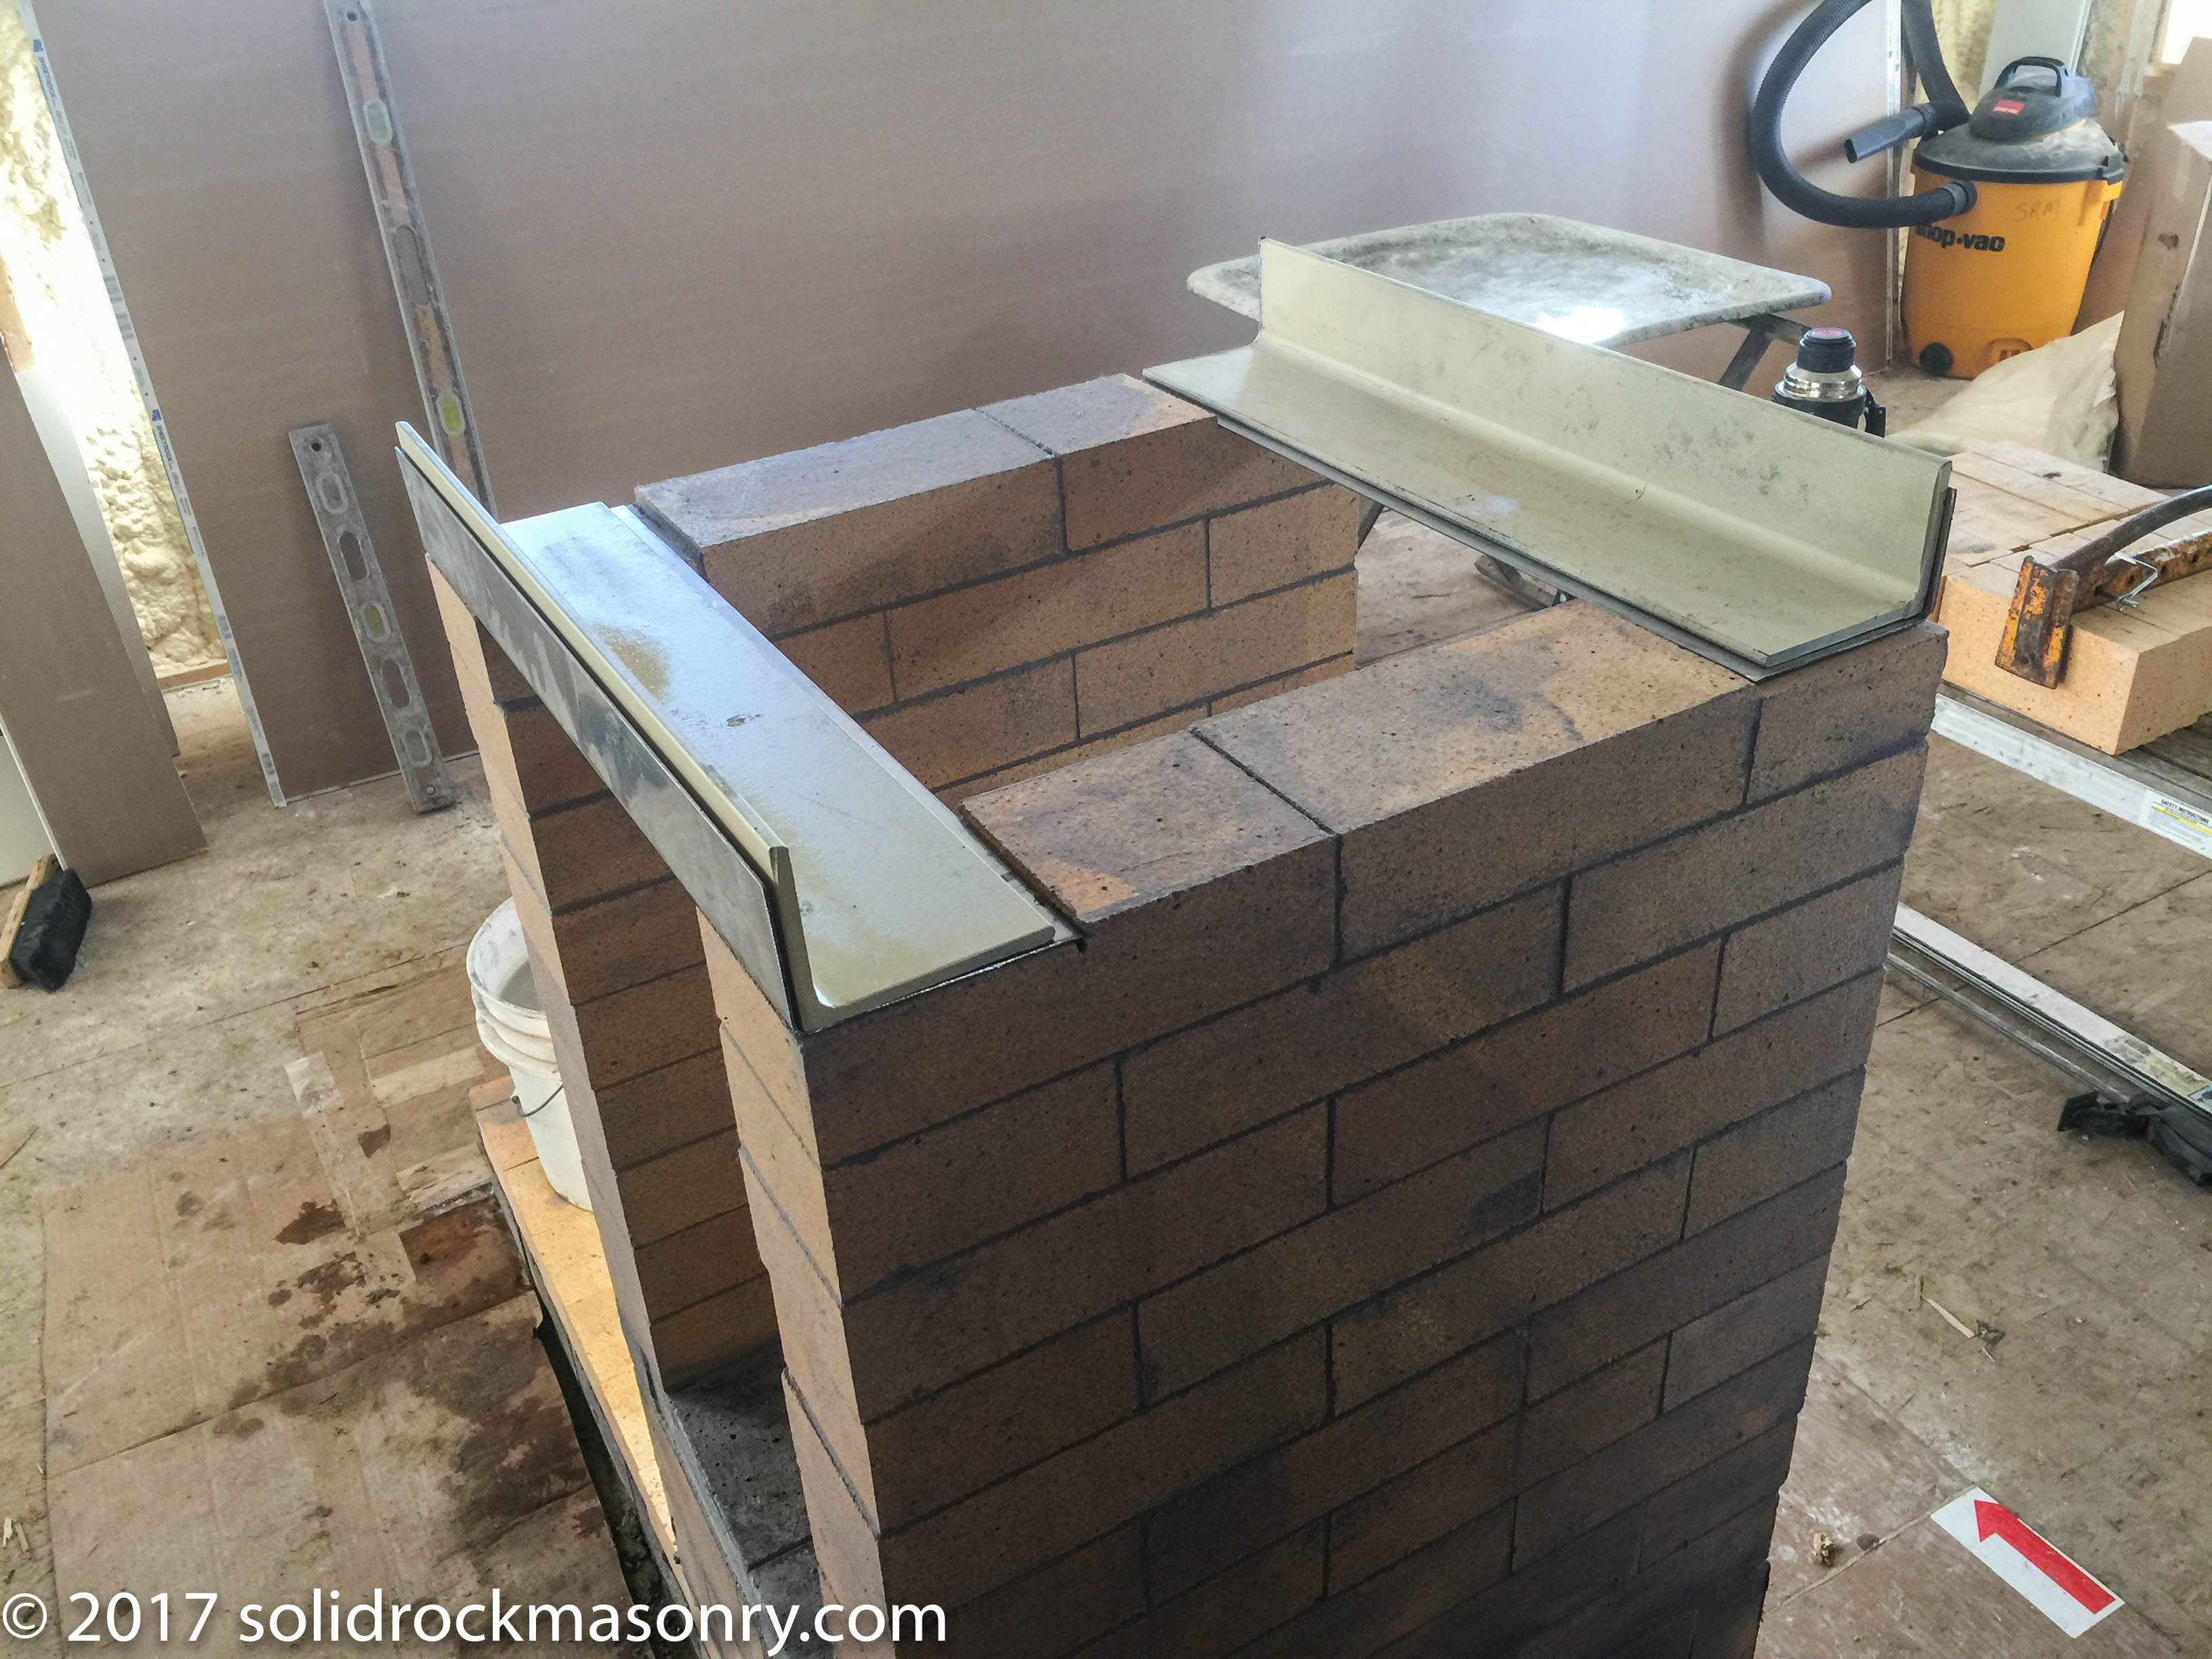
Lintel supports in place
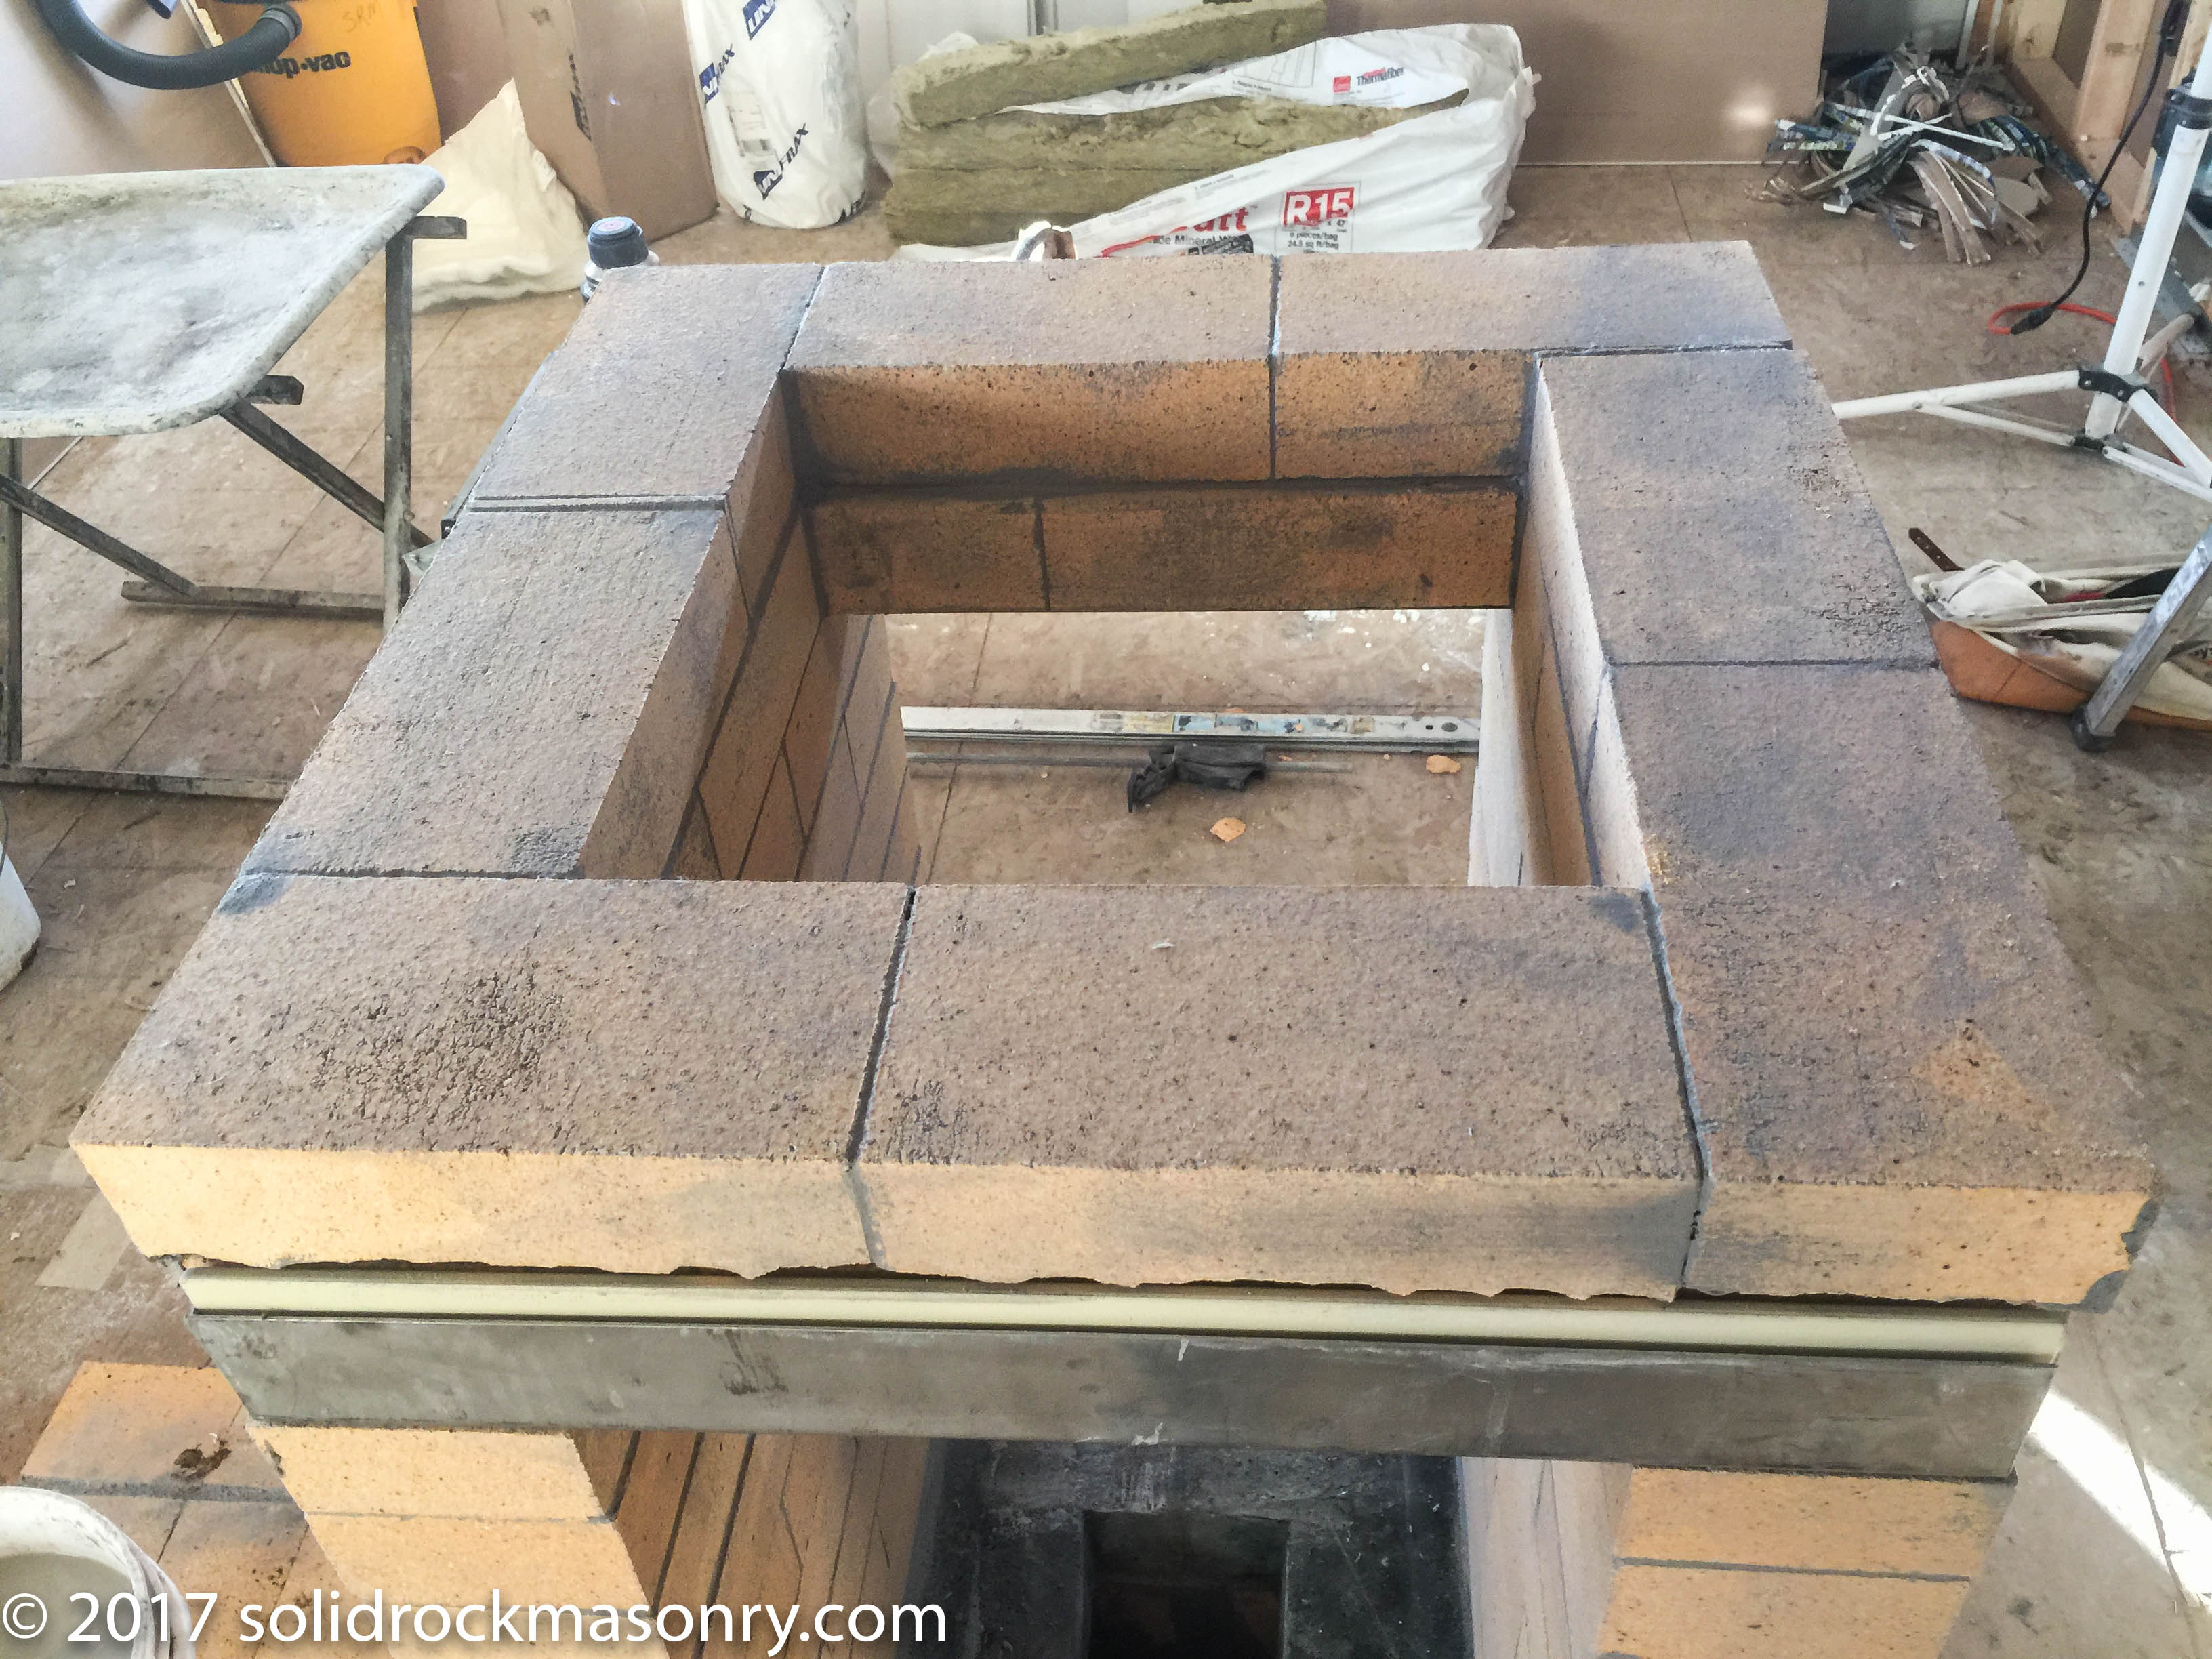
Continuation of firebox above lintel openings for see-thru doors
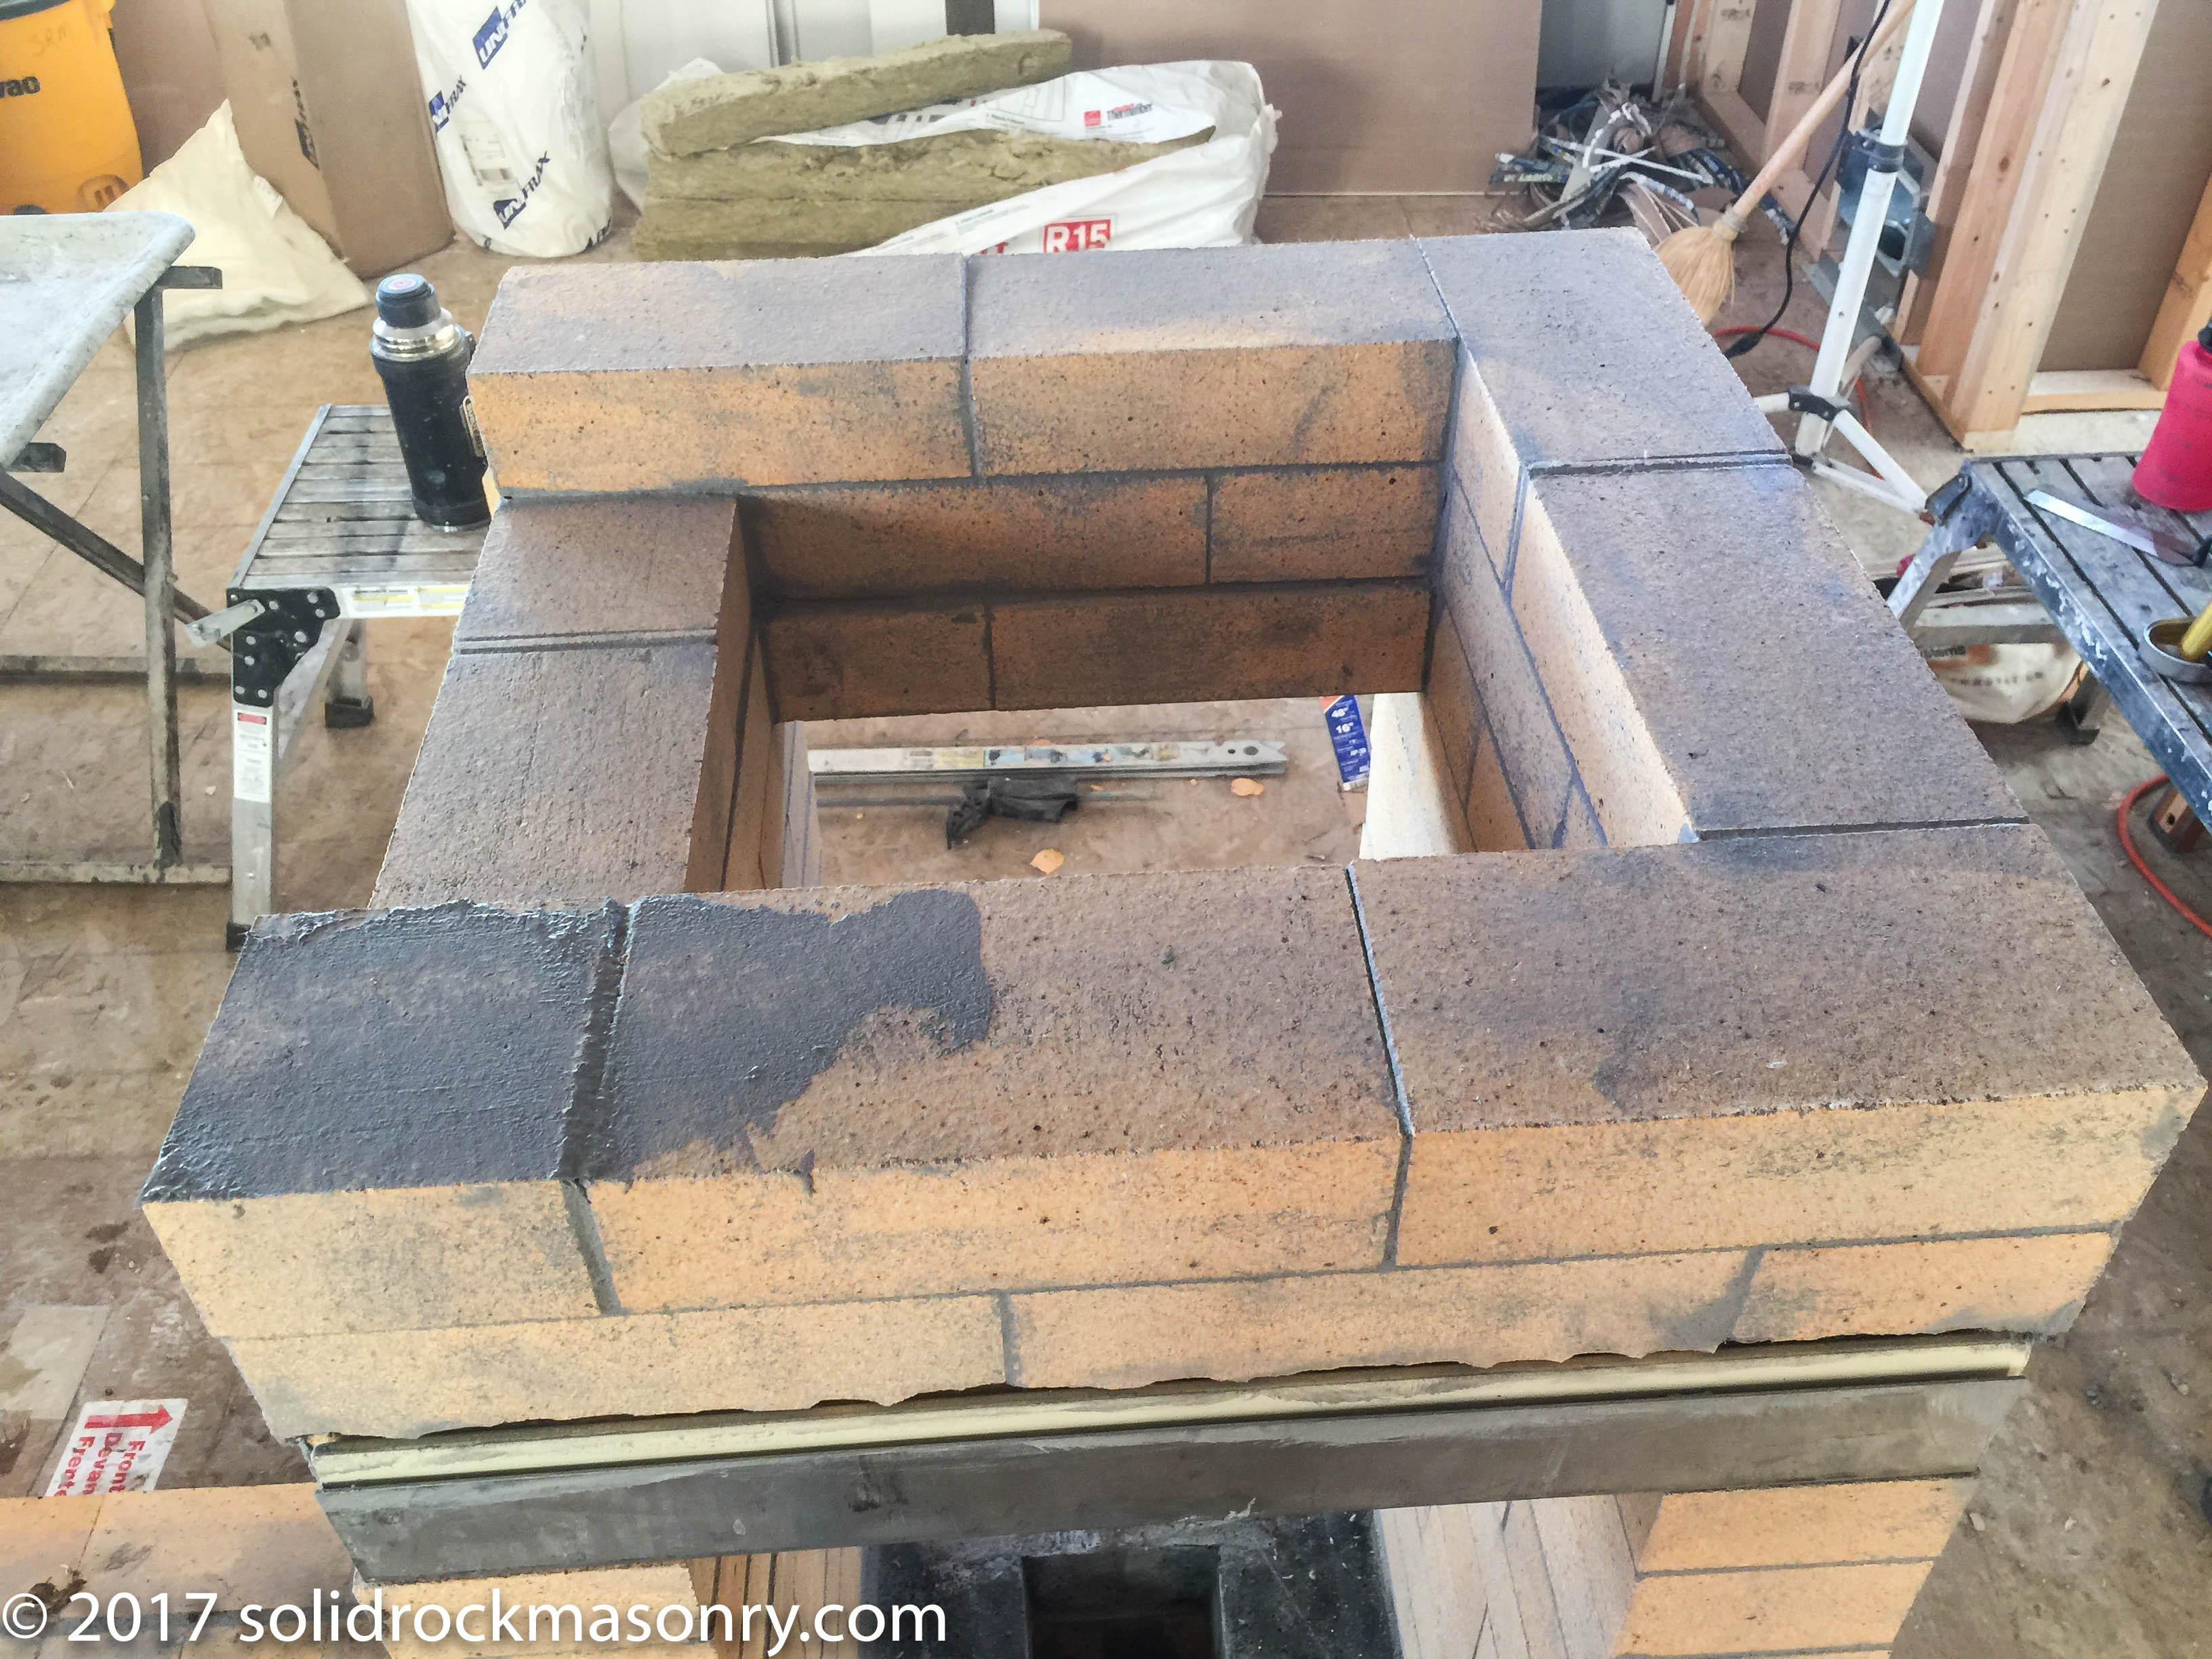
Transition exit into down draft channel starting
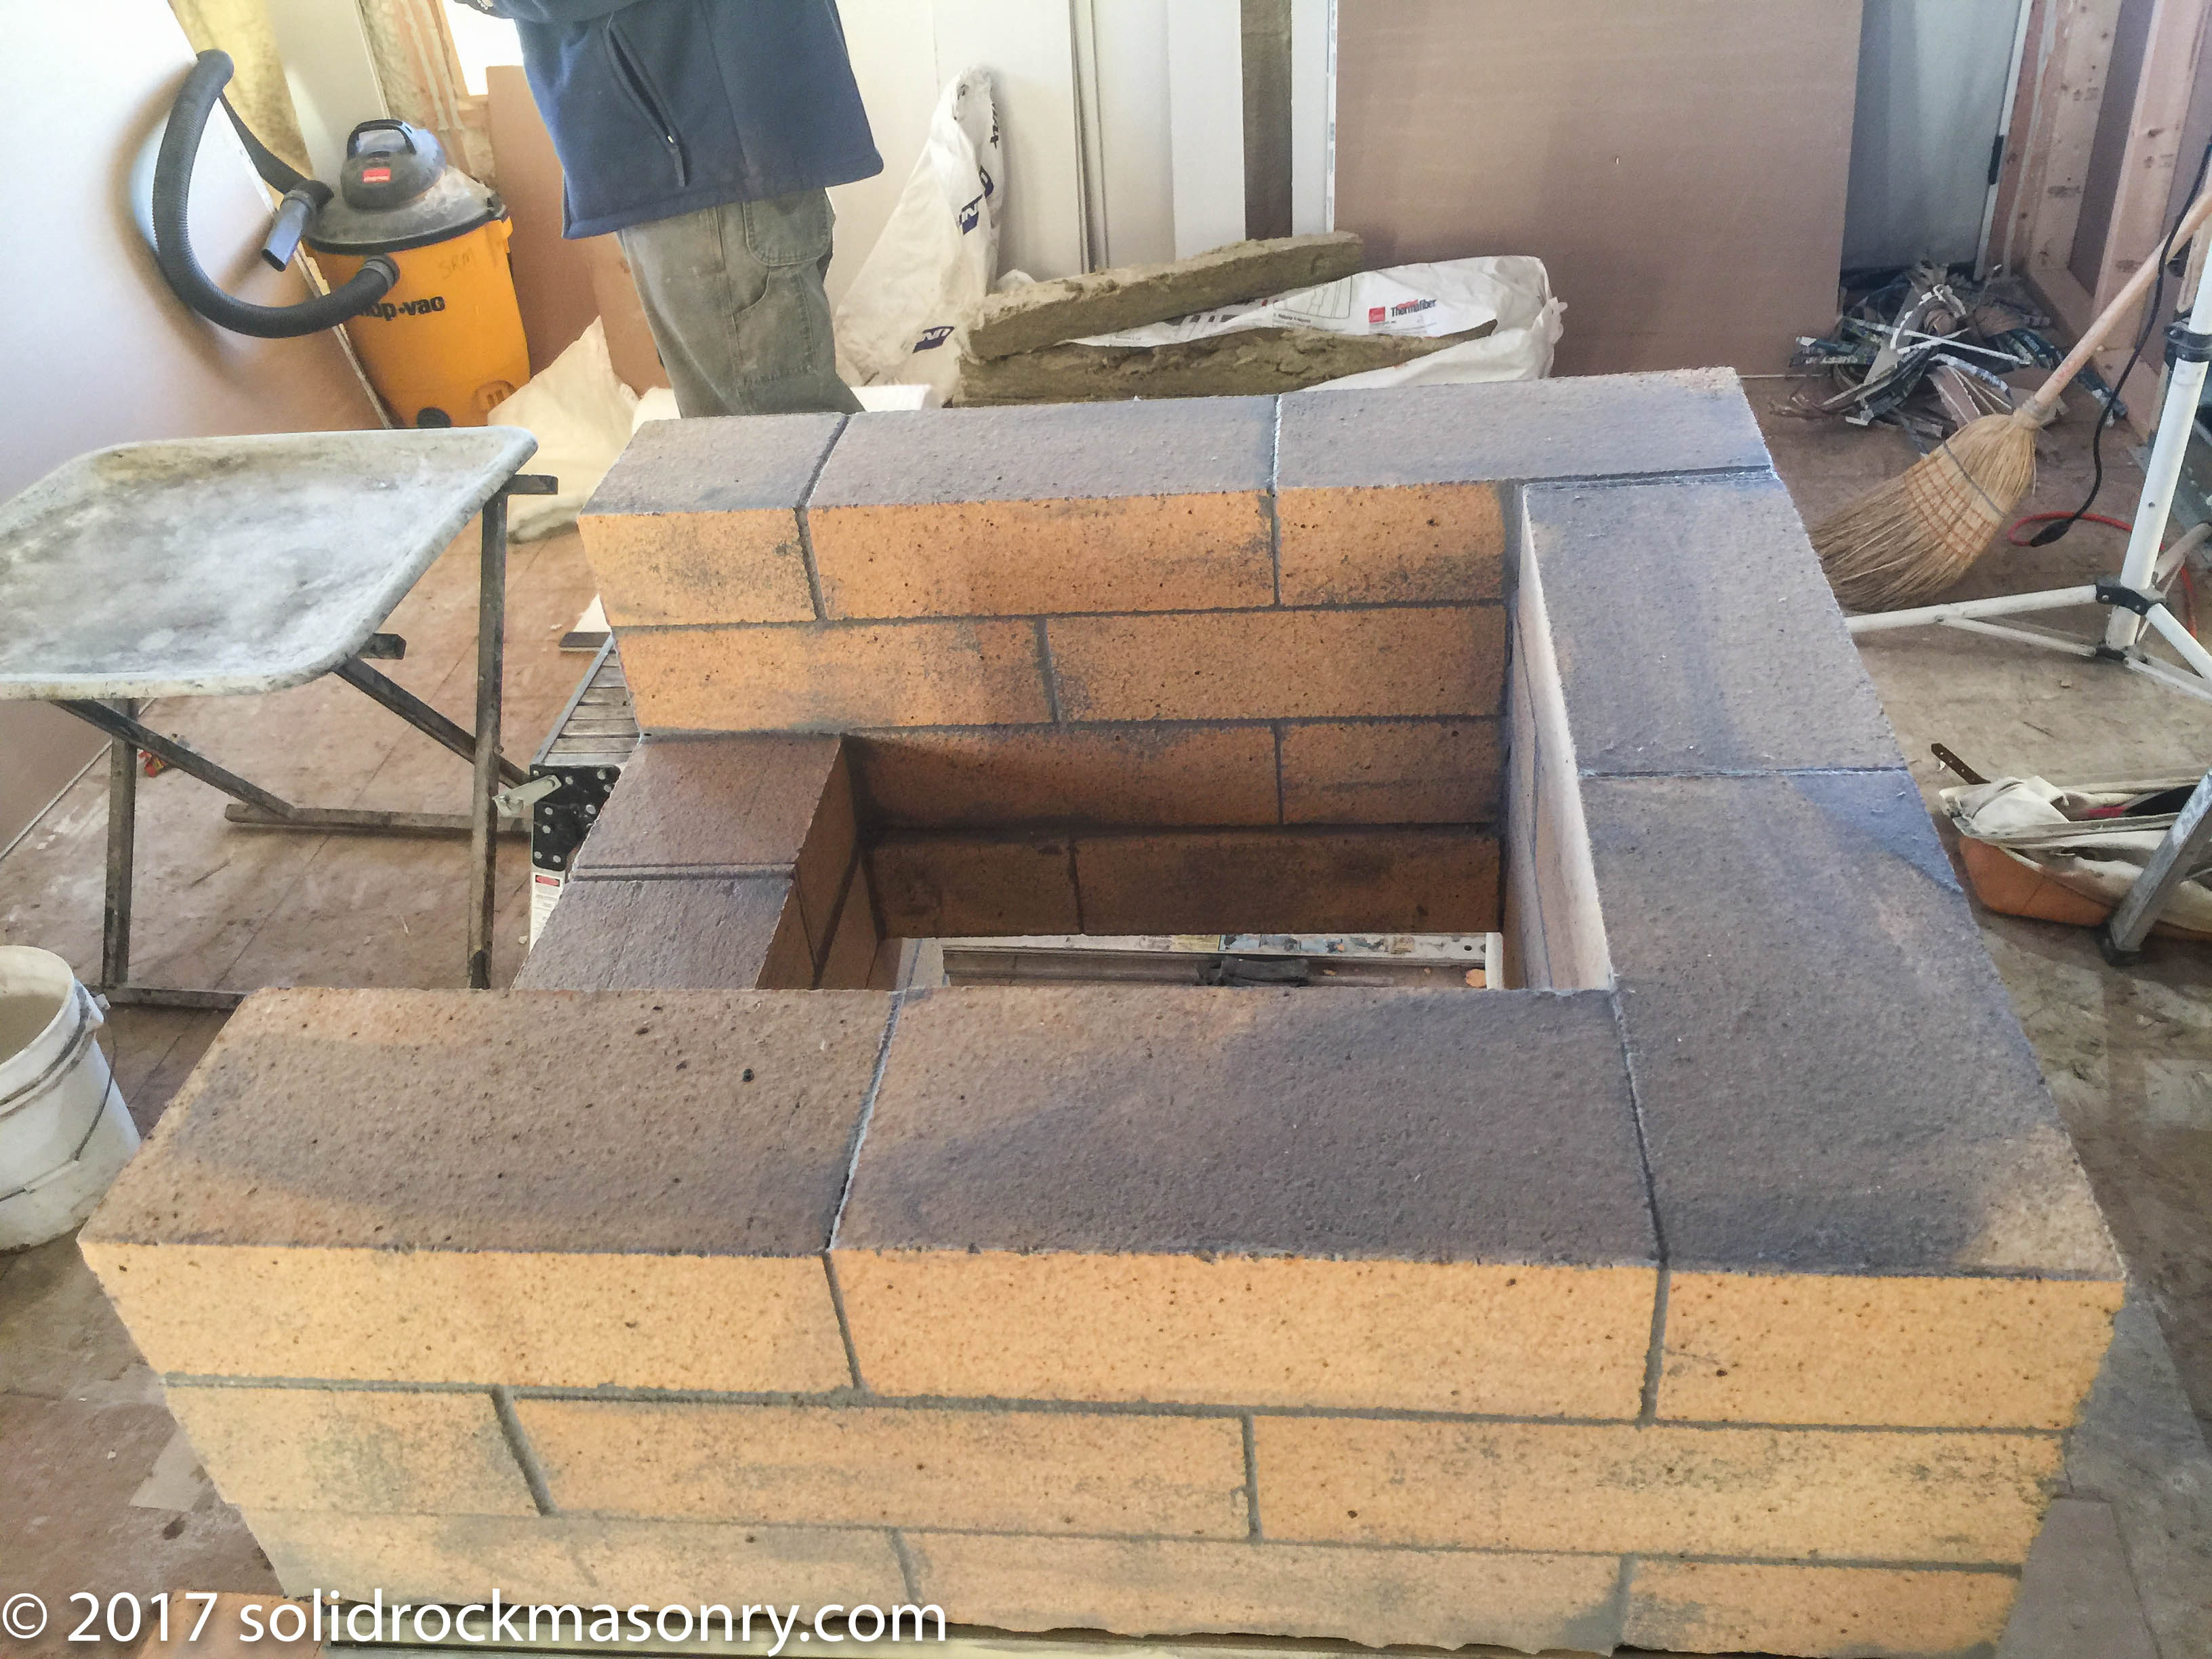
Second course of transiton
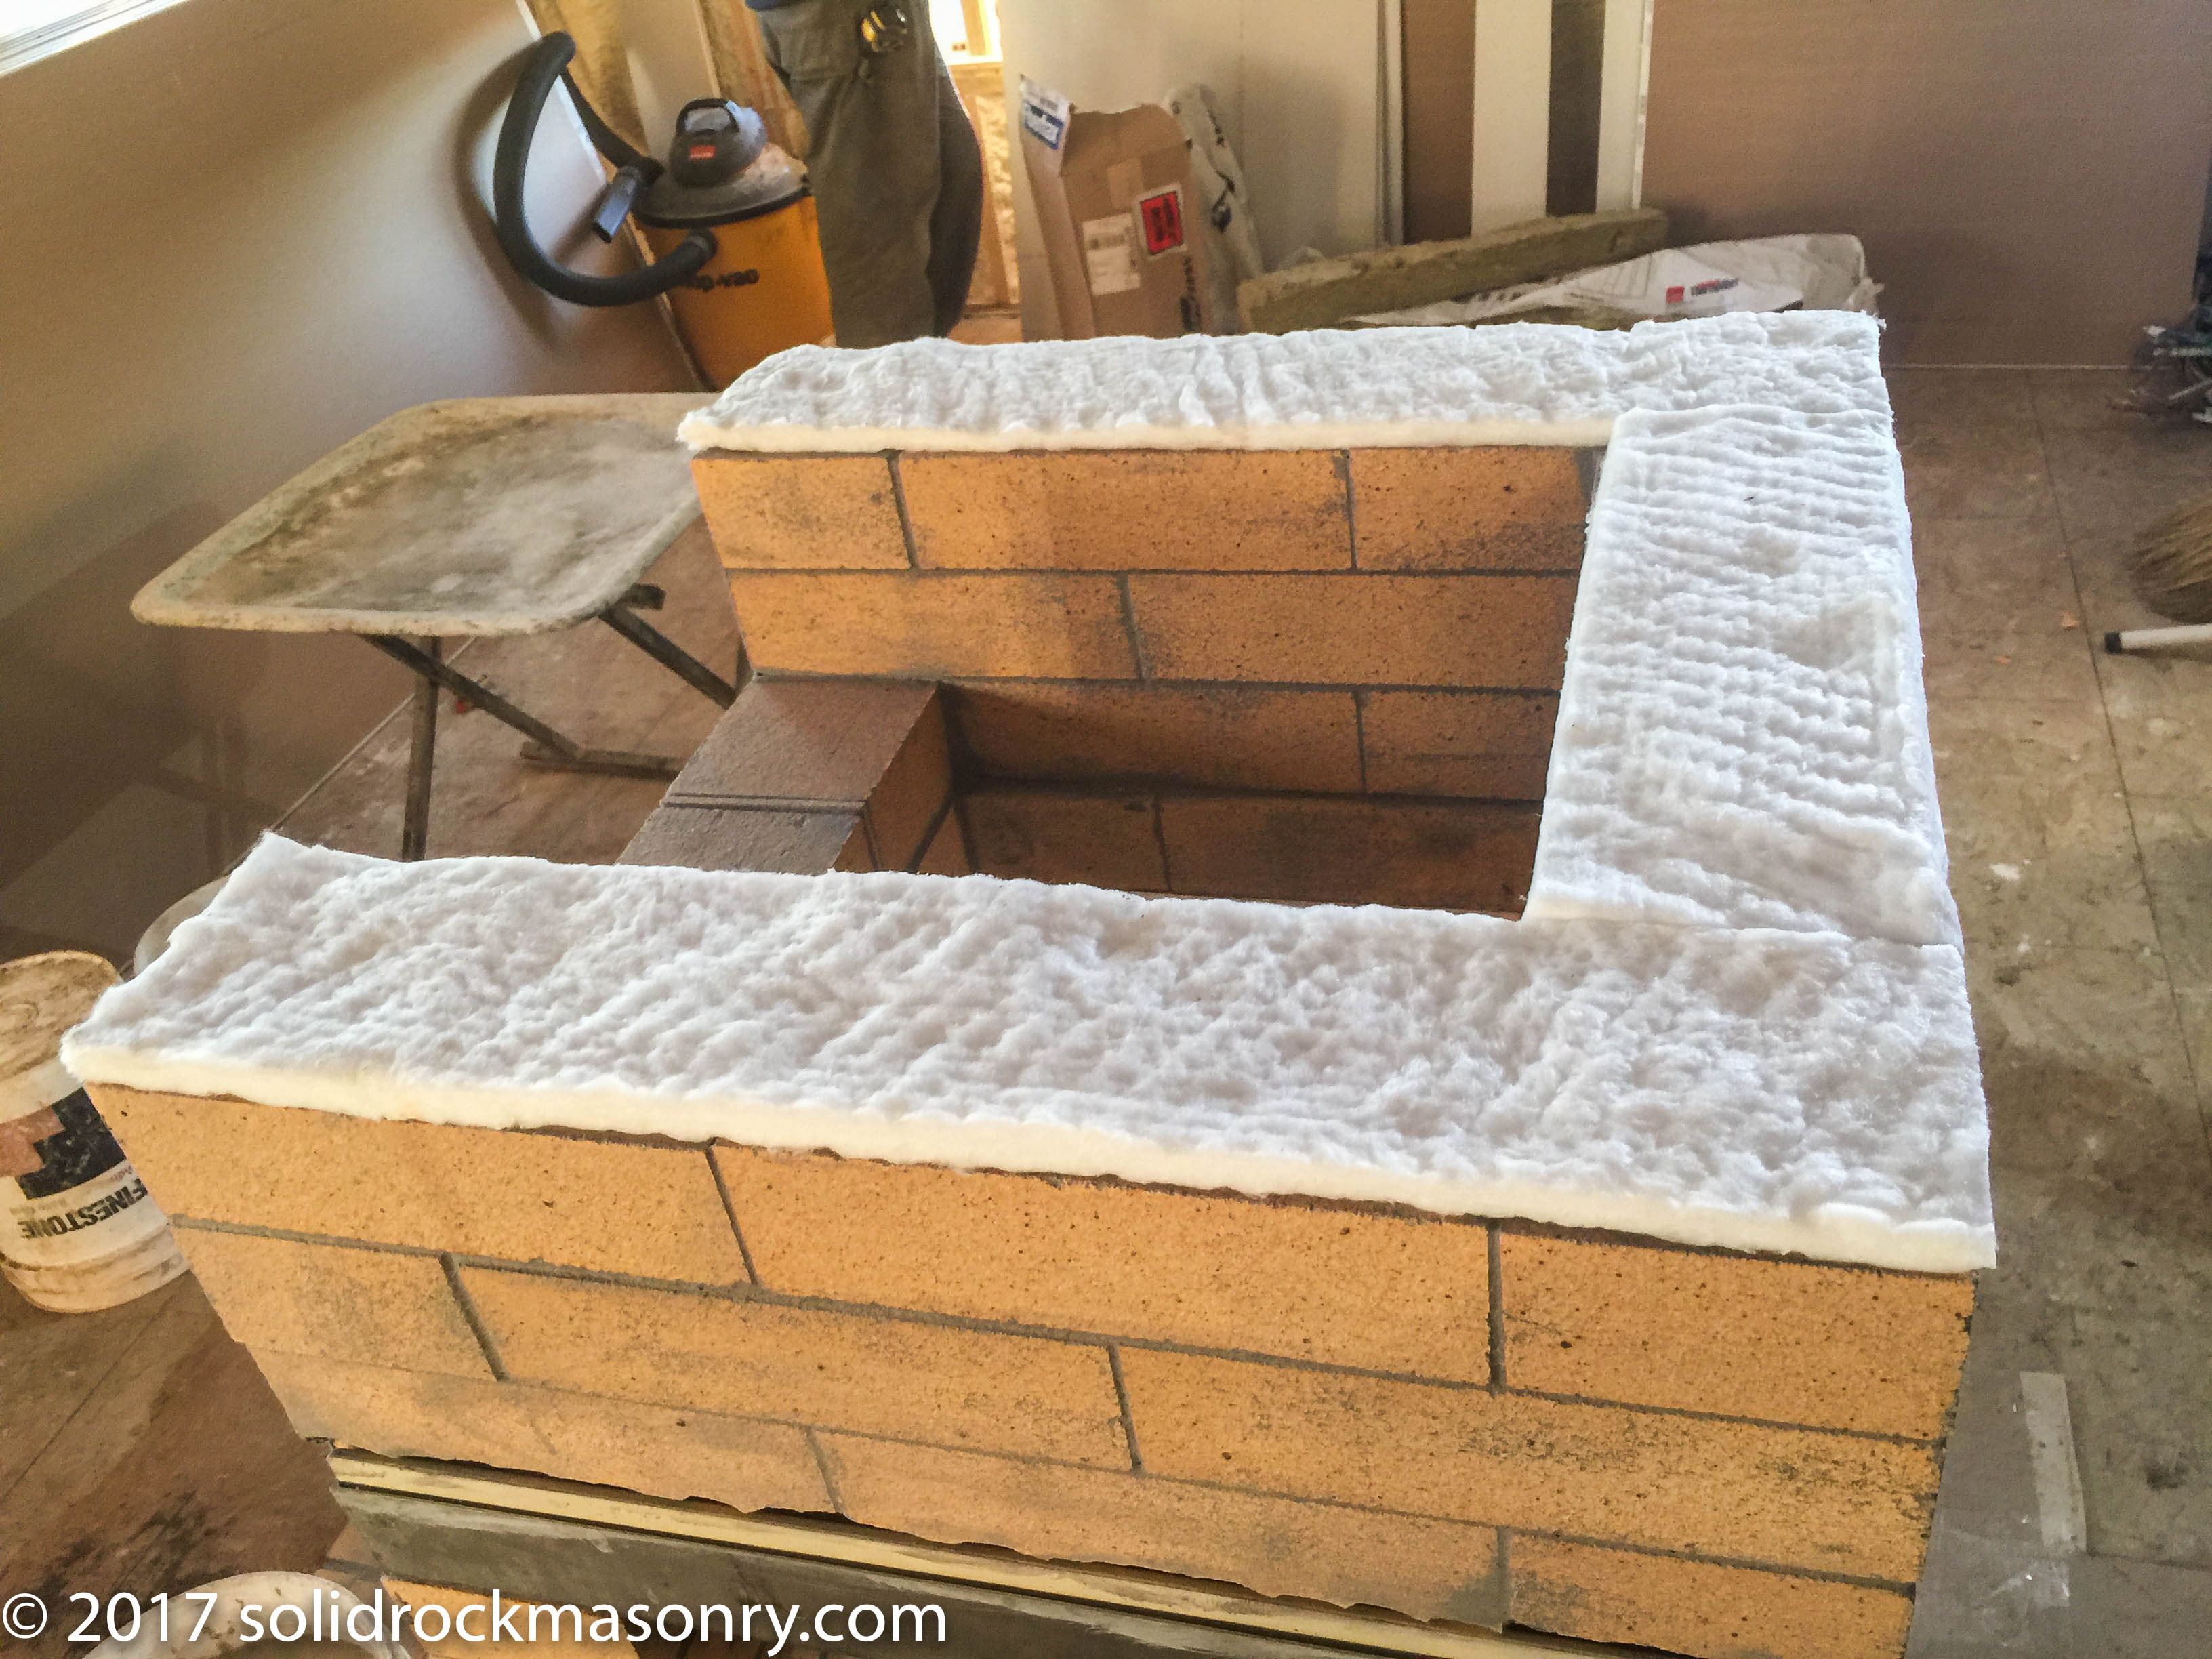
Firebox capping gasket in place. 1/2″ ceramic wool
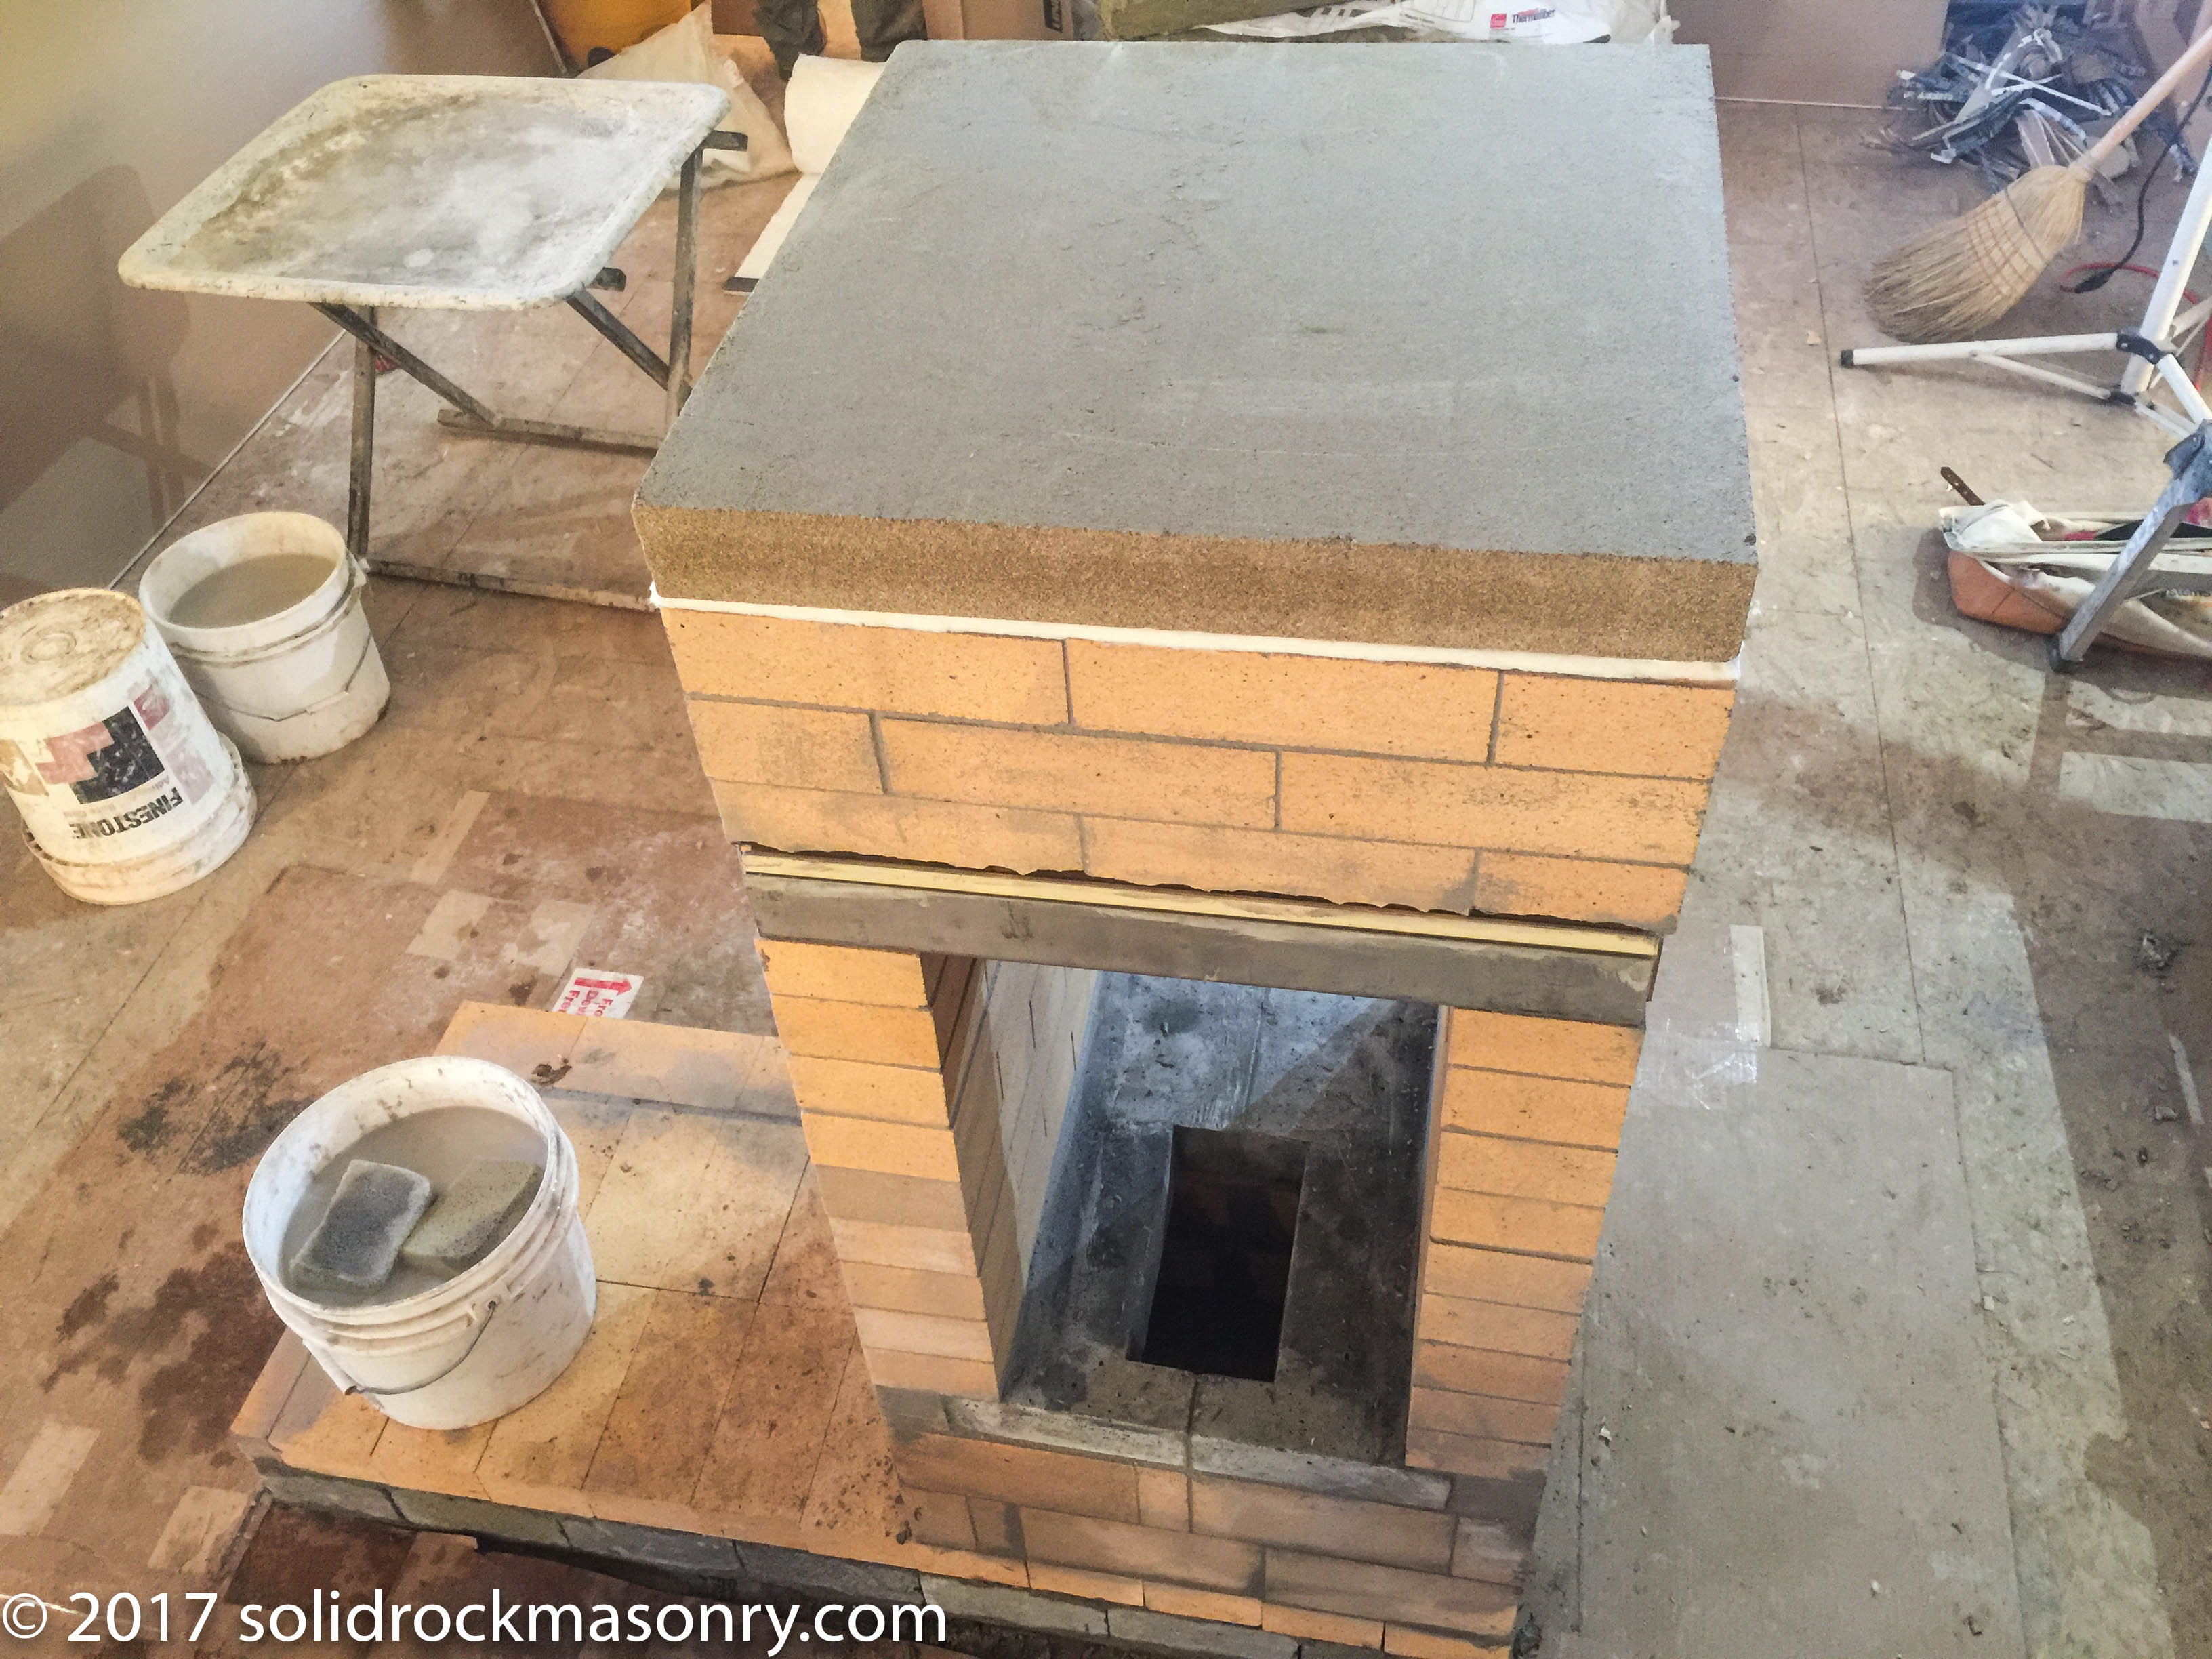
Firebox cap set dry on top of gasket
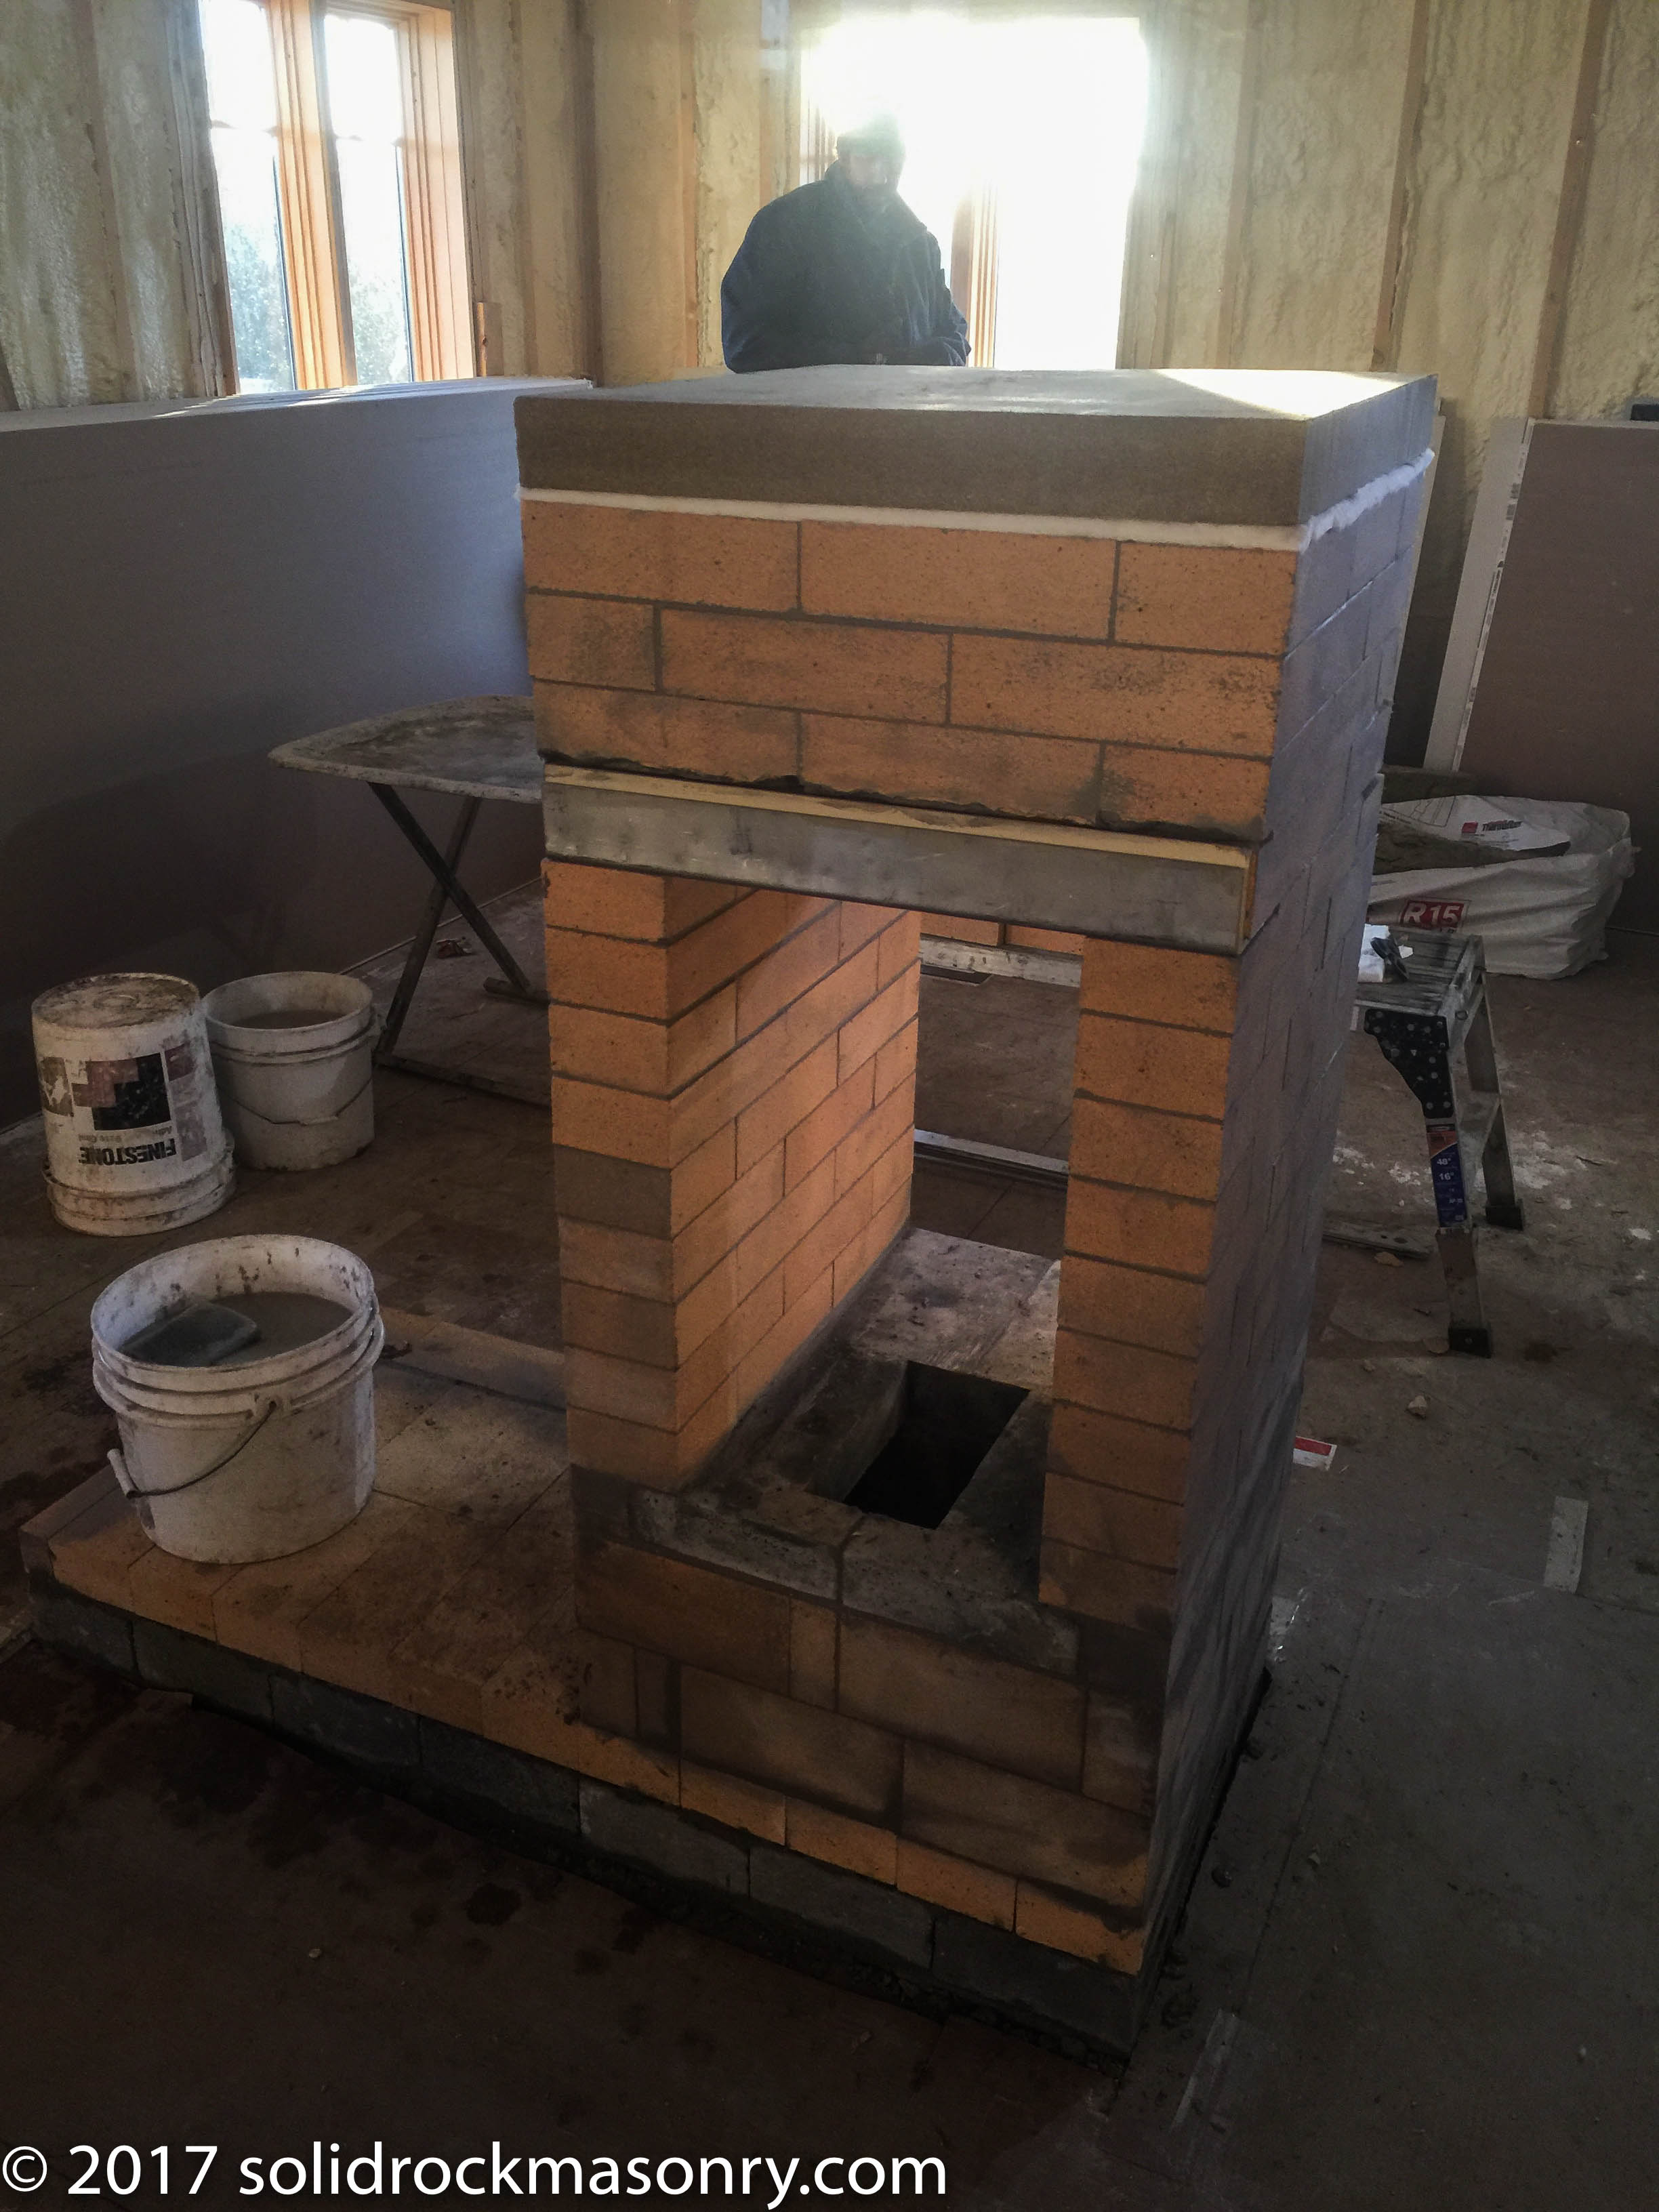
See-thru firebox walls and cap finished. Firebrick on floor not in place yet.
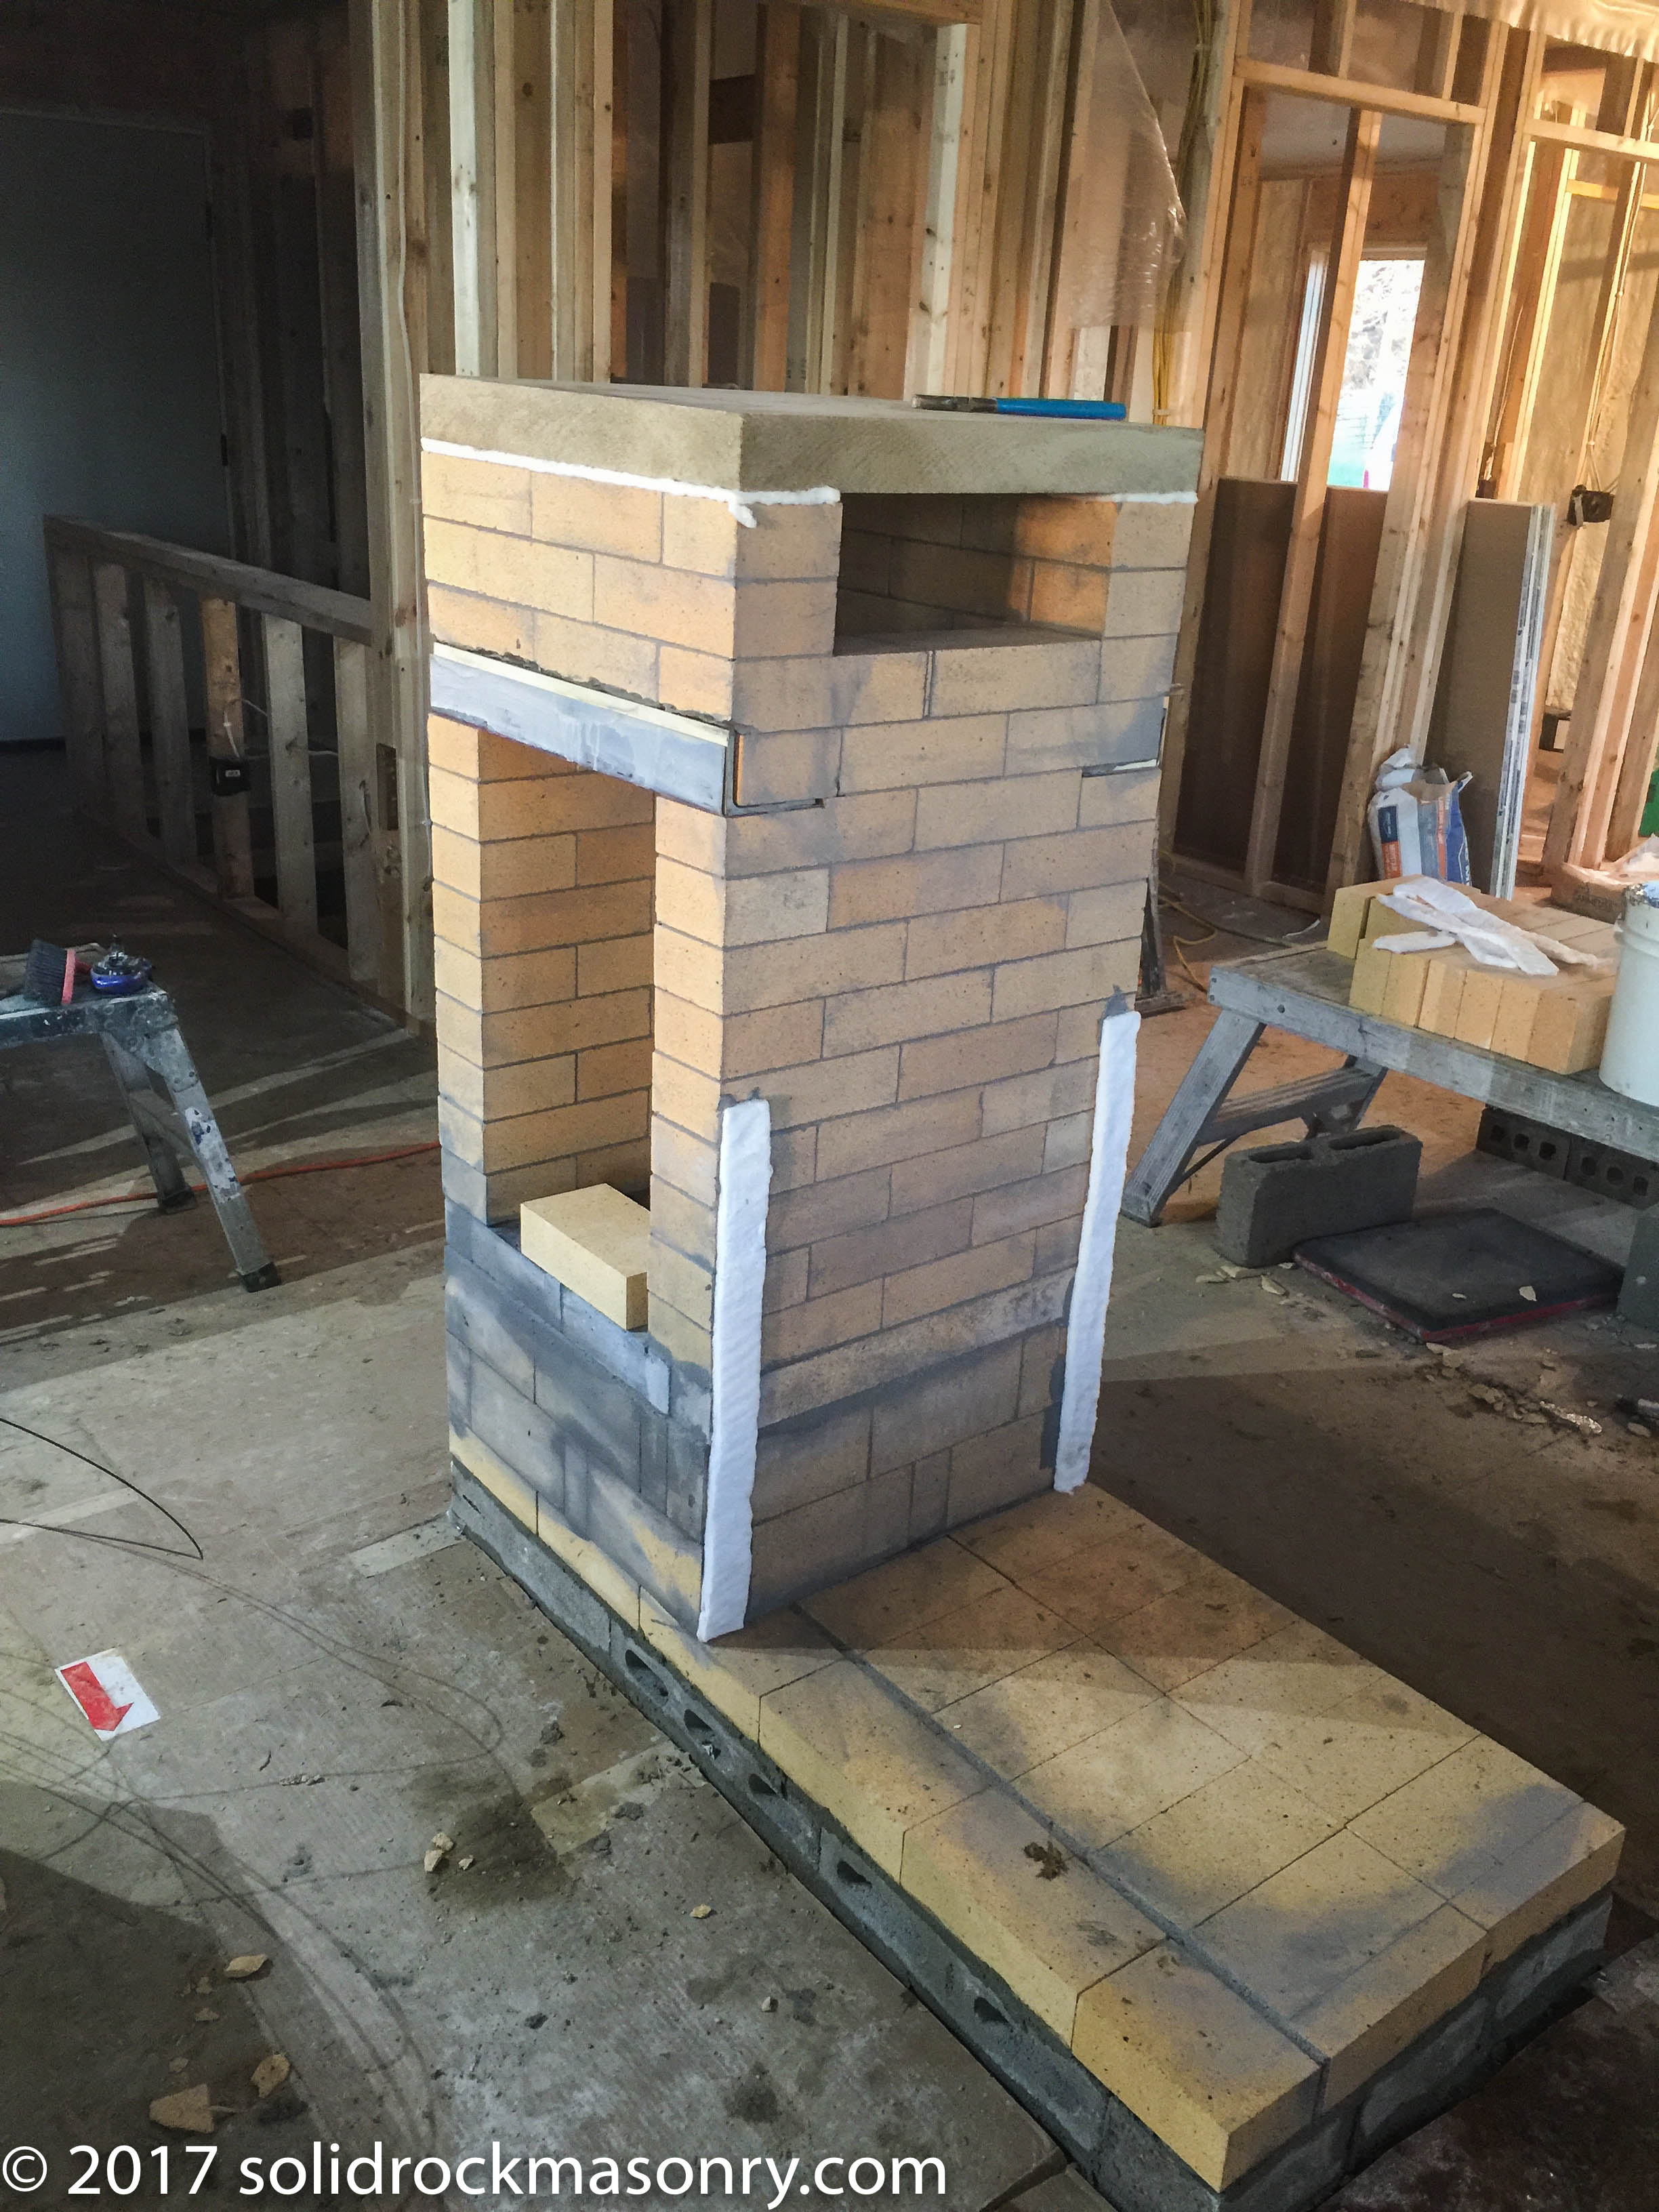
Side view of firebox and transtion. 1/2″ ceramic wool gaskets being set for draft channel placement
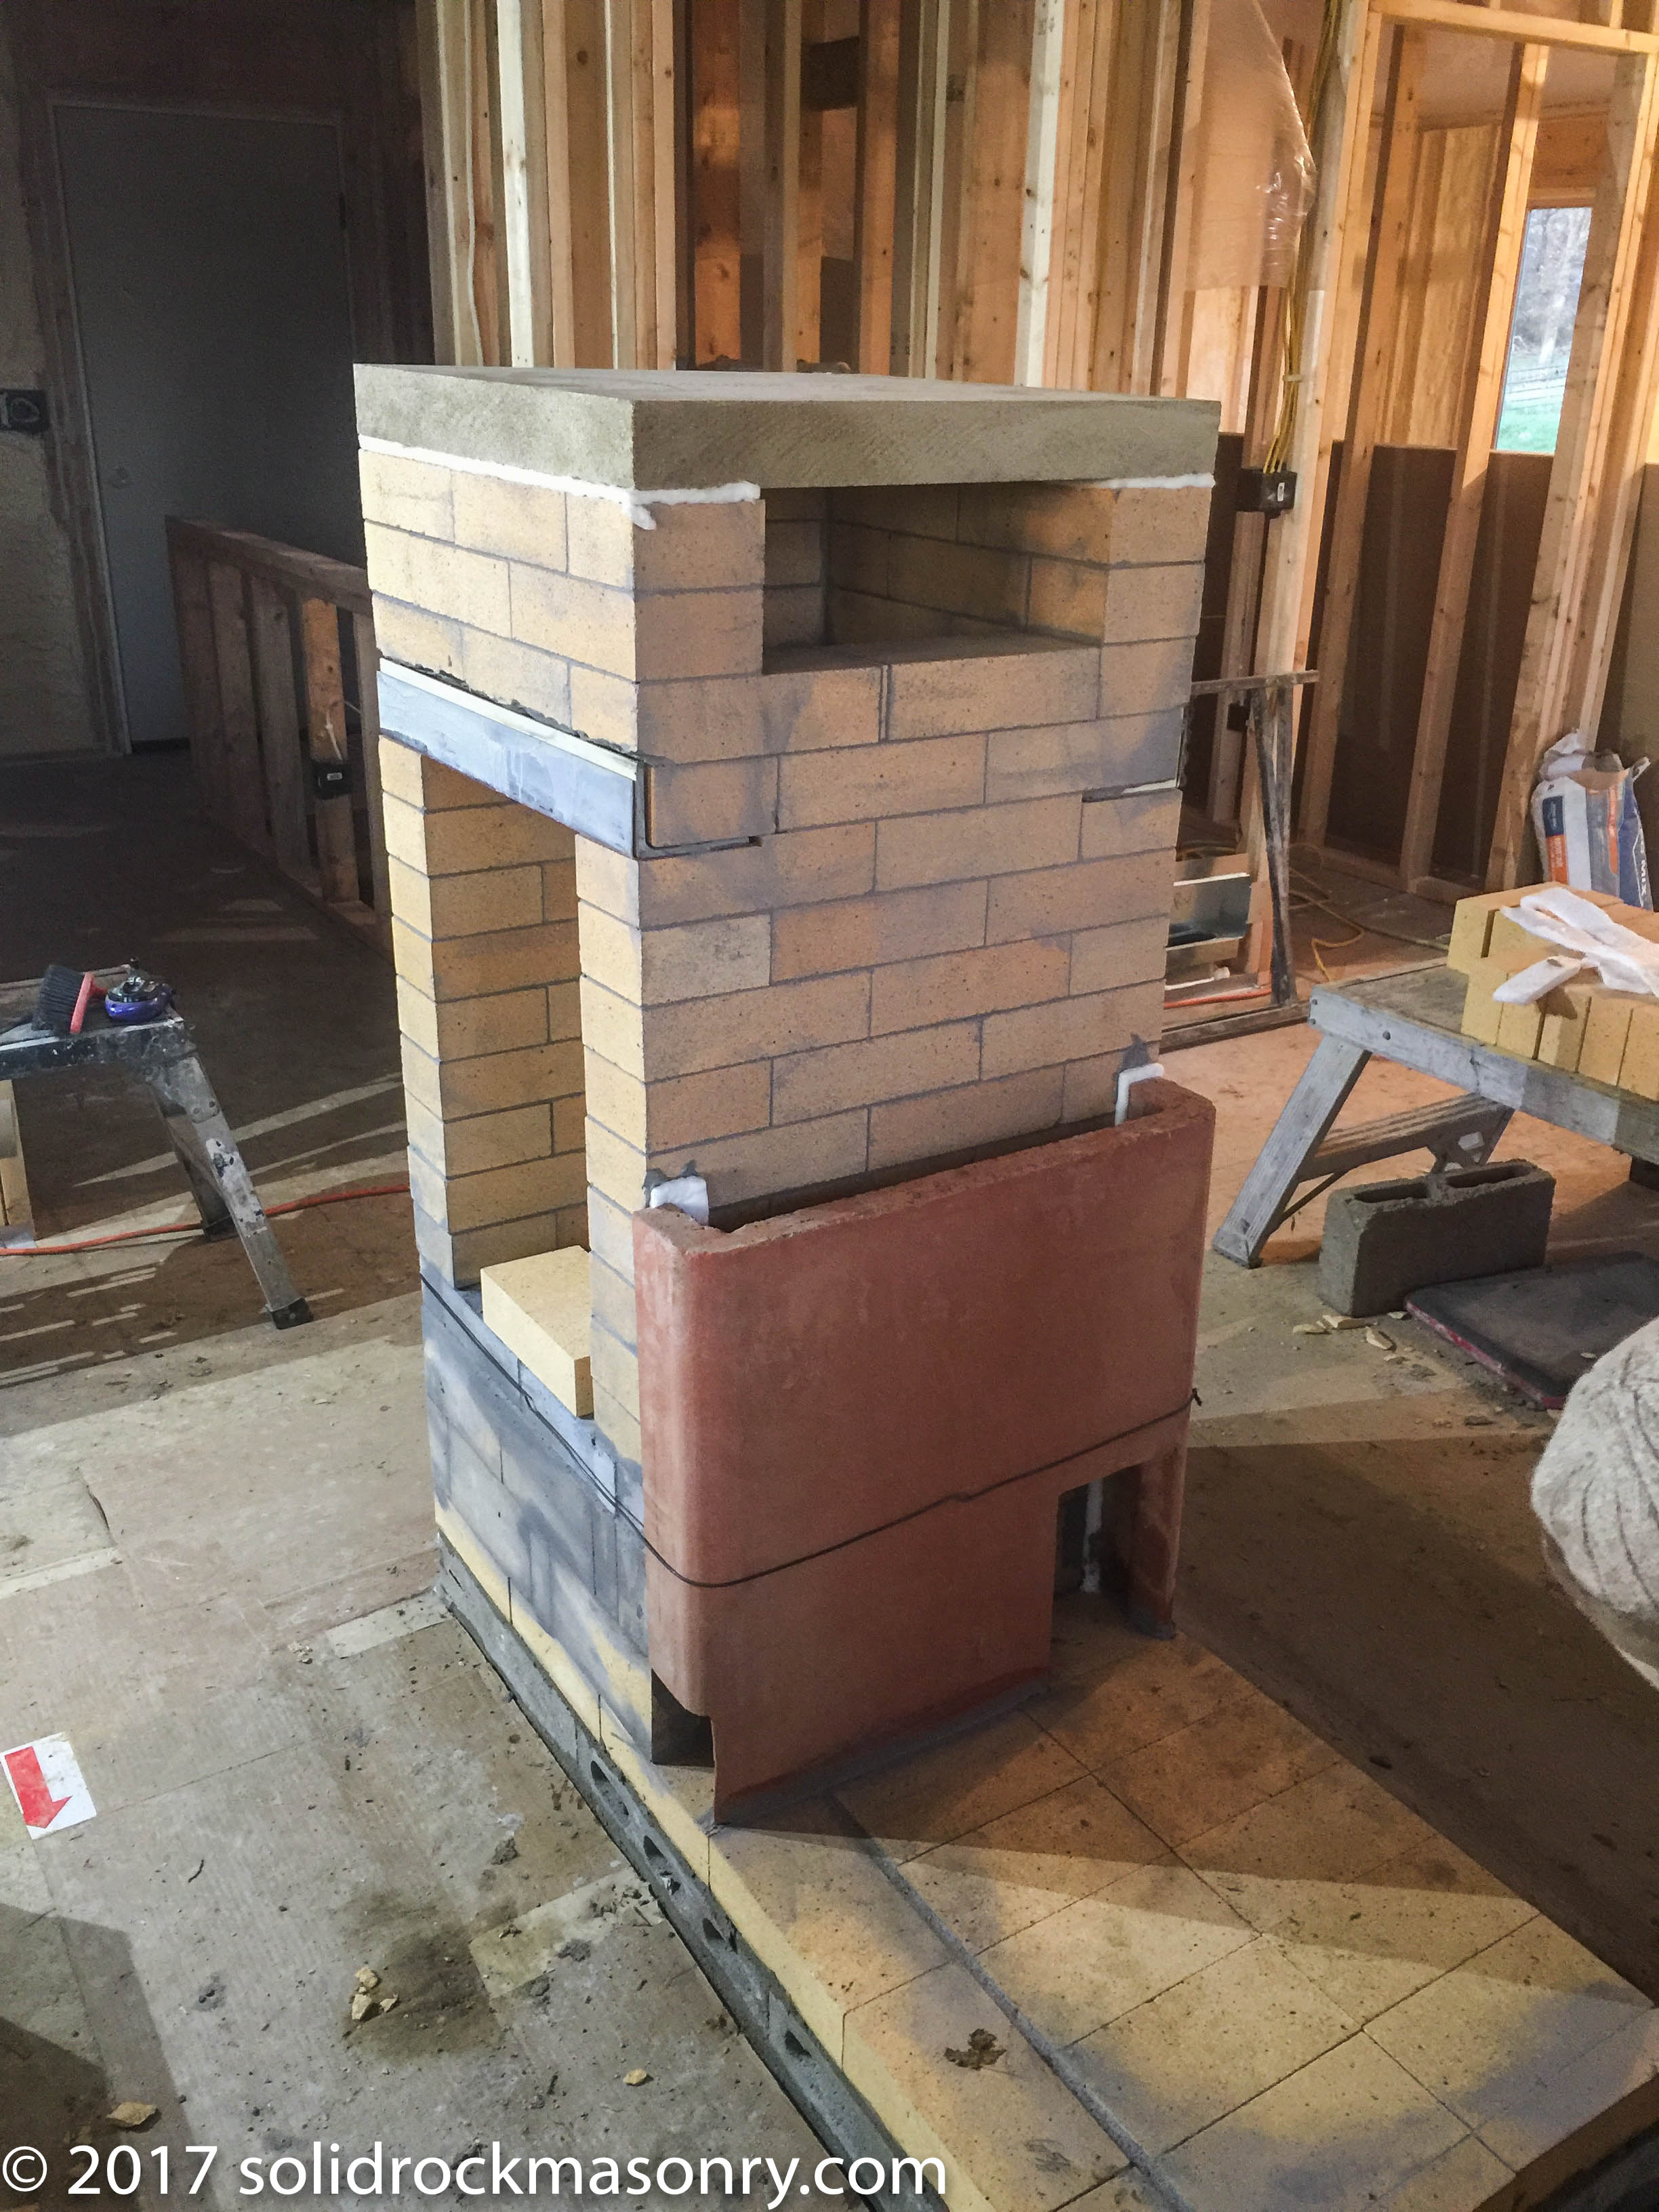
First draft channel in place. Small hole on left is for cleaning out the bottom of channel. Larger hole on right is the exit from the down draft channel into the larger bell.
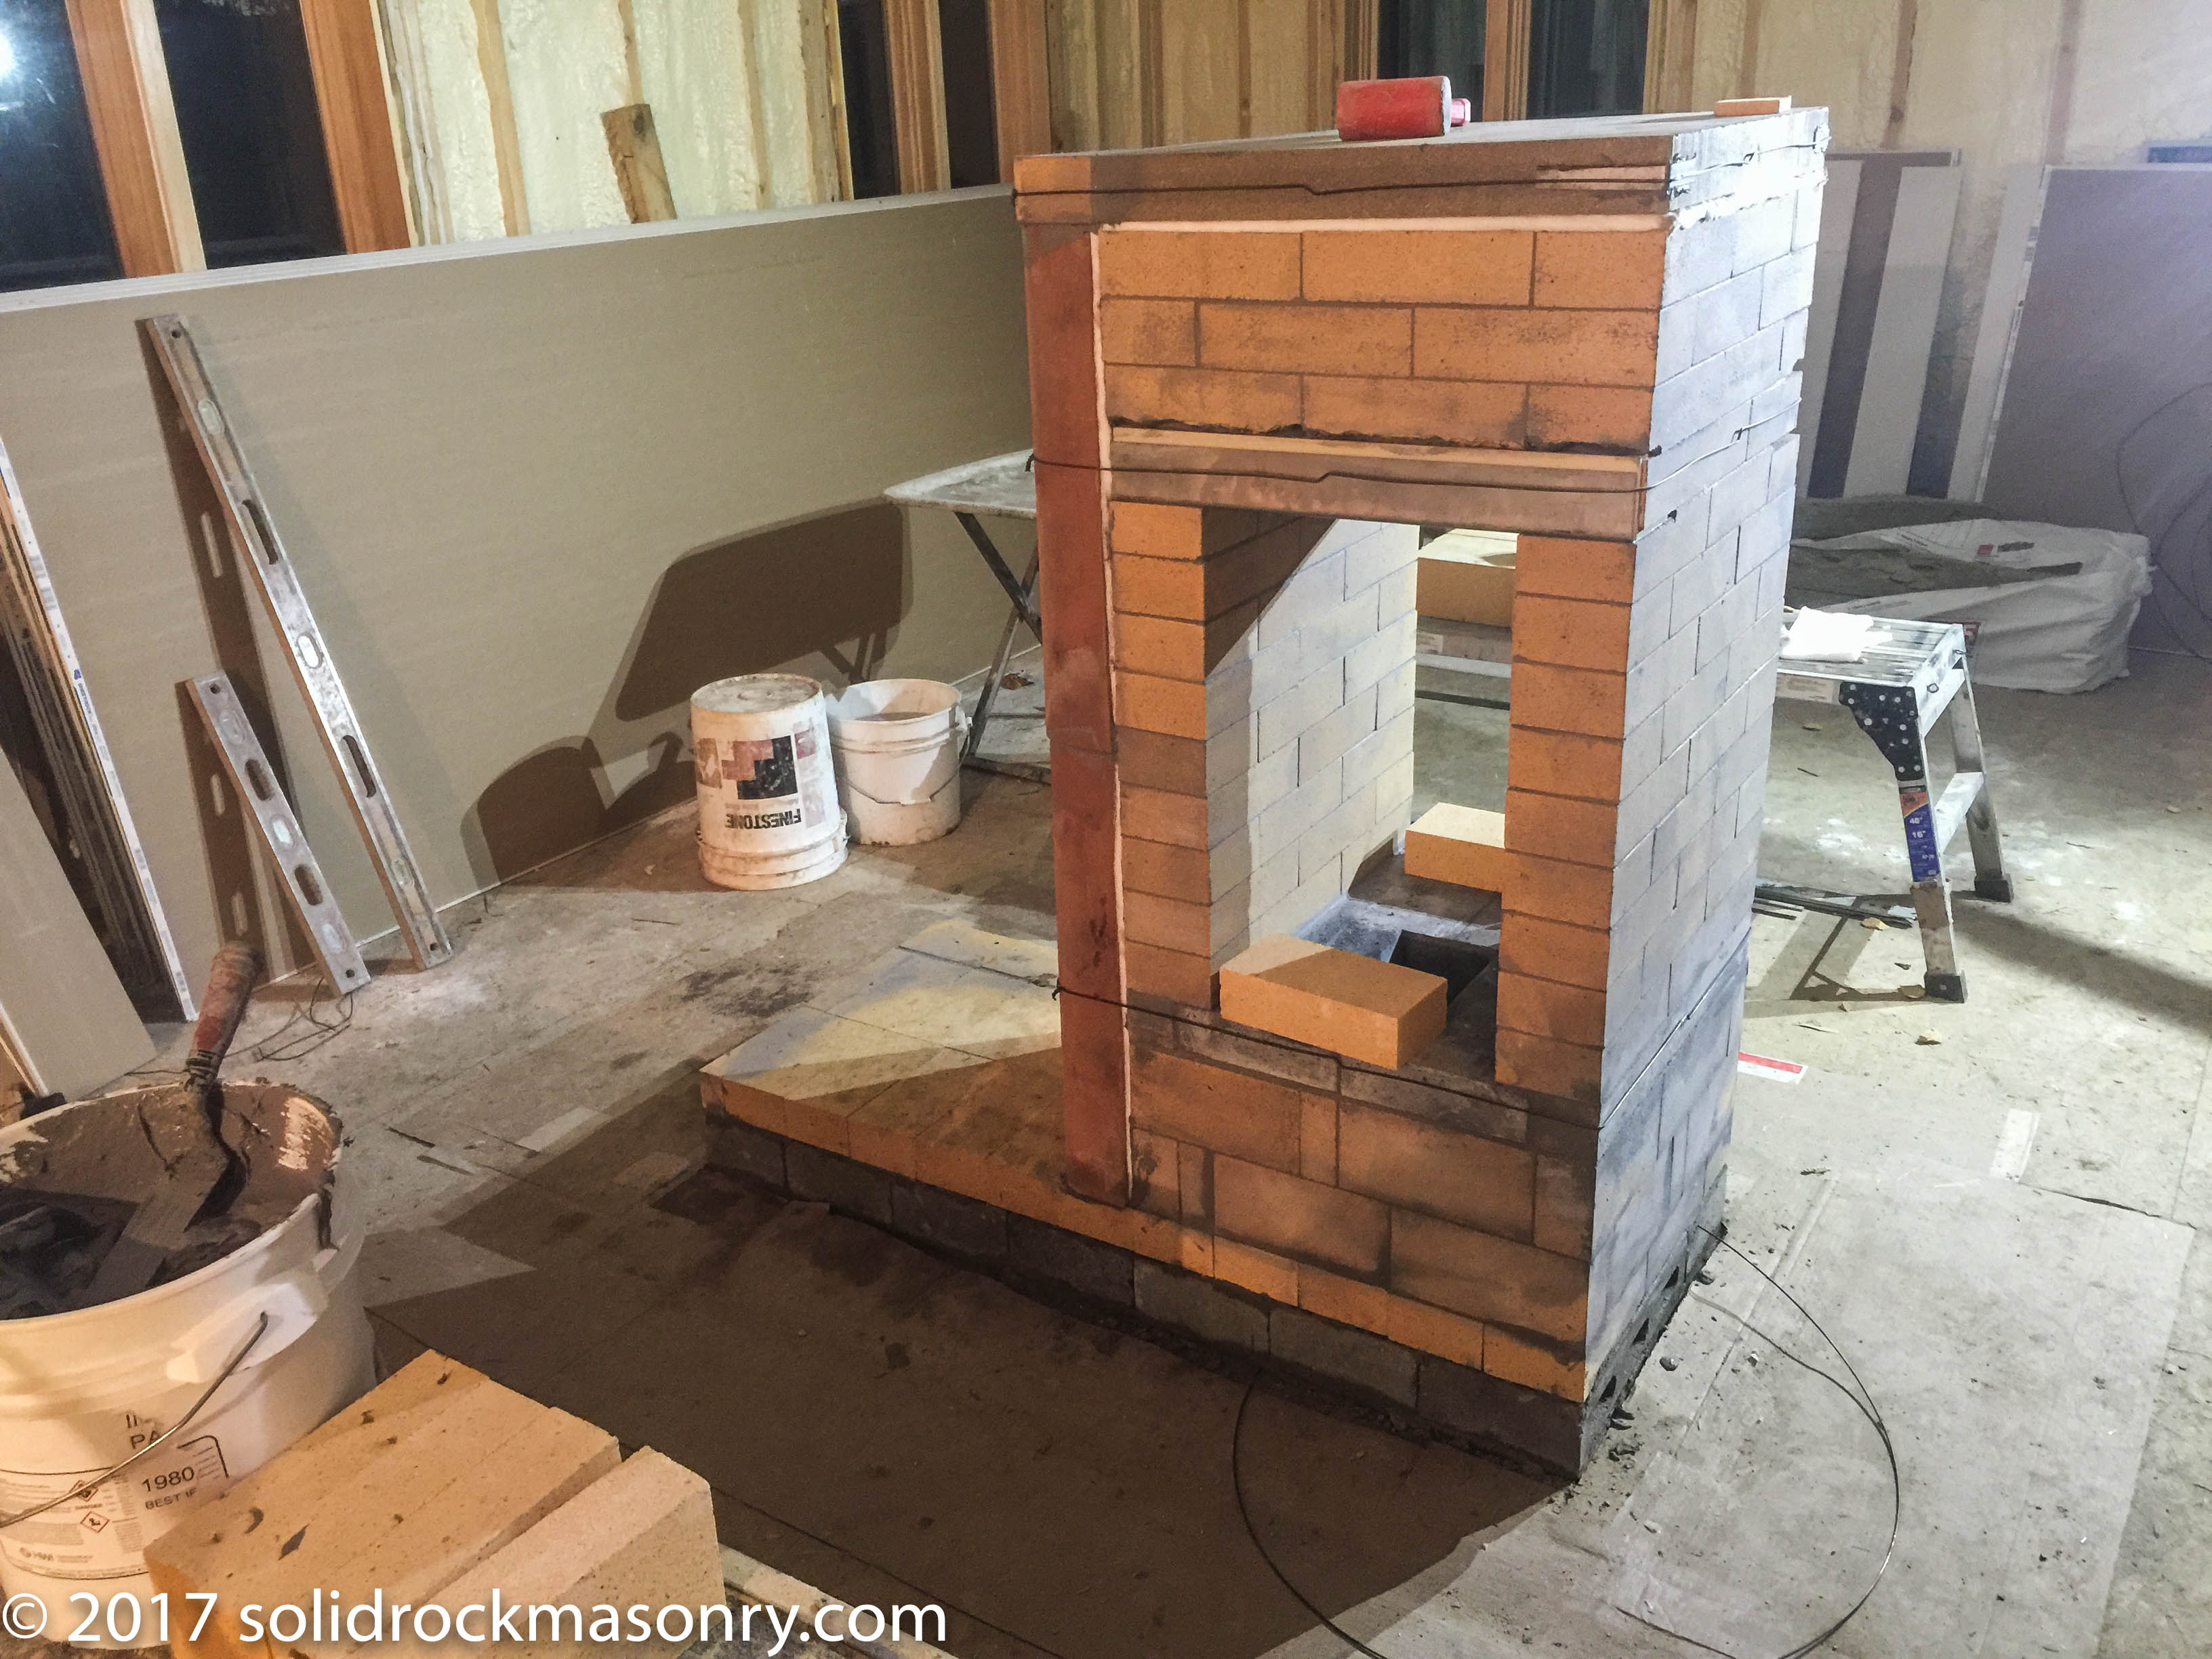
Second down draft channel and draft channel cap in place. Note 1/2″ ceramic wool gasket between draft channel and firebox. Draft channels are secured in place with #11 wire wrapped around the firebox and draft channels and twisted tight.
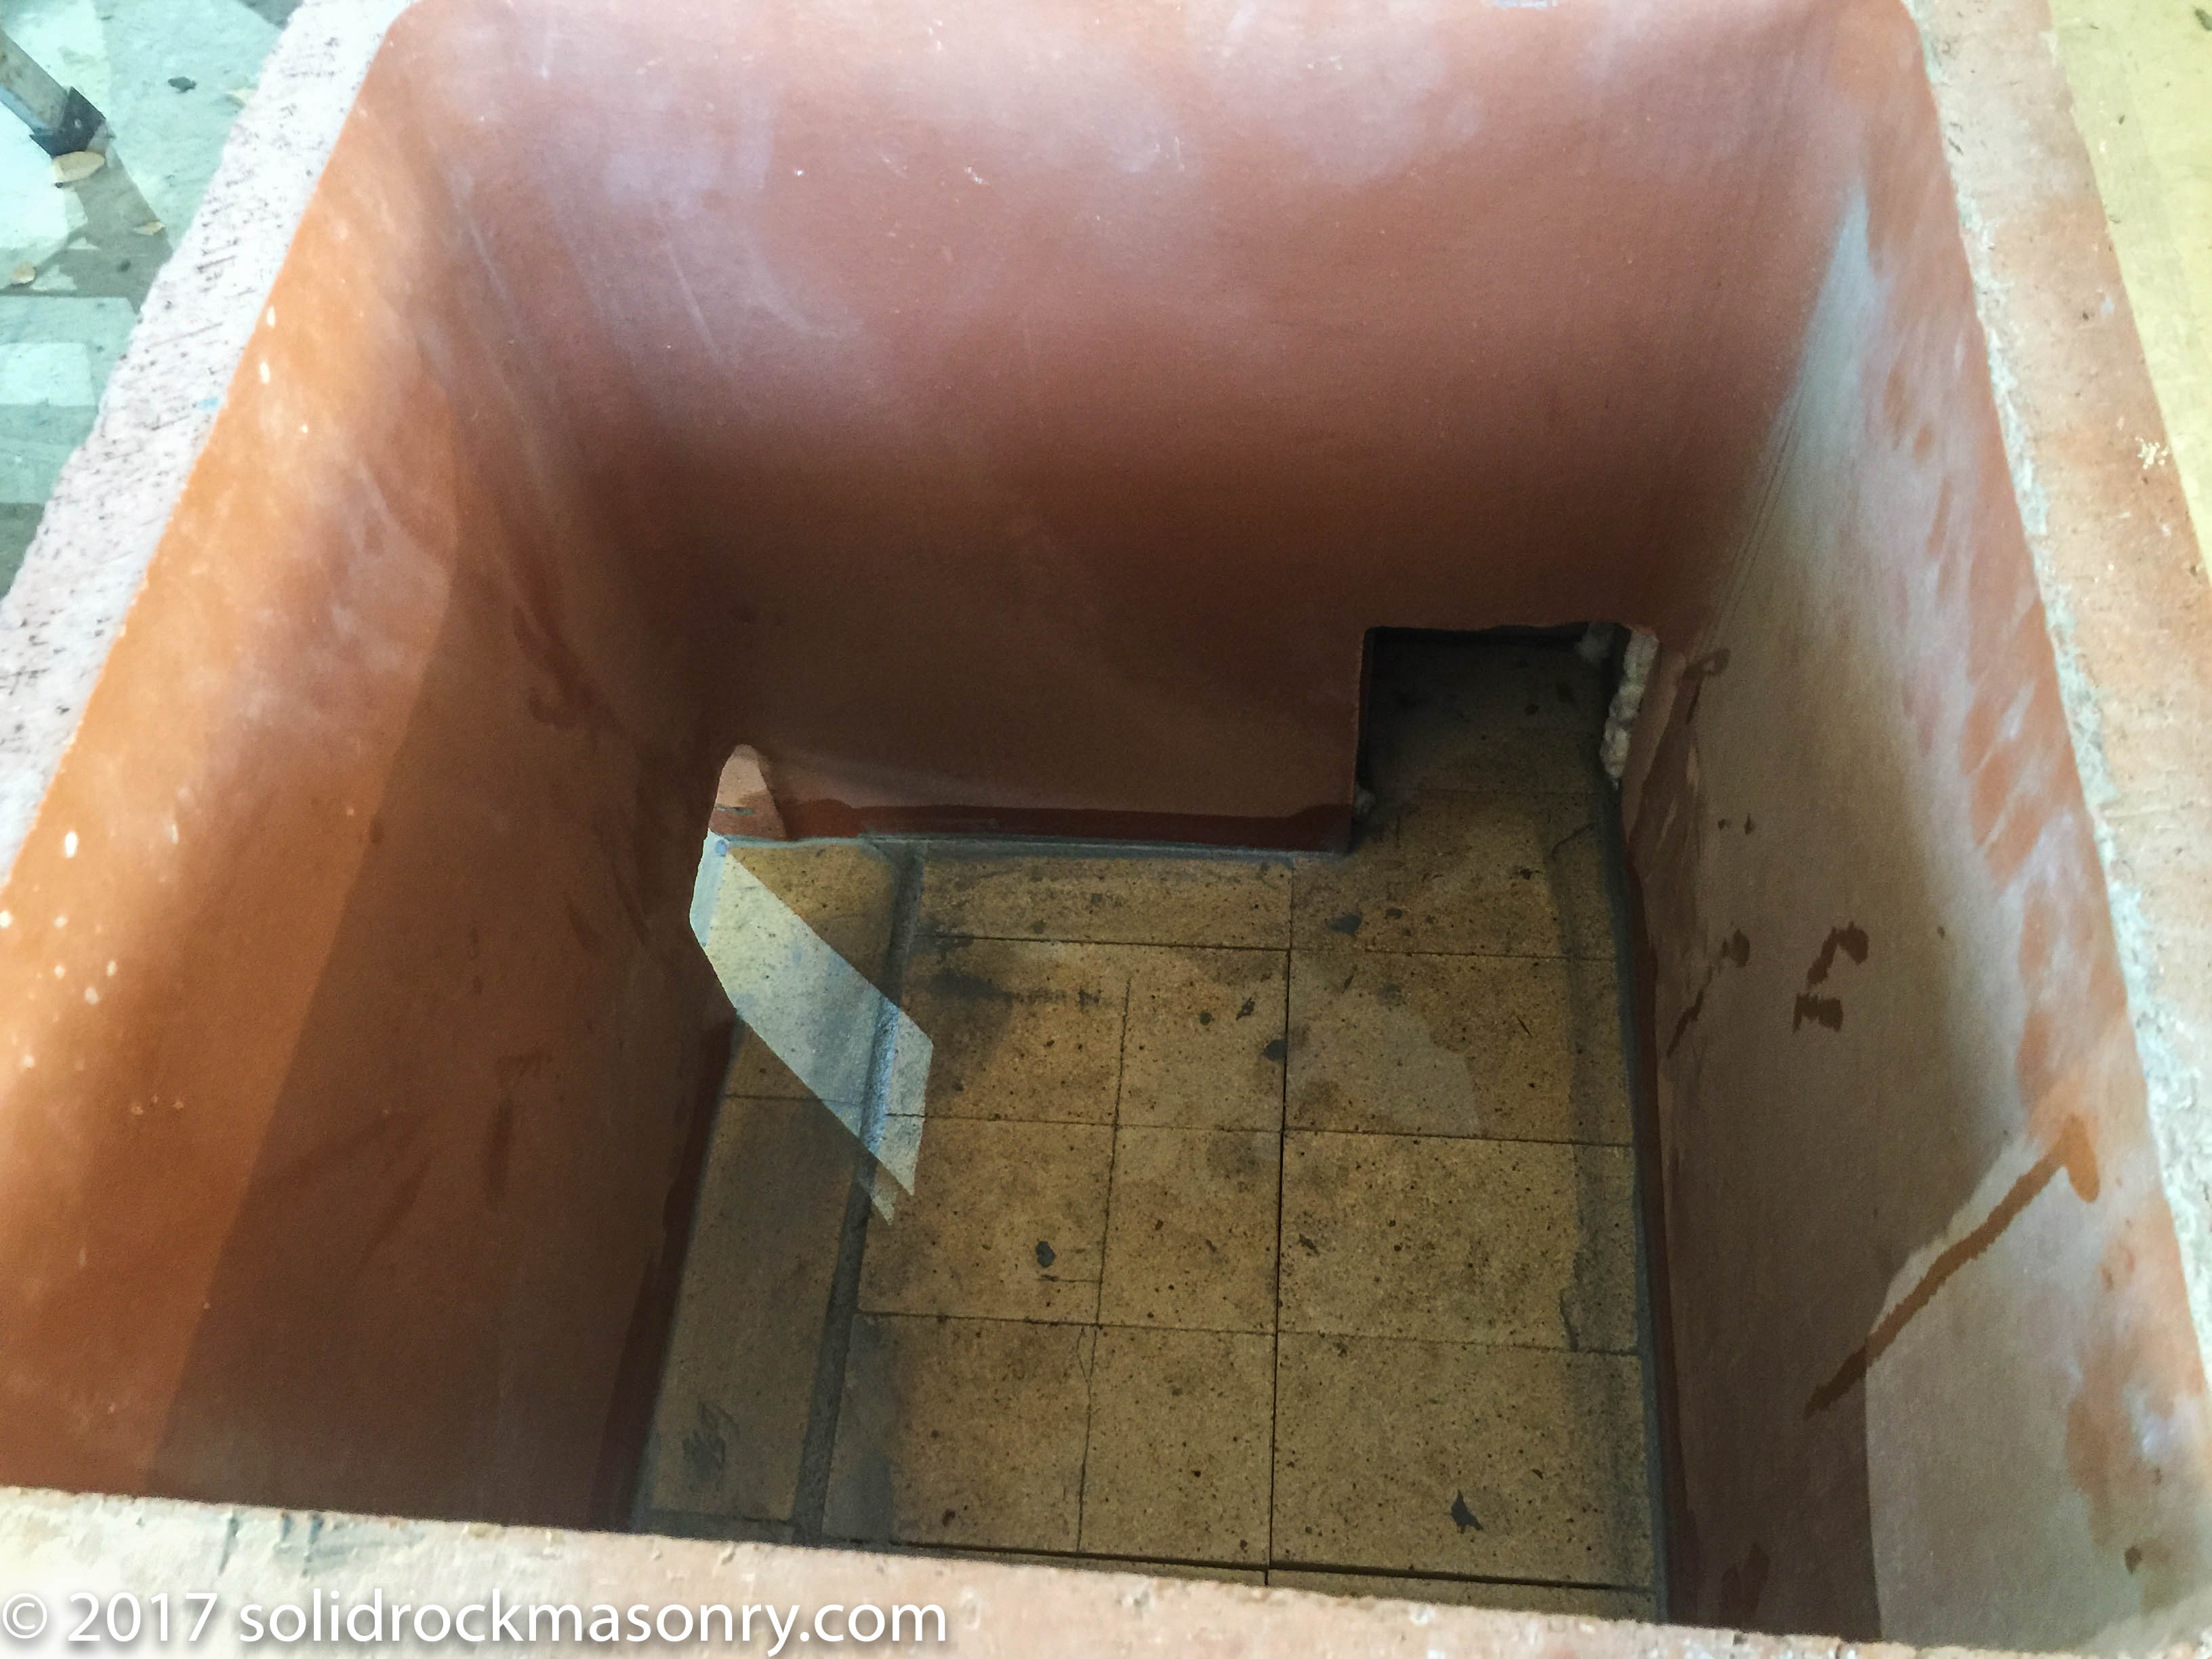
24″x24″x 1 3/4″ thick clay flue liner bell. This is the outer liner for the large side bell. Small hole on left is for cleaning out the bell of fly ash. Large hole on right is the entrance from the down draft channel. *Note* 24×24″ liners are very heavy. They should be cut in half vertically for an expansion joint. This joint should have 1/2″ ceramic wool gasket and secured around the flue with #11 wire.
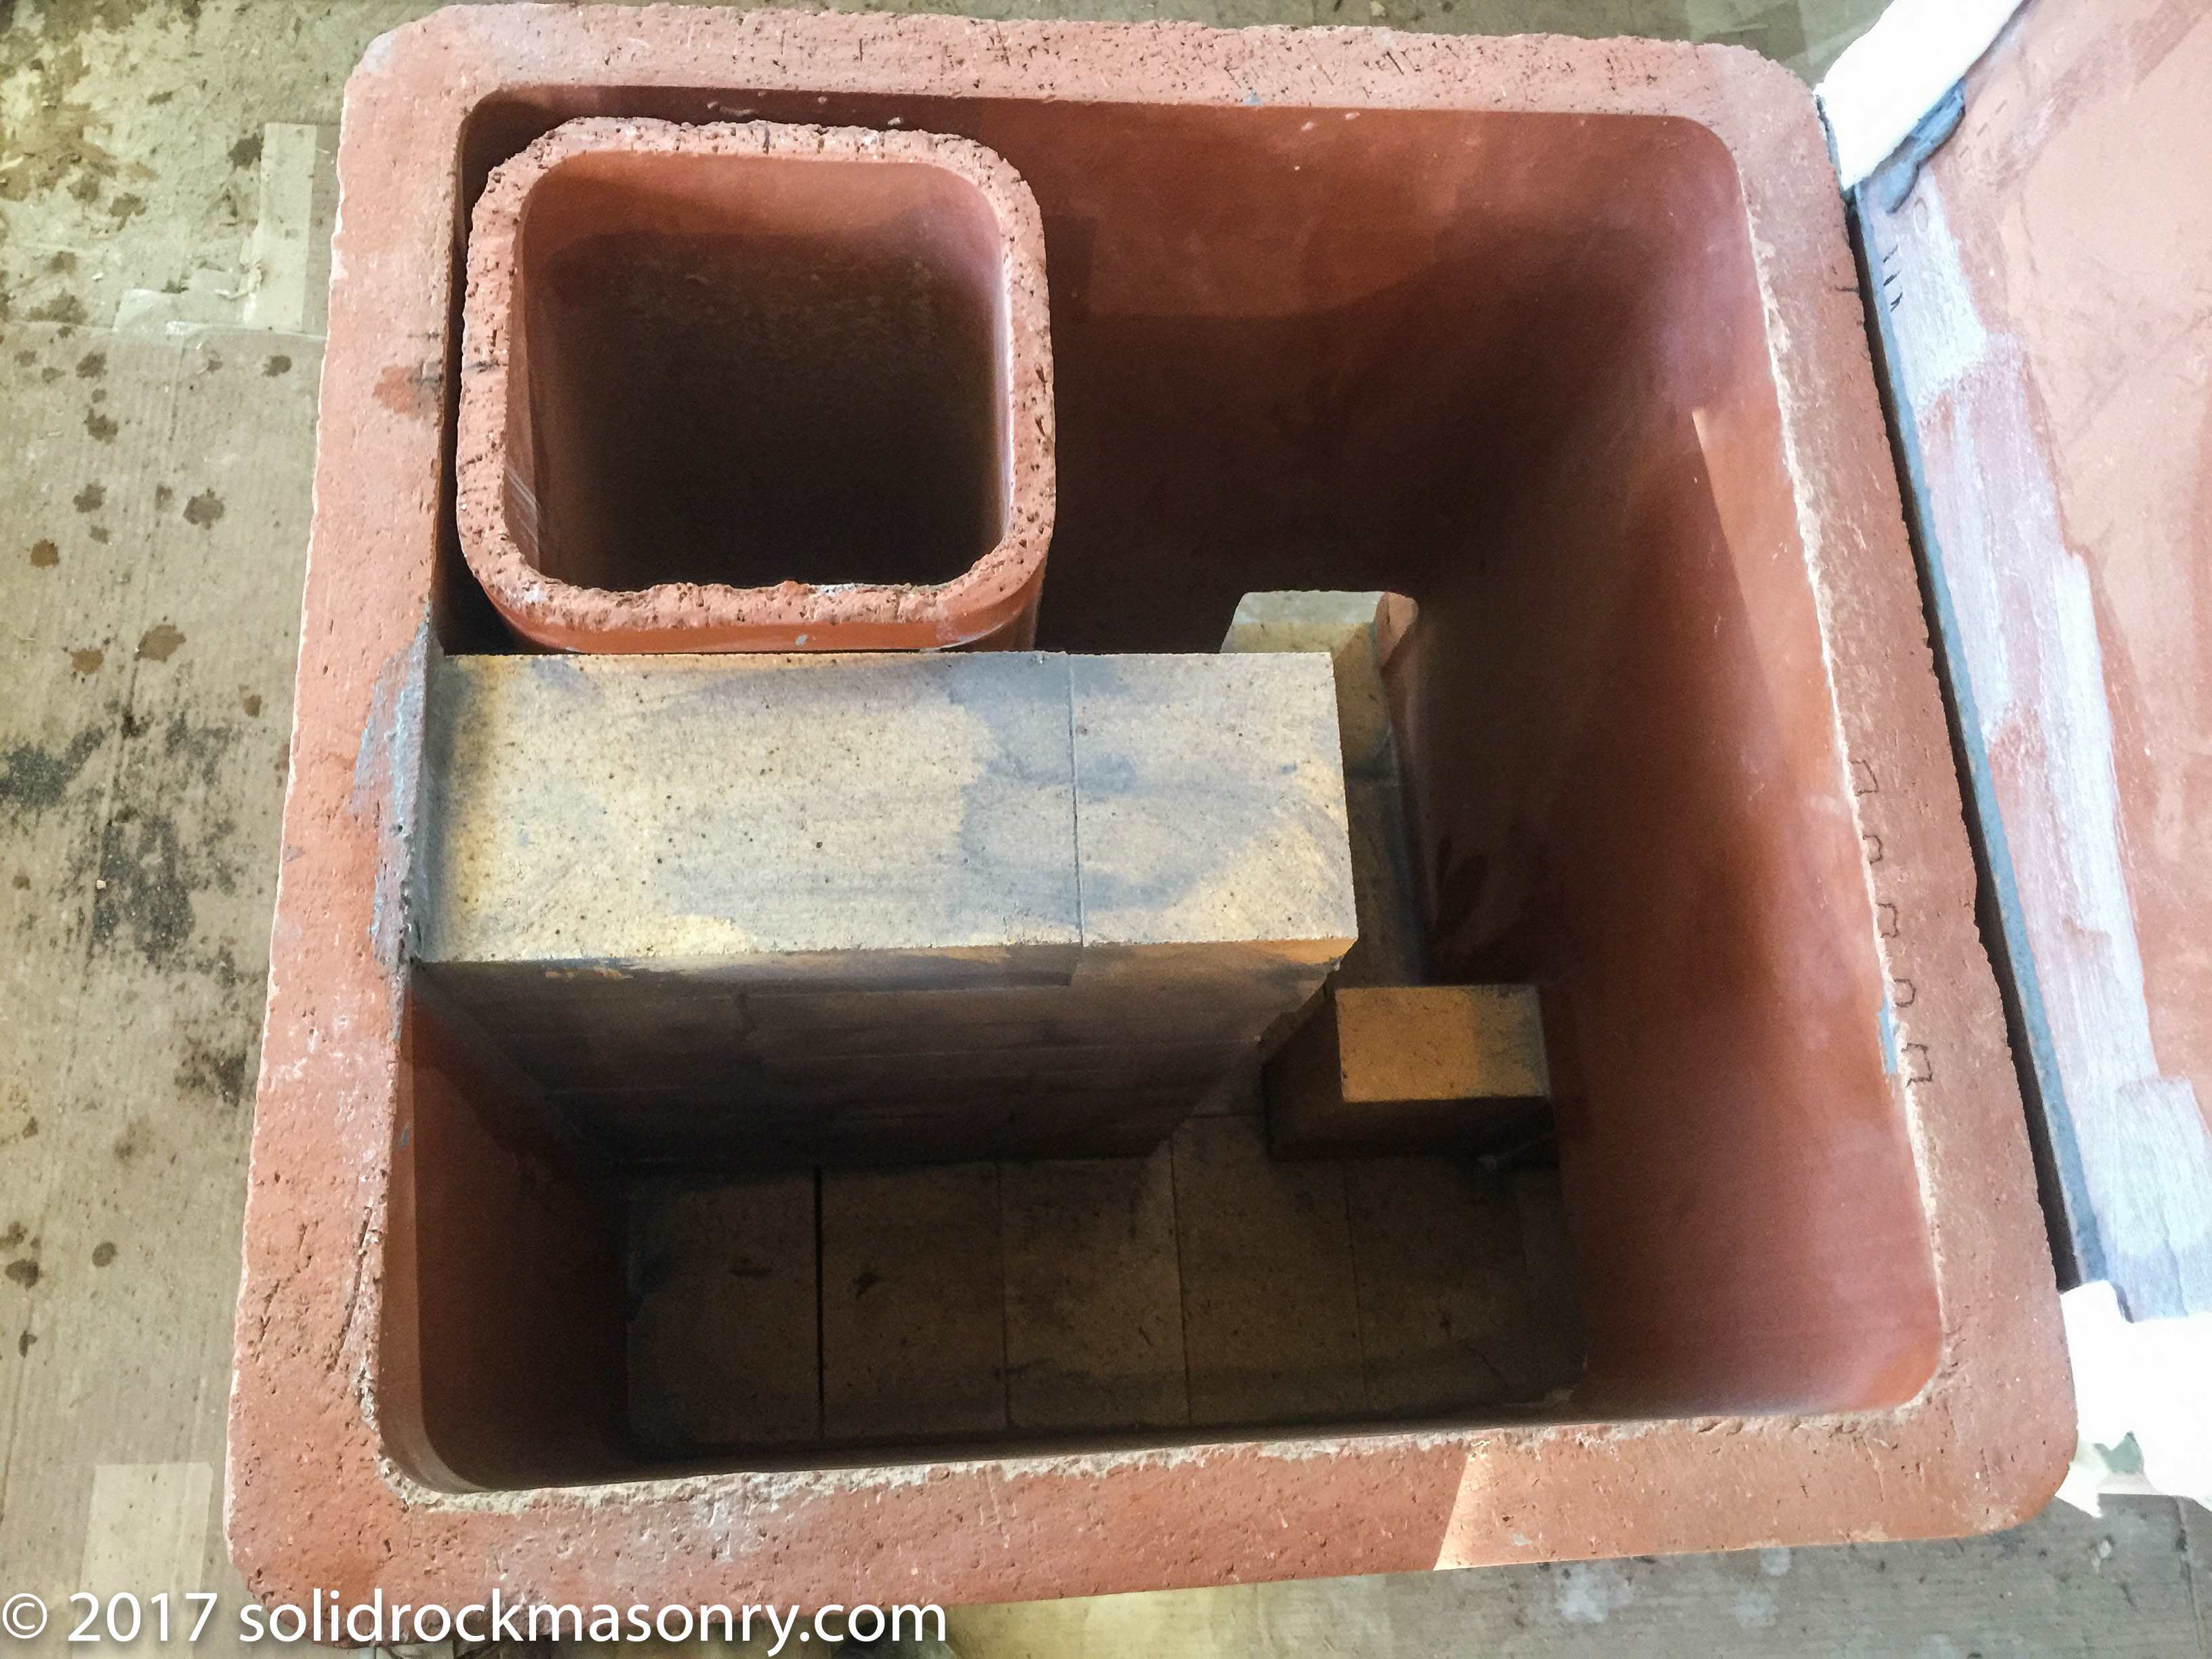
Bell chamber design: Entrance into bell is the bottom right of this photo. Single brick next to entrance is set in dry and acts as a diverter so that the heated gases are directed into the main part of the bell and not allowed to go directly into the chimney updraft channel. Dry brick also can be moved to allow for cleaning out fly ash that will collect in the bottom of the bell. Firebrick wall in center is for mass and part of the bell design, it also acts to stabilize the 8×8″ clay flue tile updraft chamber. The small hole in the upper right is for a clean out. The updraft into the chimney is located at the base of the 8×8 clay flue liner. The exit hole into the base of the 8×8″ clay updraft channel is 6″w x 9″h.
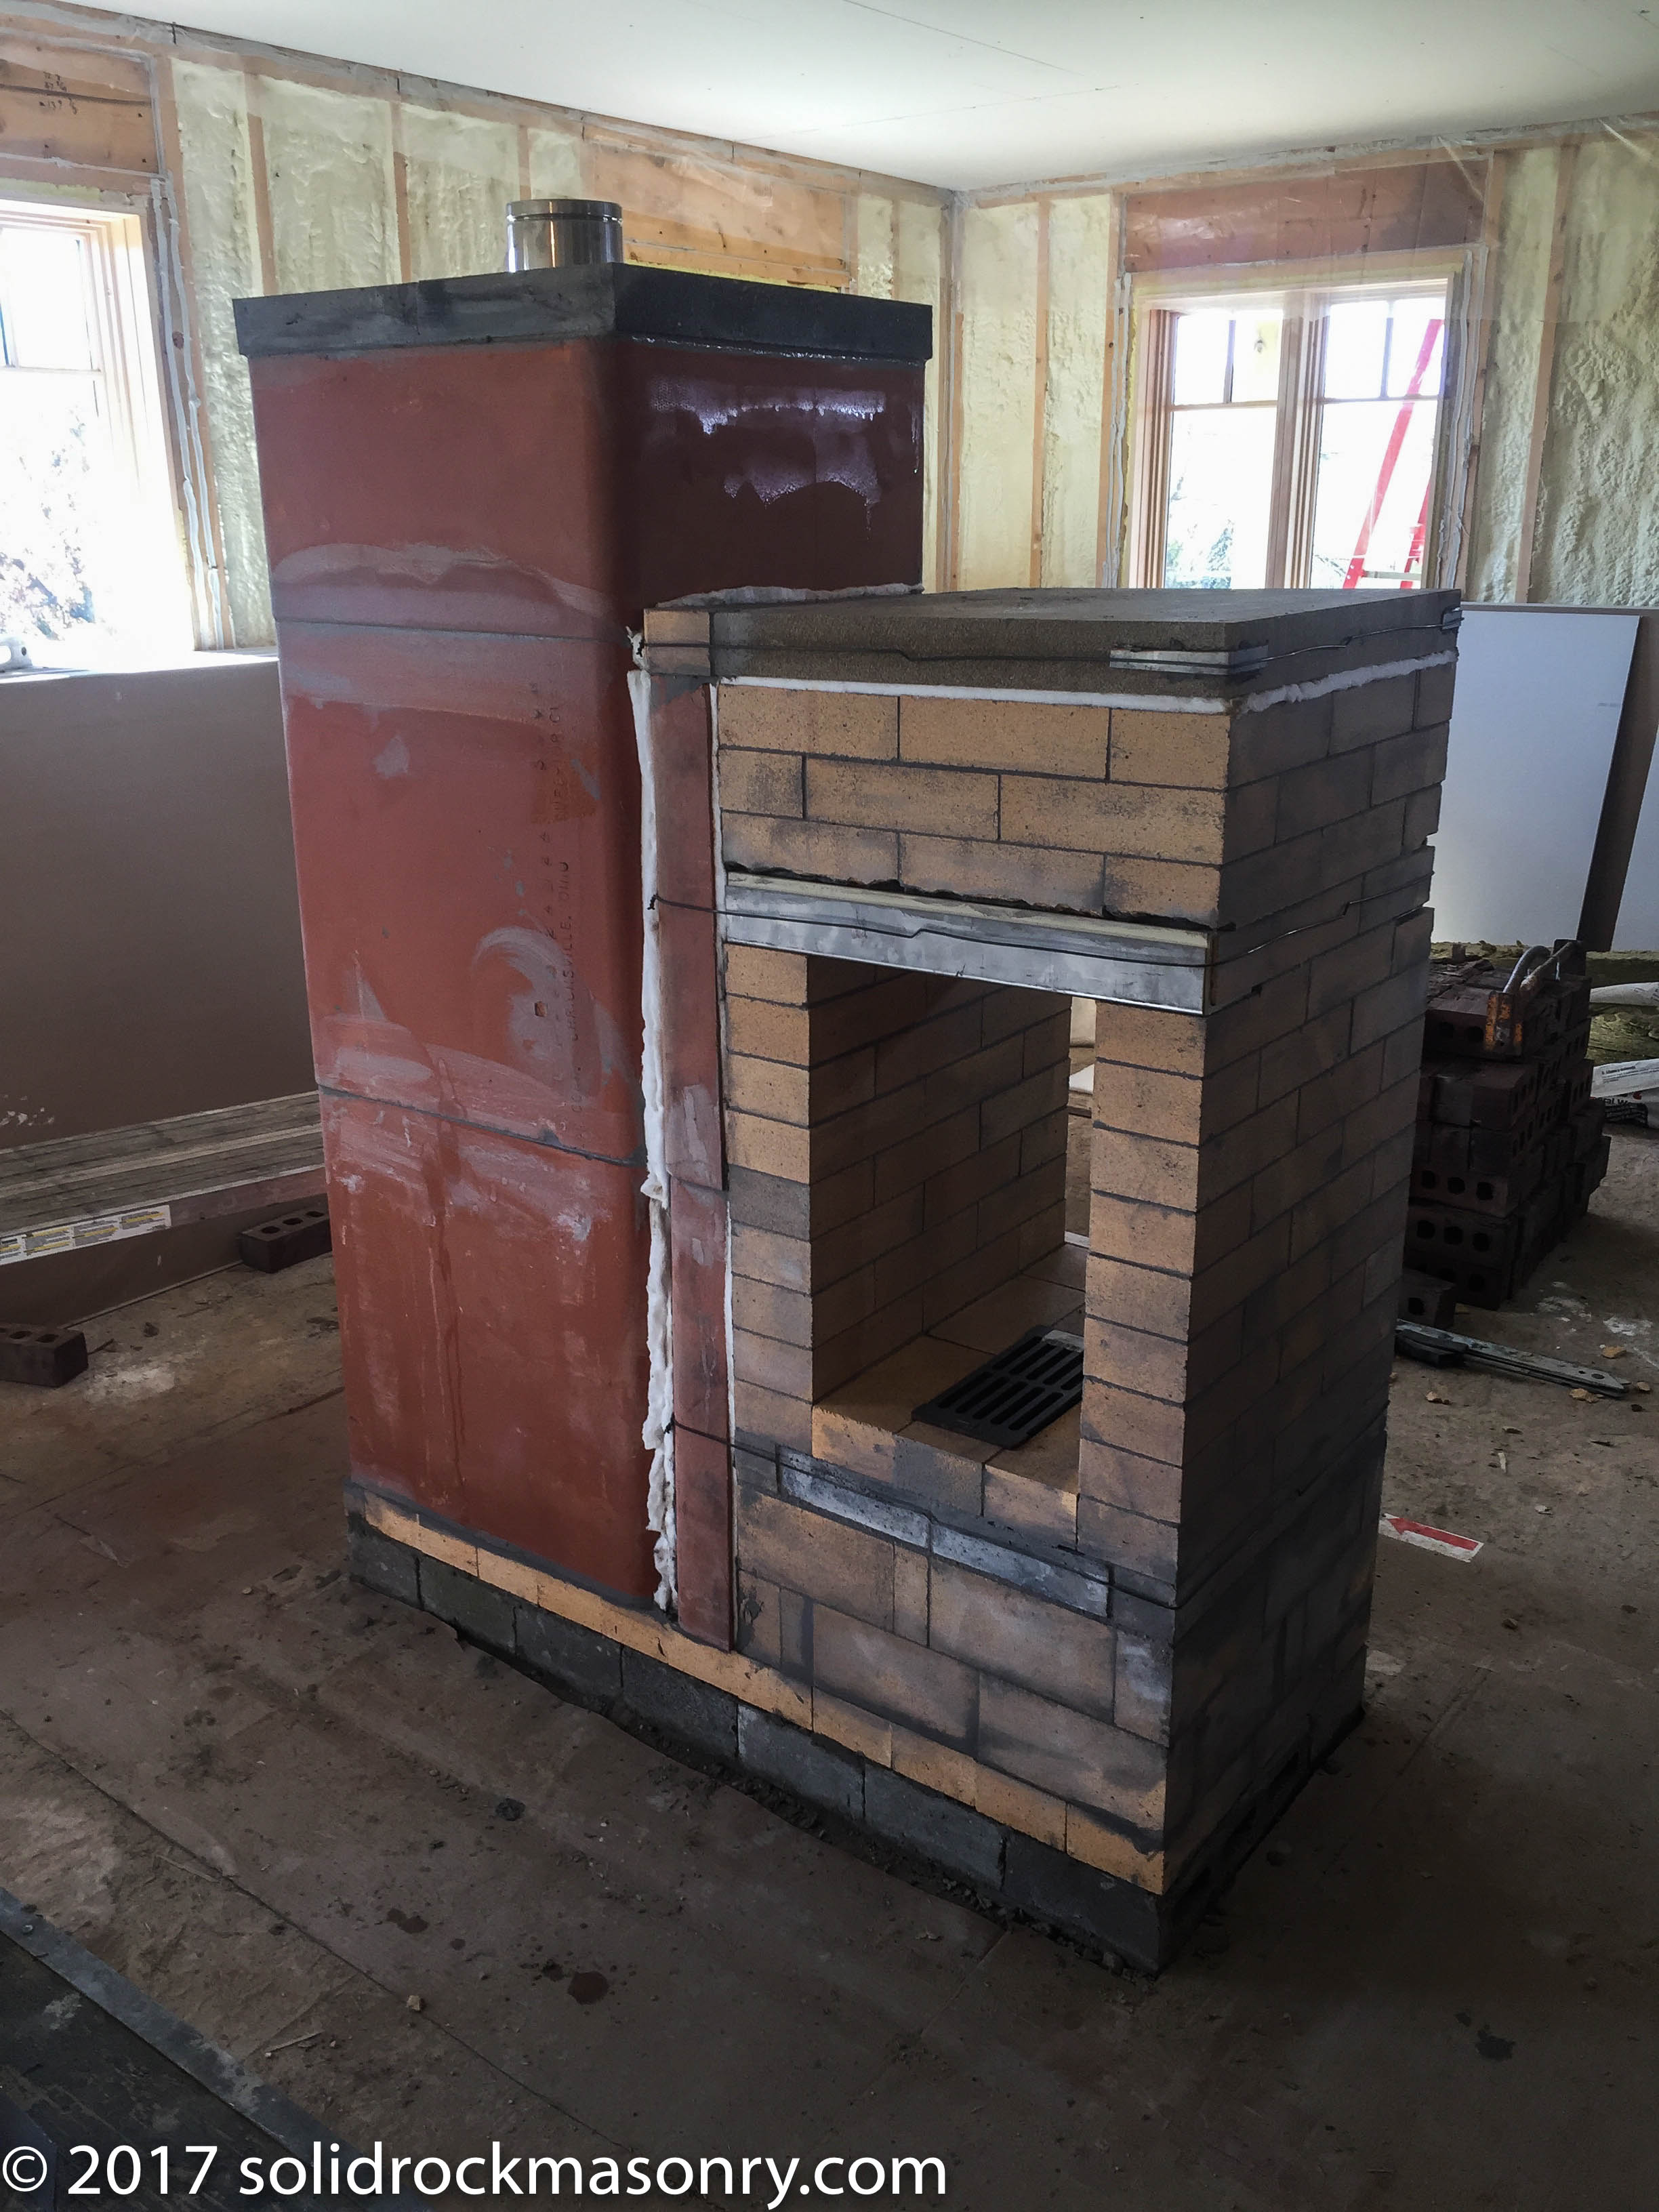
The Bell is built up to a height of around 66″ tall, this height is flexible. 2.5″ firebrick or cast refractory slabs are placed across the top of the bell and set dry on a gasket of 1/2″ ceramic wool. The 7-8″ ID chimney hole is cut into the capping slabs. The top of the 8×8″ clay updraft channel also has a ceramic wool gasket on top so that it is allowed to expand. We attach a stainless steel chimney adapter on top of the capping slabs, this is installed with high temperature silicon gasket and secured with 1.5″ concrete screws into cap. We then install 3.5″ of Roxul mineral wool insulation on top of the cap and around chimney adapter. This will then get a 2″ mortar cap once the brick work on exterior of core is finished.
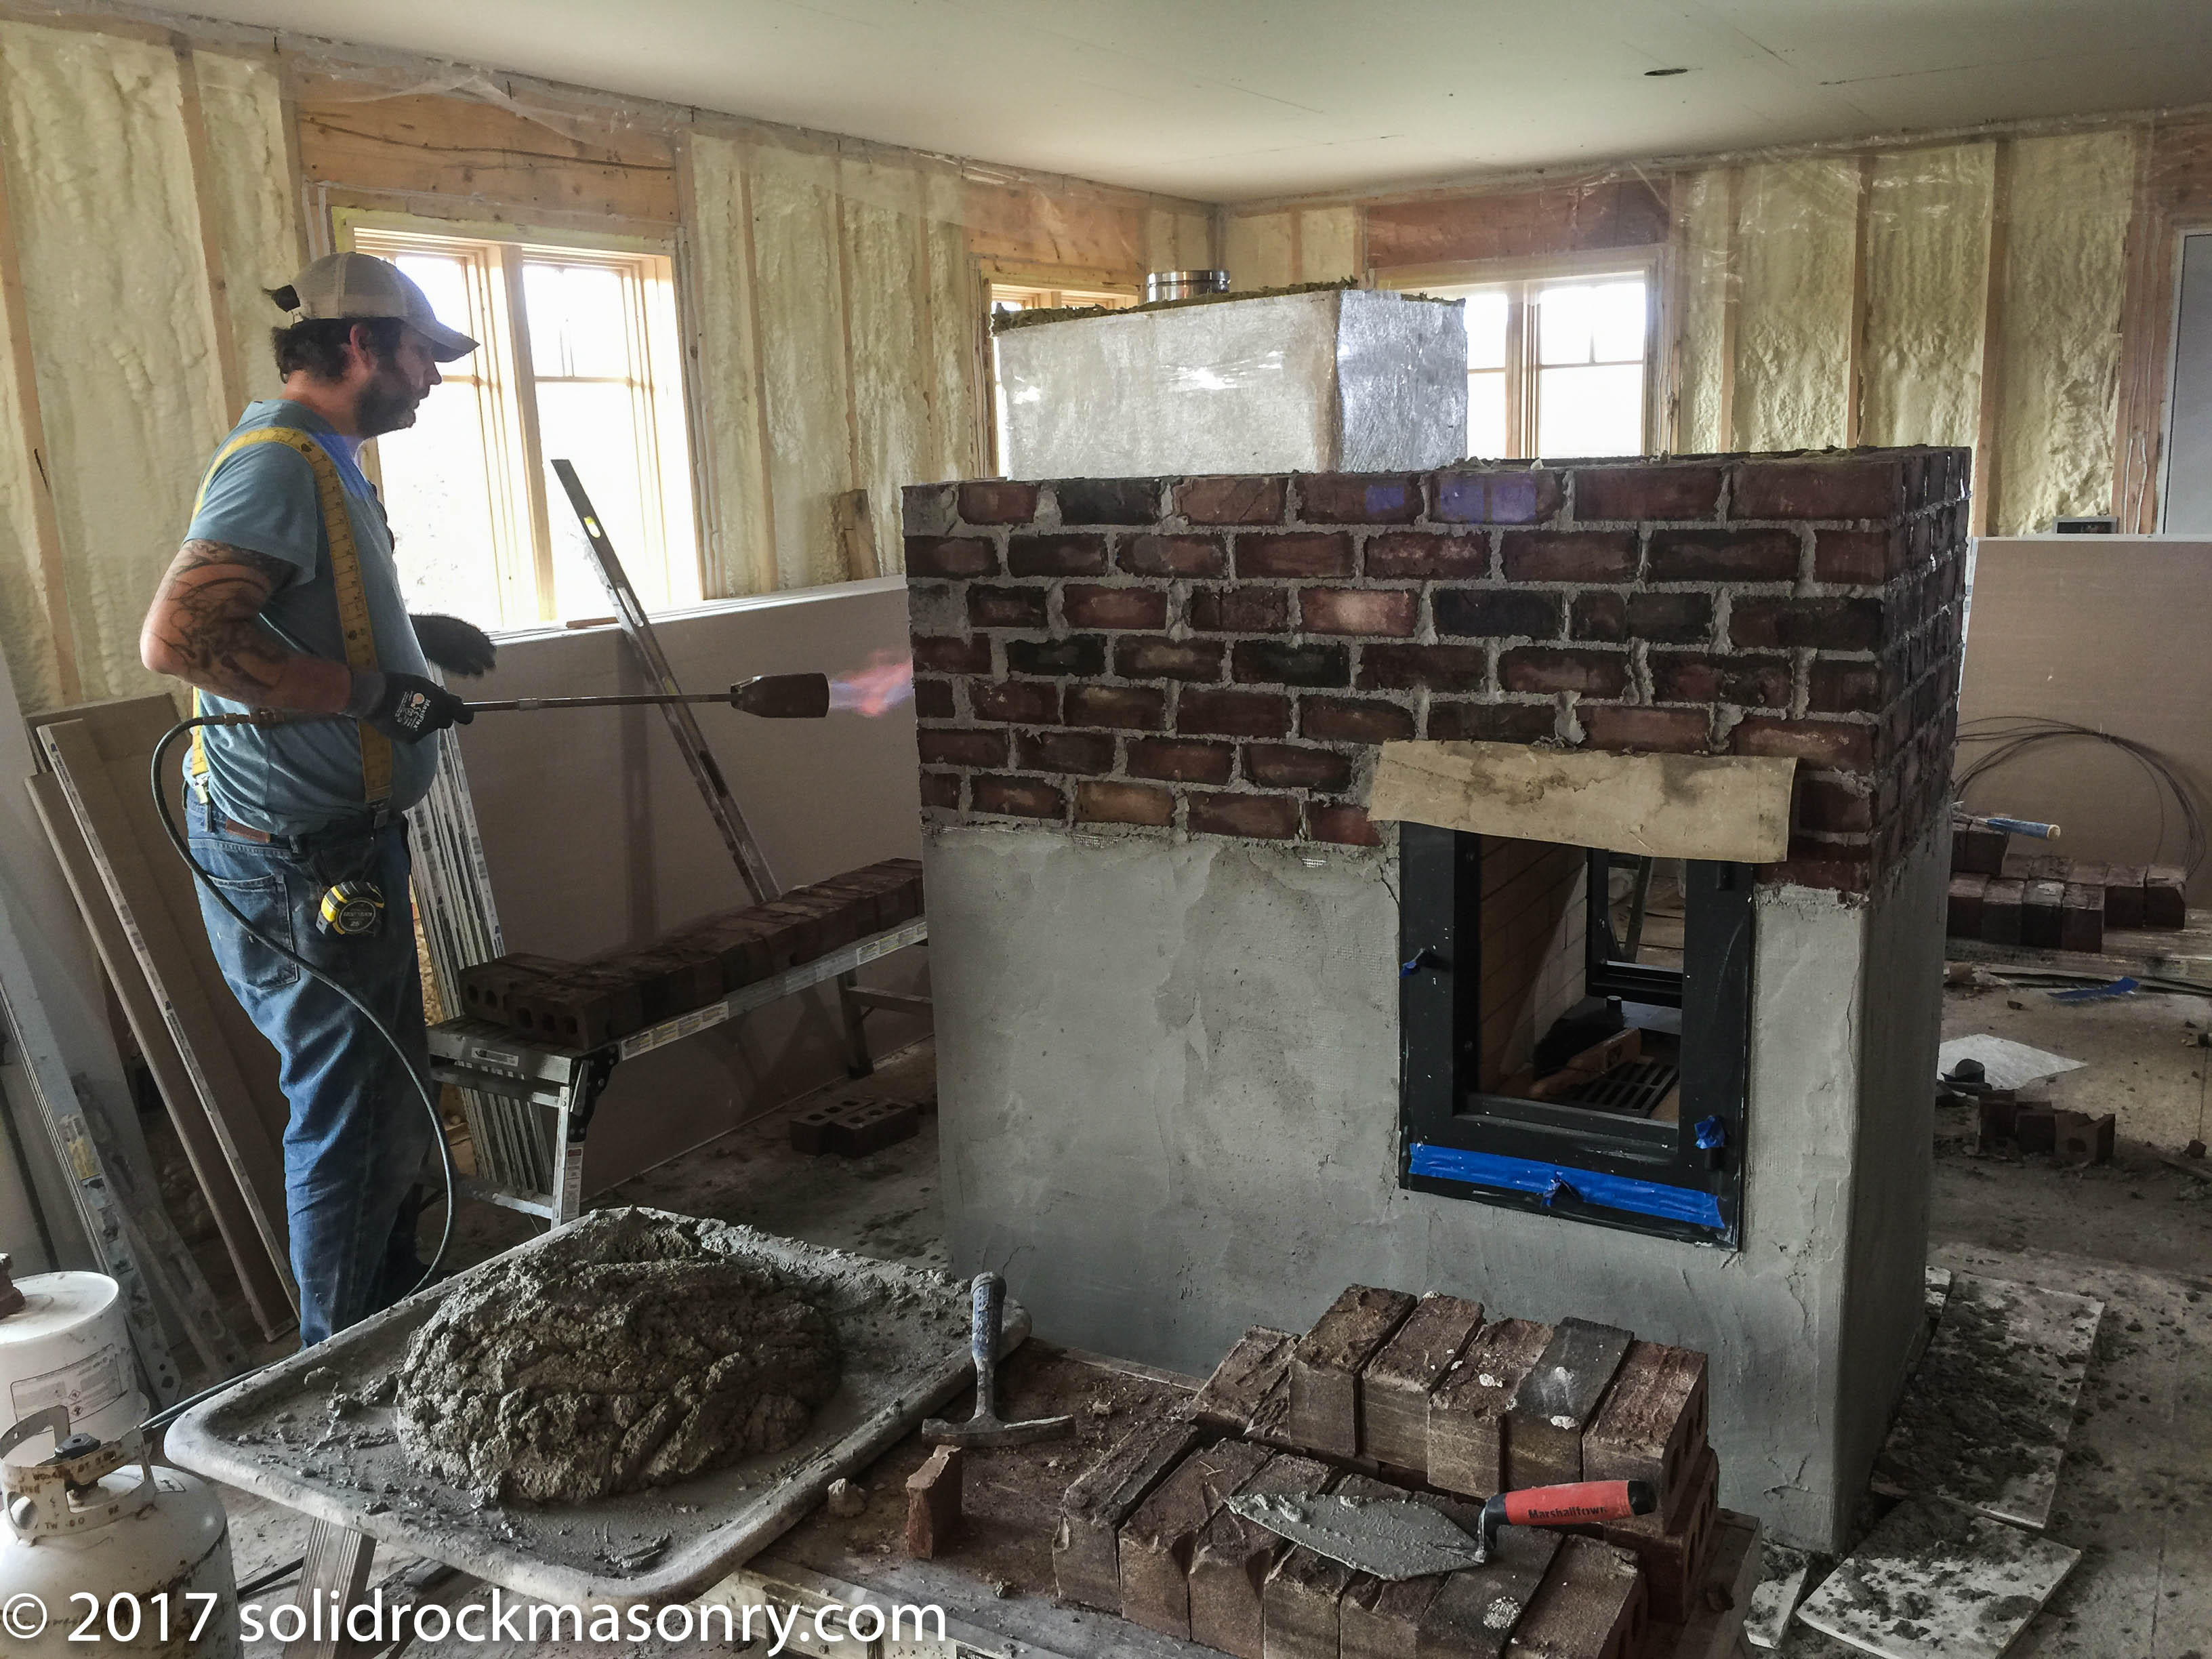
4″ brick are laid around the heater core and set with Type N mortar mix. Stucco over the brickwork is a really good latex modified thin set tile mortar. Stucco one coat of thin set, then while mortar is still wet, we embed fiberglass stucco mesh into the thin set then apply a second coat of thin set over the mesh to cover any mesh. Let dry for a day. Doors are set into brickwork with 5/16″ lag bolts with wing nuts embedded 2-3″ into the brickwork.
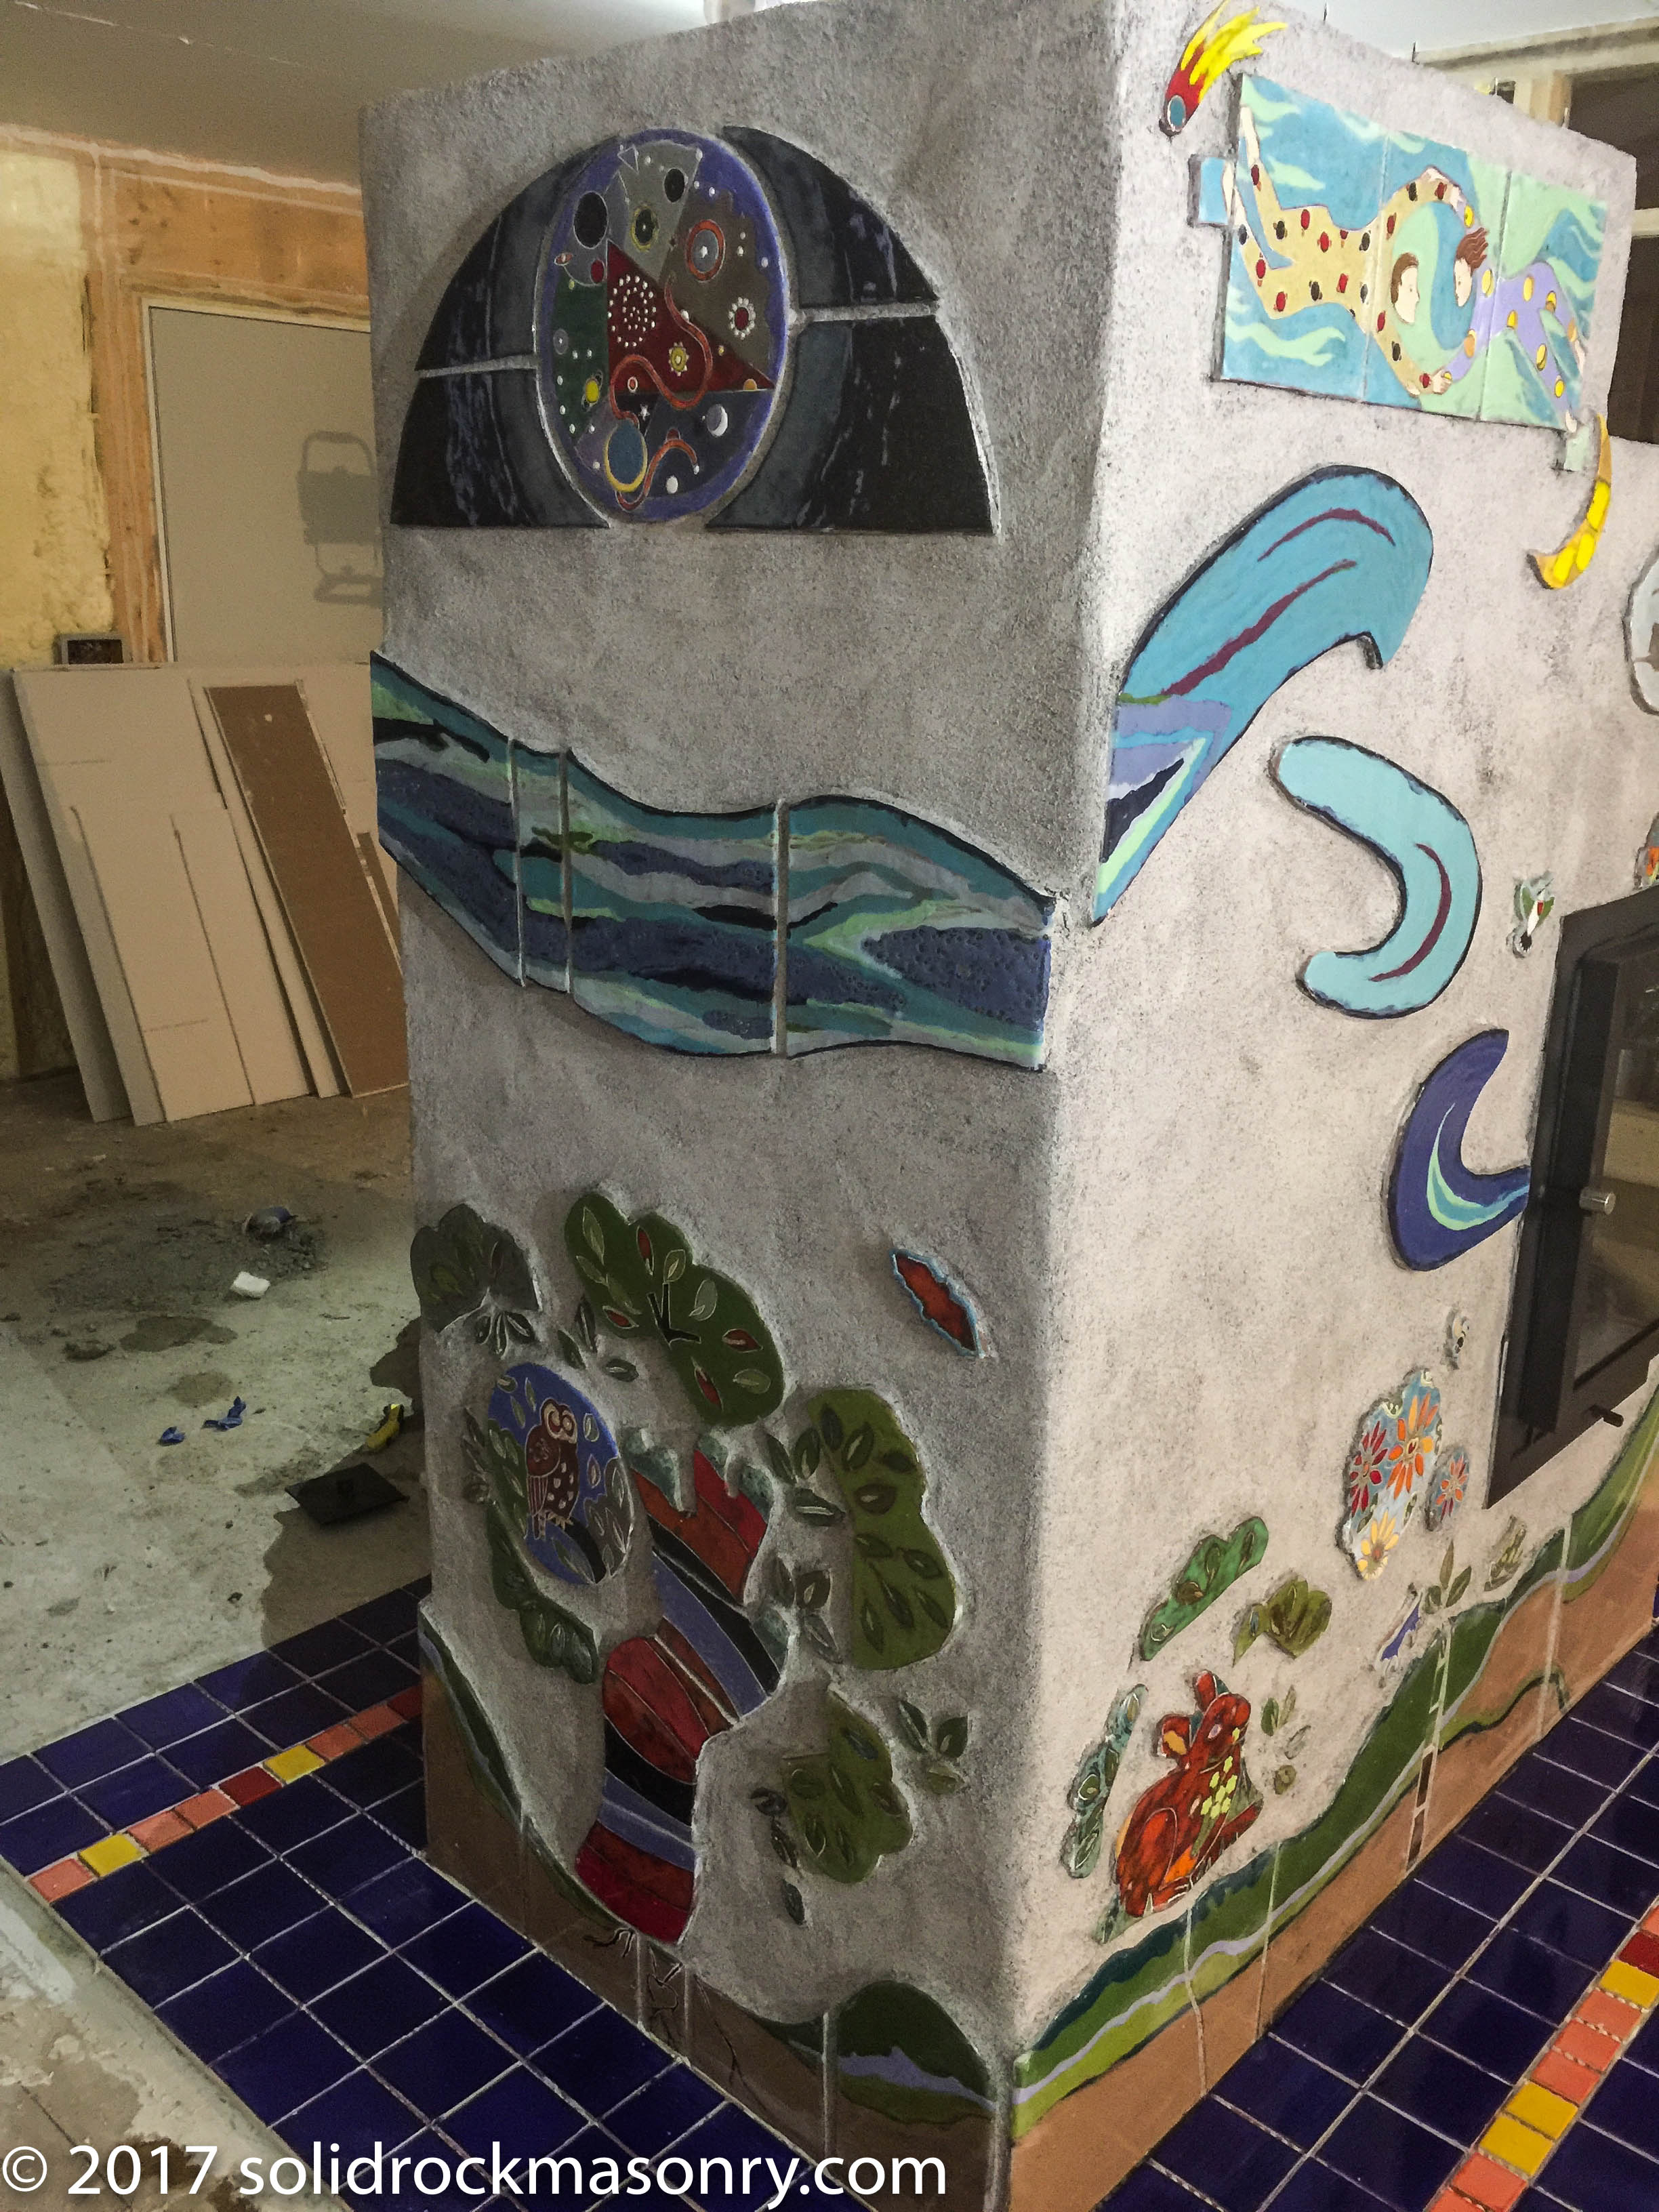
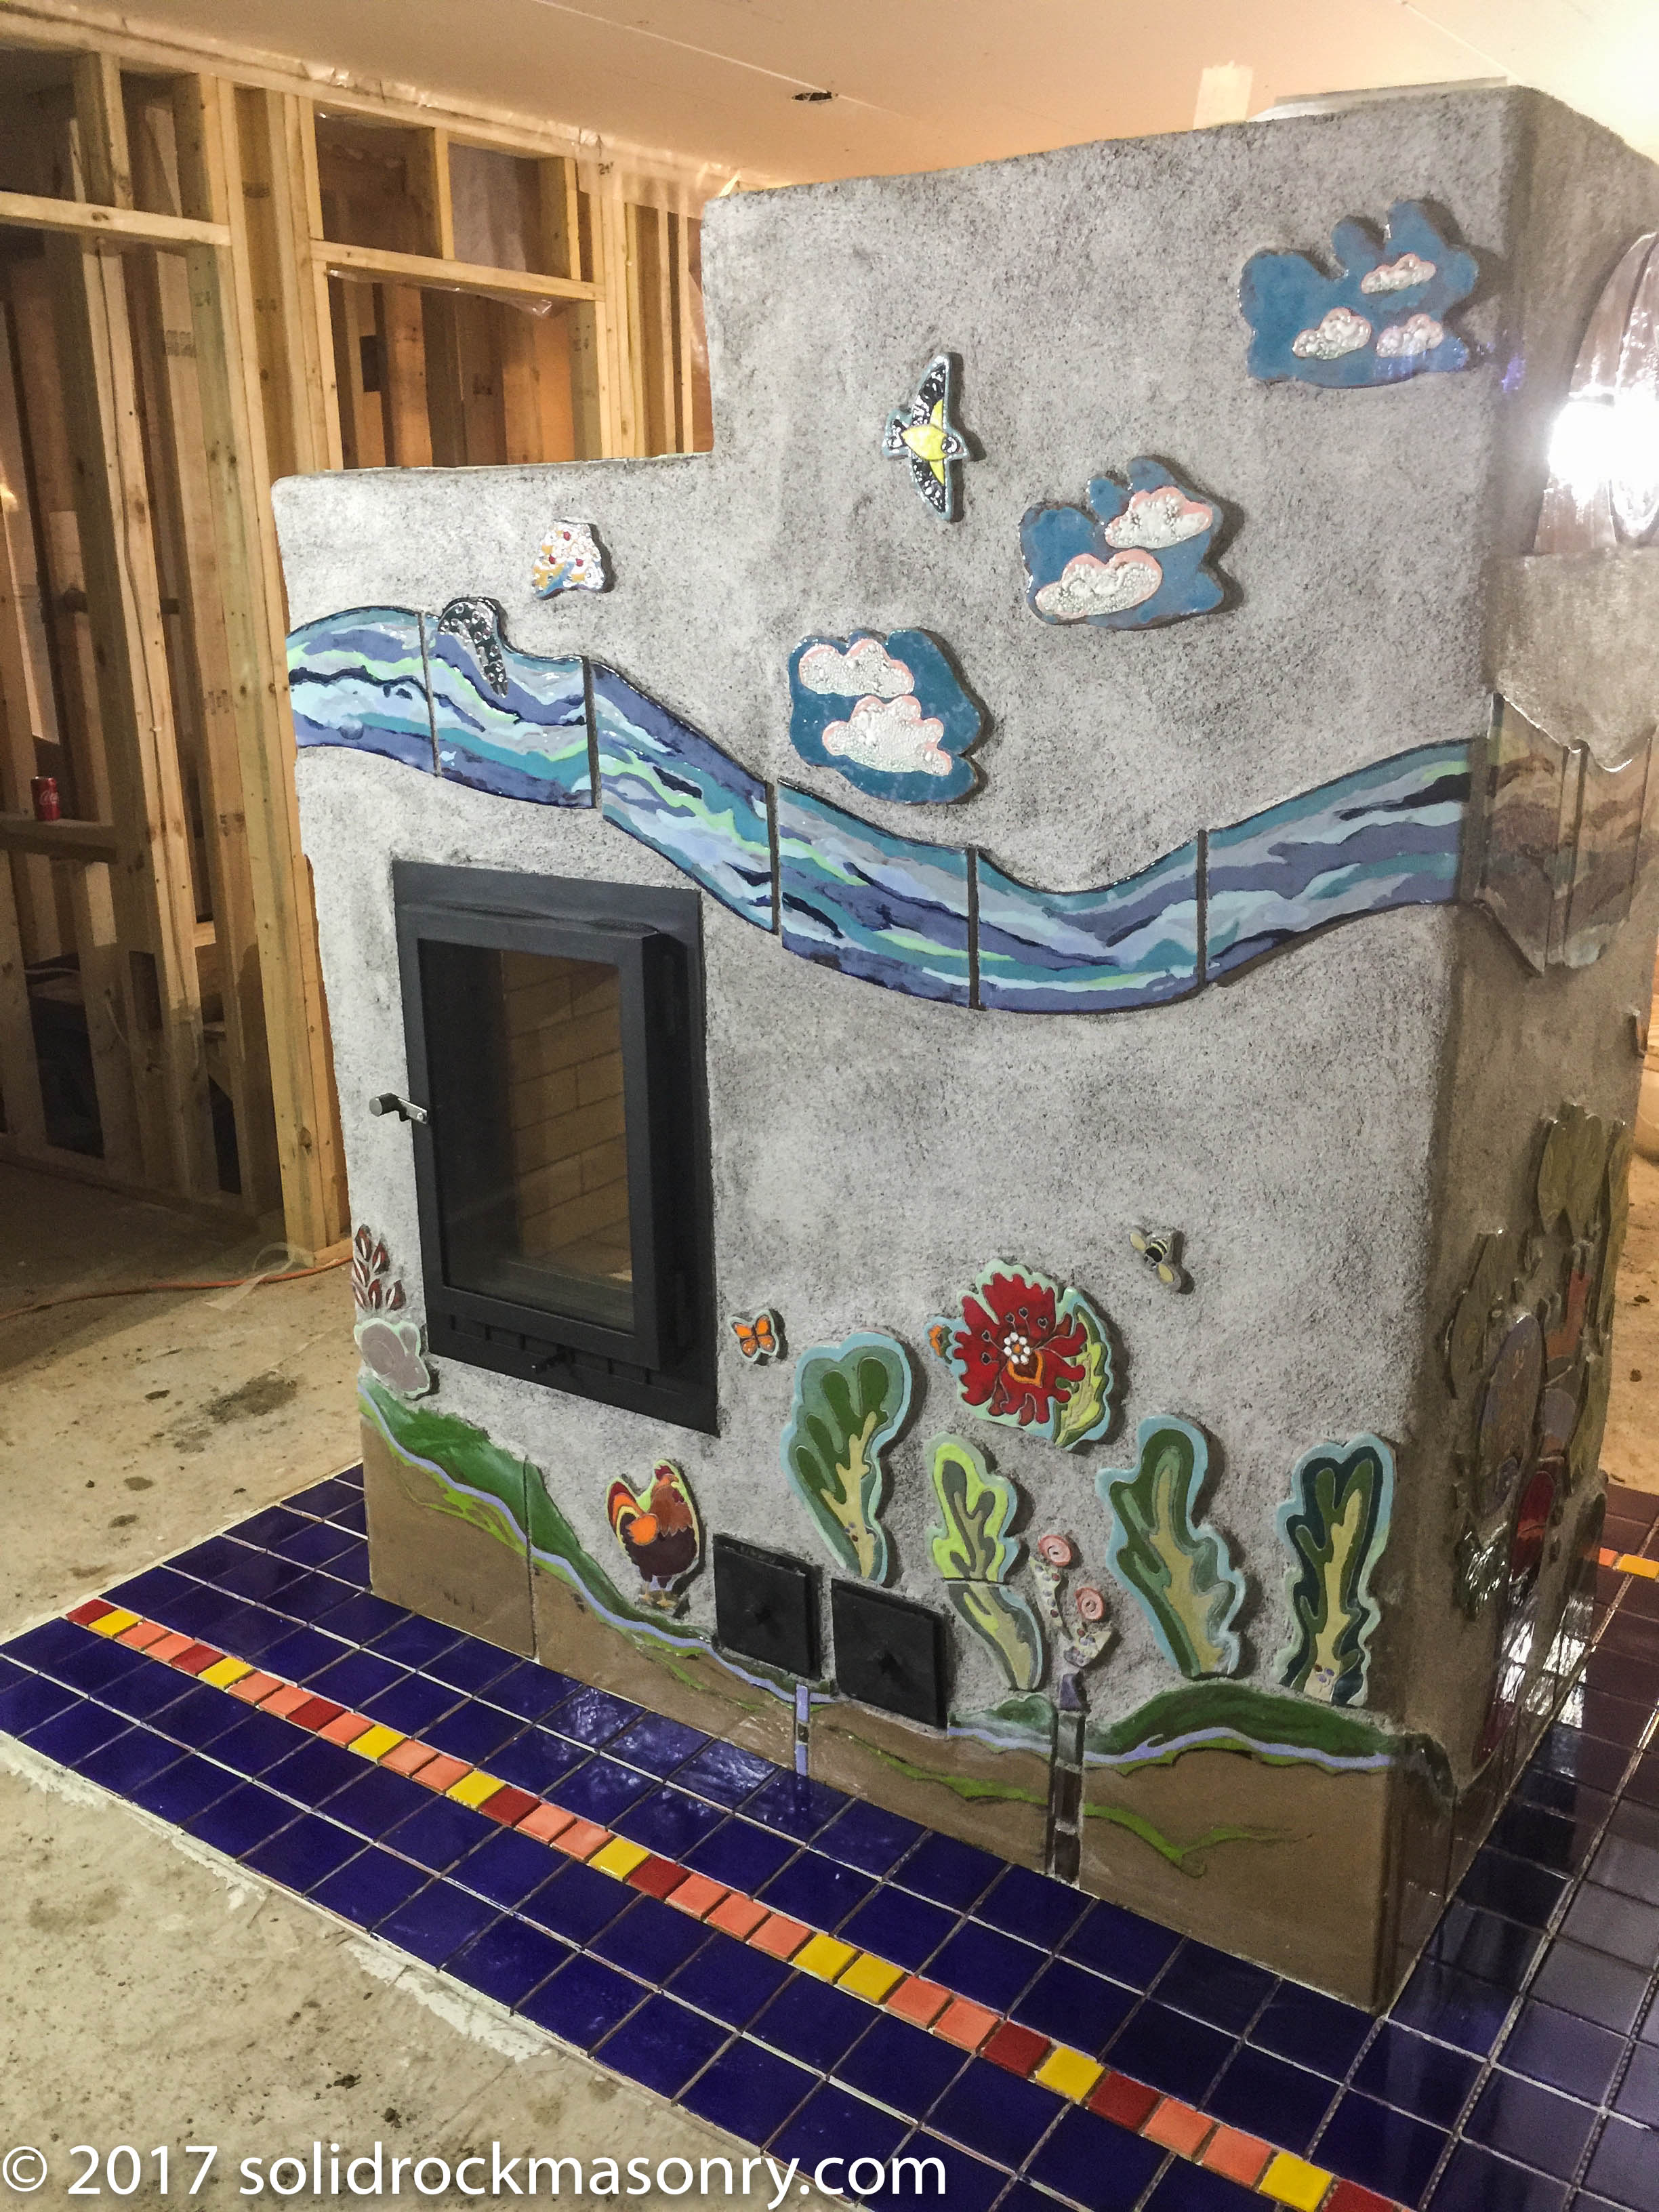
A whimsical custom tile was designed by the homeowner and a local tile shop. Tile was set with latex modified thin set and allowed to dry. We then installed a final coat of lime plaster over the thin set stucco base and used the lime plaster as tile grout. Lime plaster mix ratio was 1 part Hydrated type S lime (from big box store) to 3 parts masons sand. Lime plaster was mixed in buckets 7 days before we used it. We mixed the lime plaster in buckets and then covered top of plaster with ~ 1″ of water and covered top of bucket with a air tight cover. Lime plaster should be mixed ahead of time like this for ease of use.
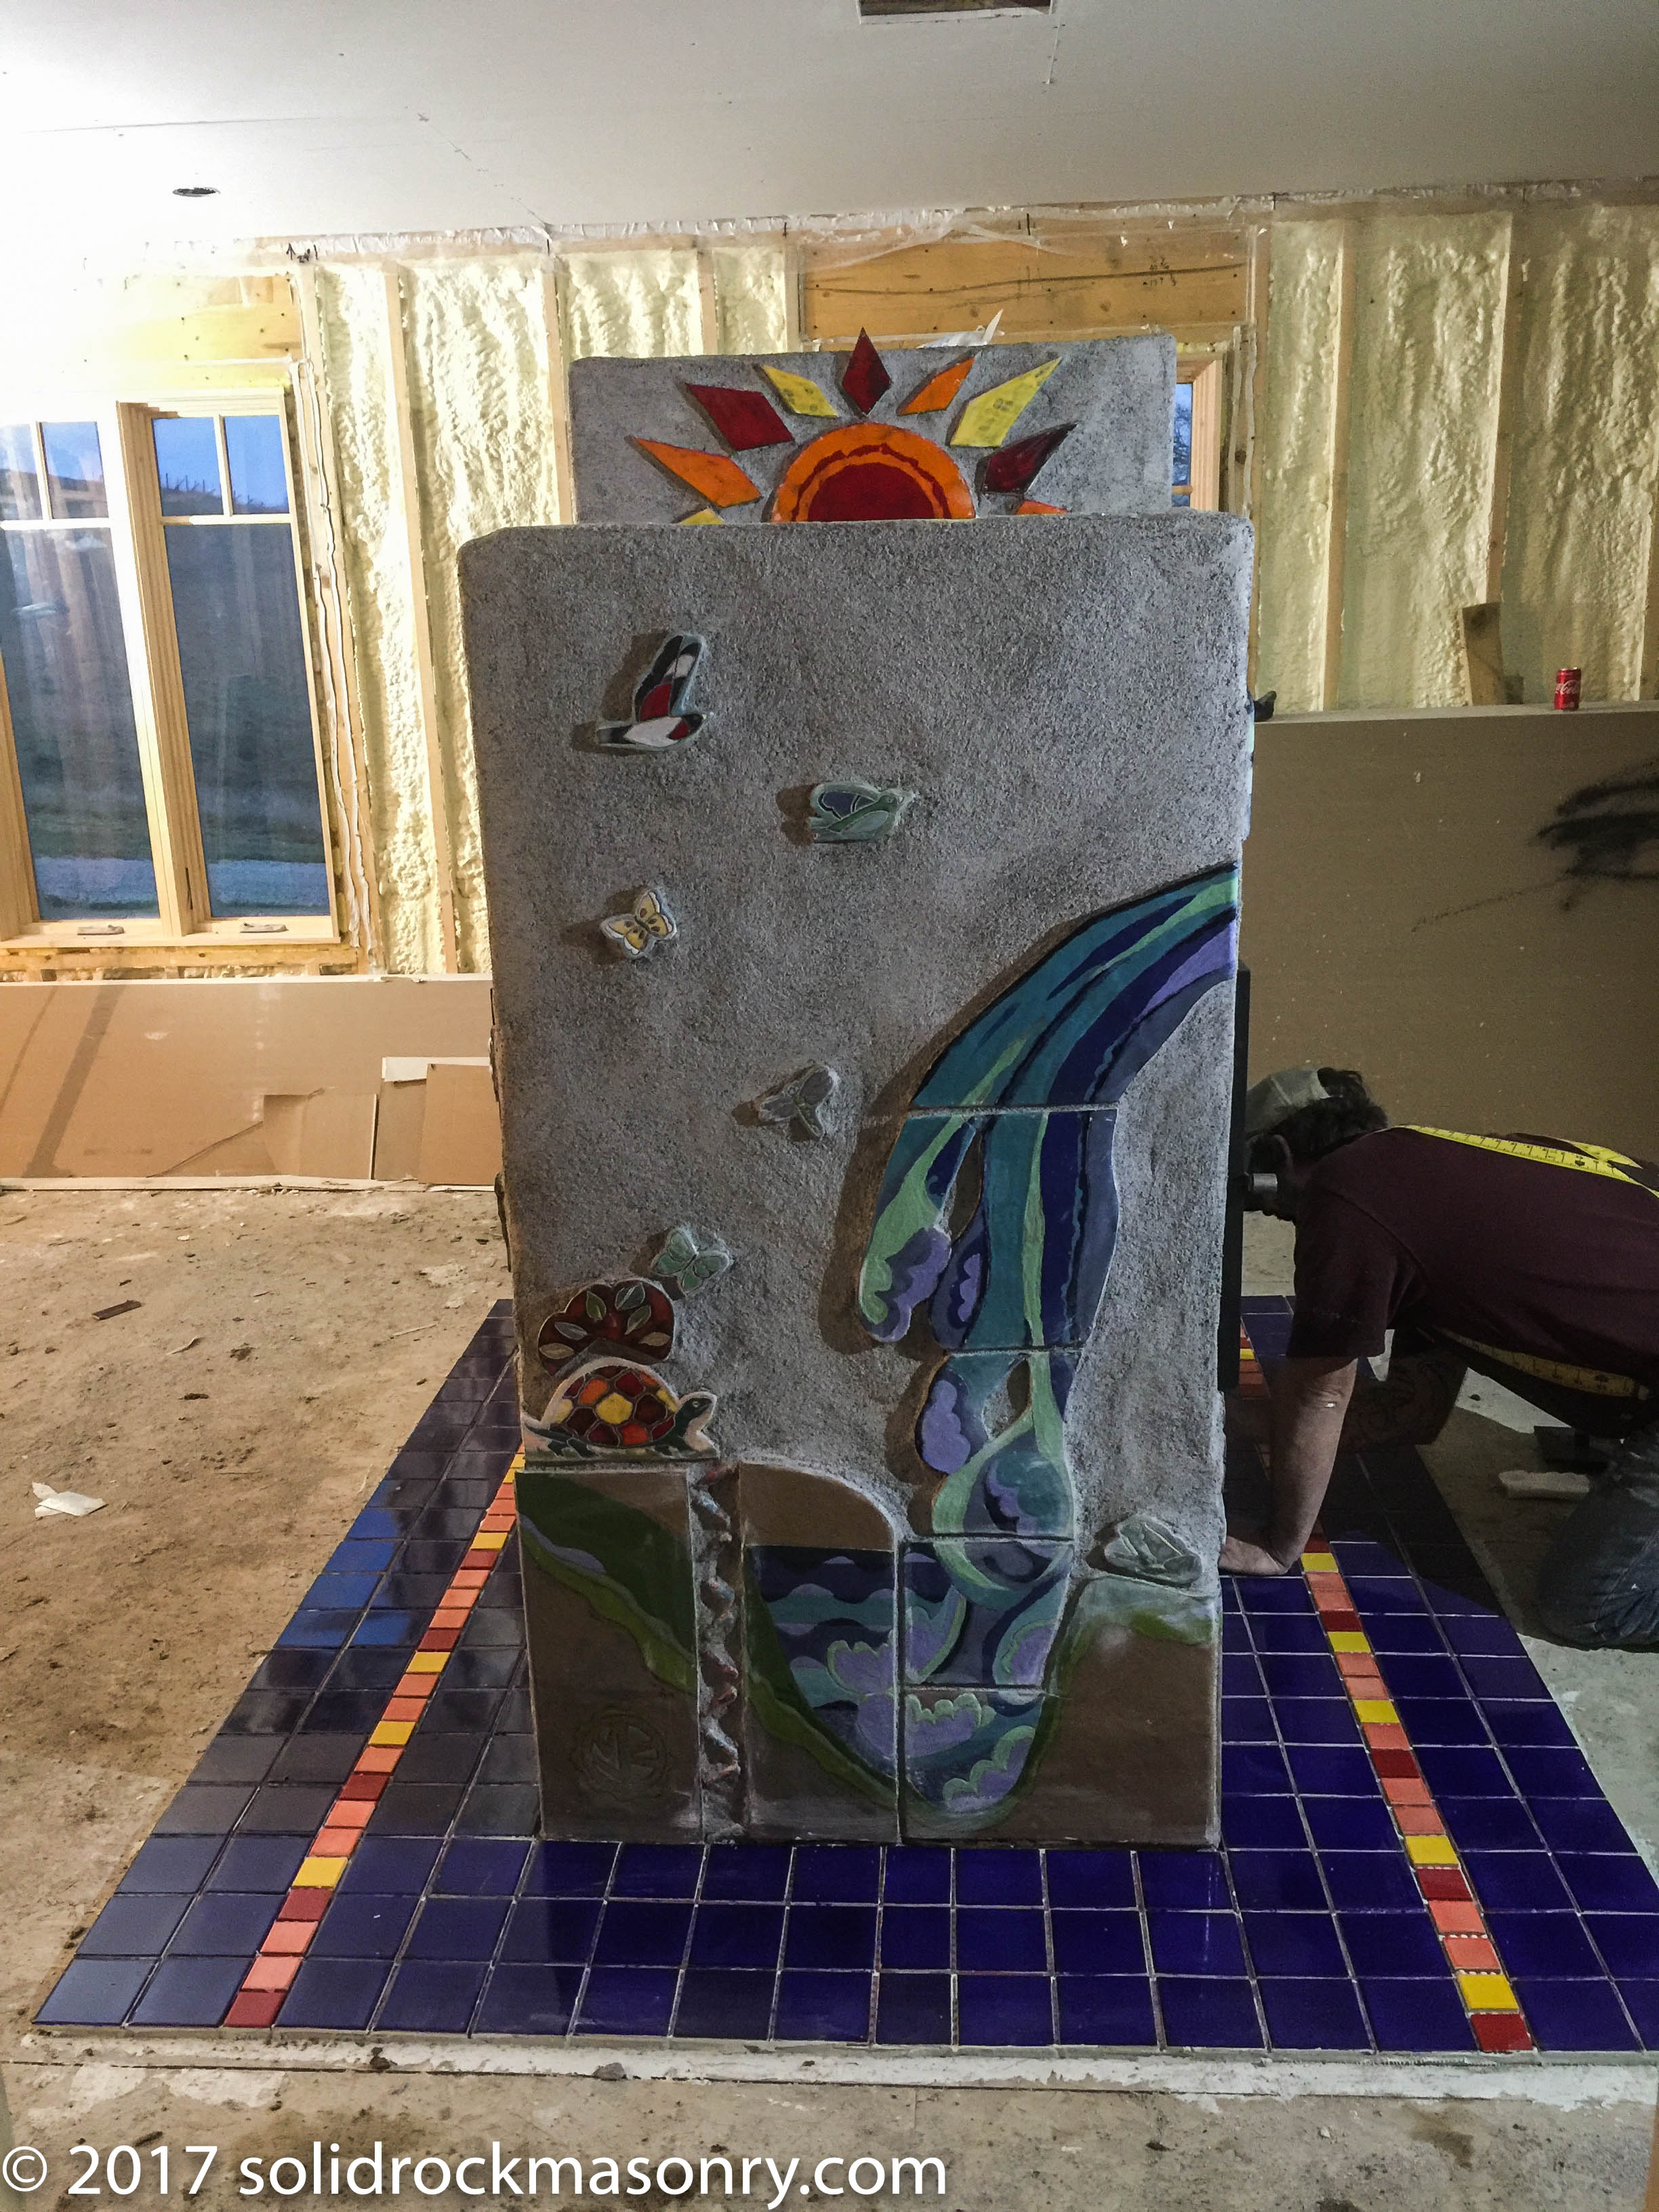
Floor tile was set on top of cement board and set in thin set mortar.
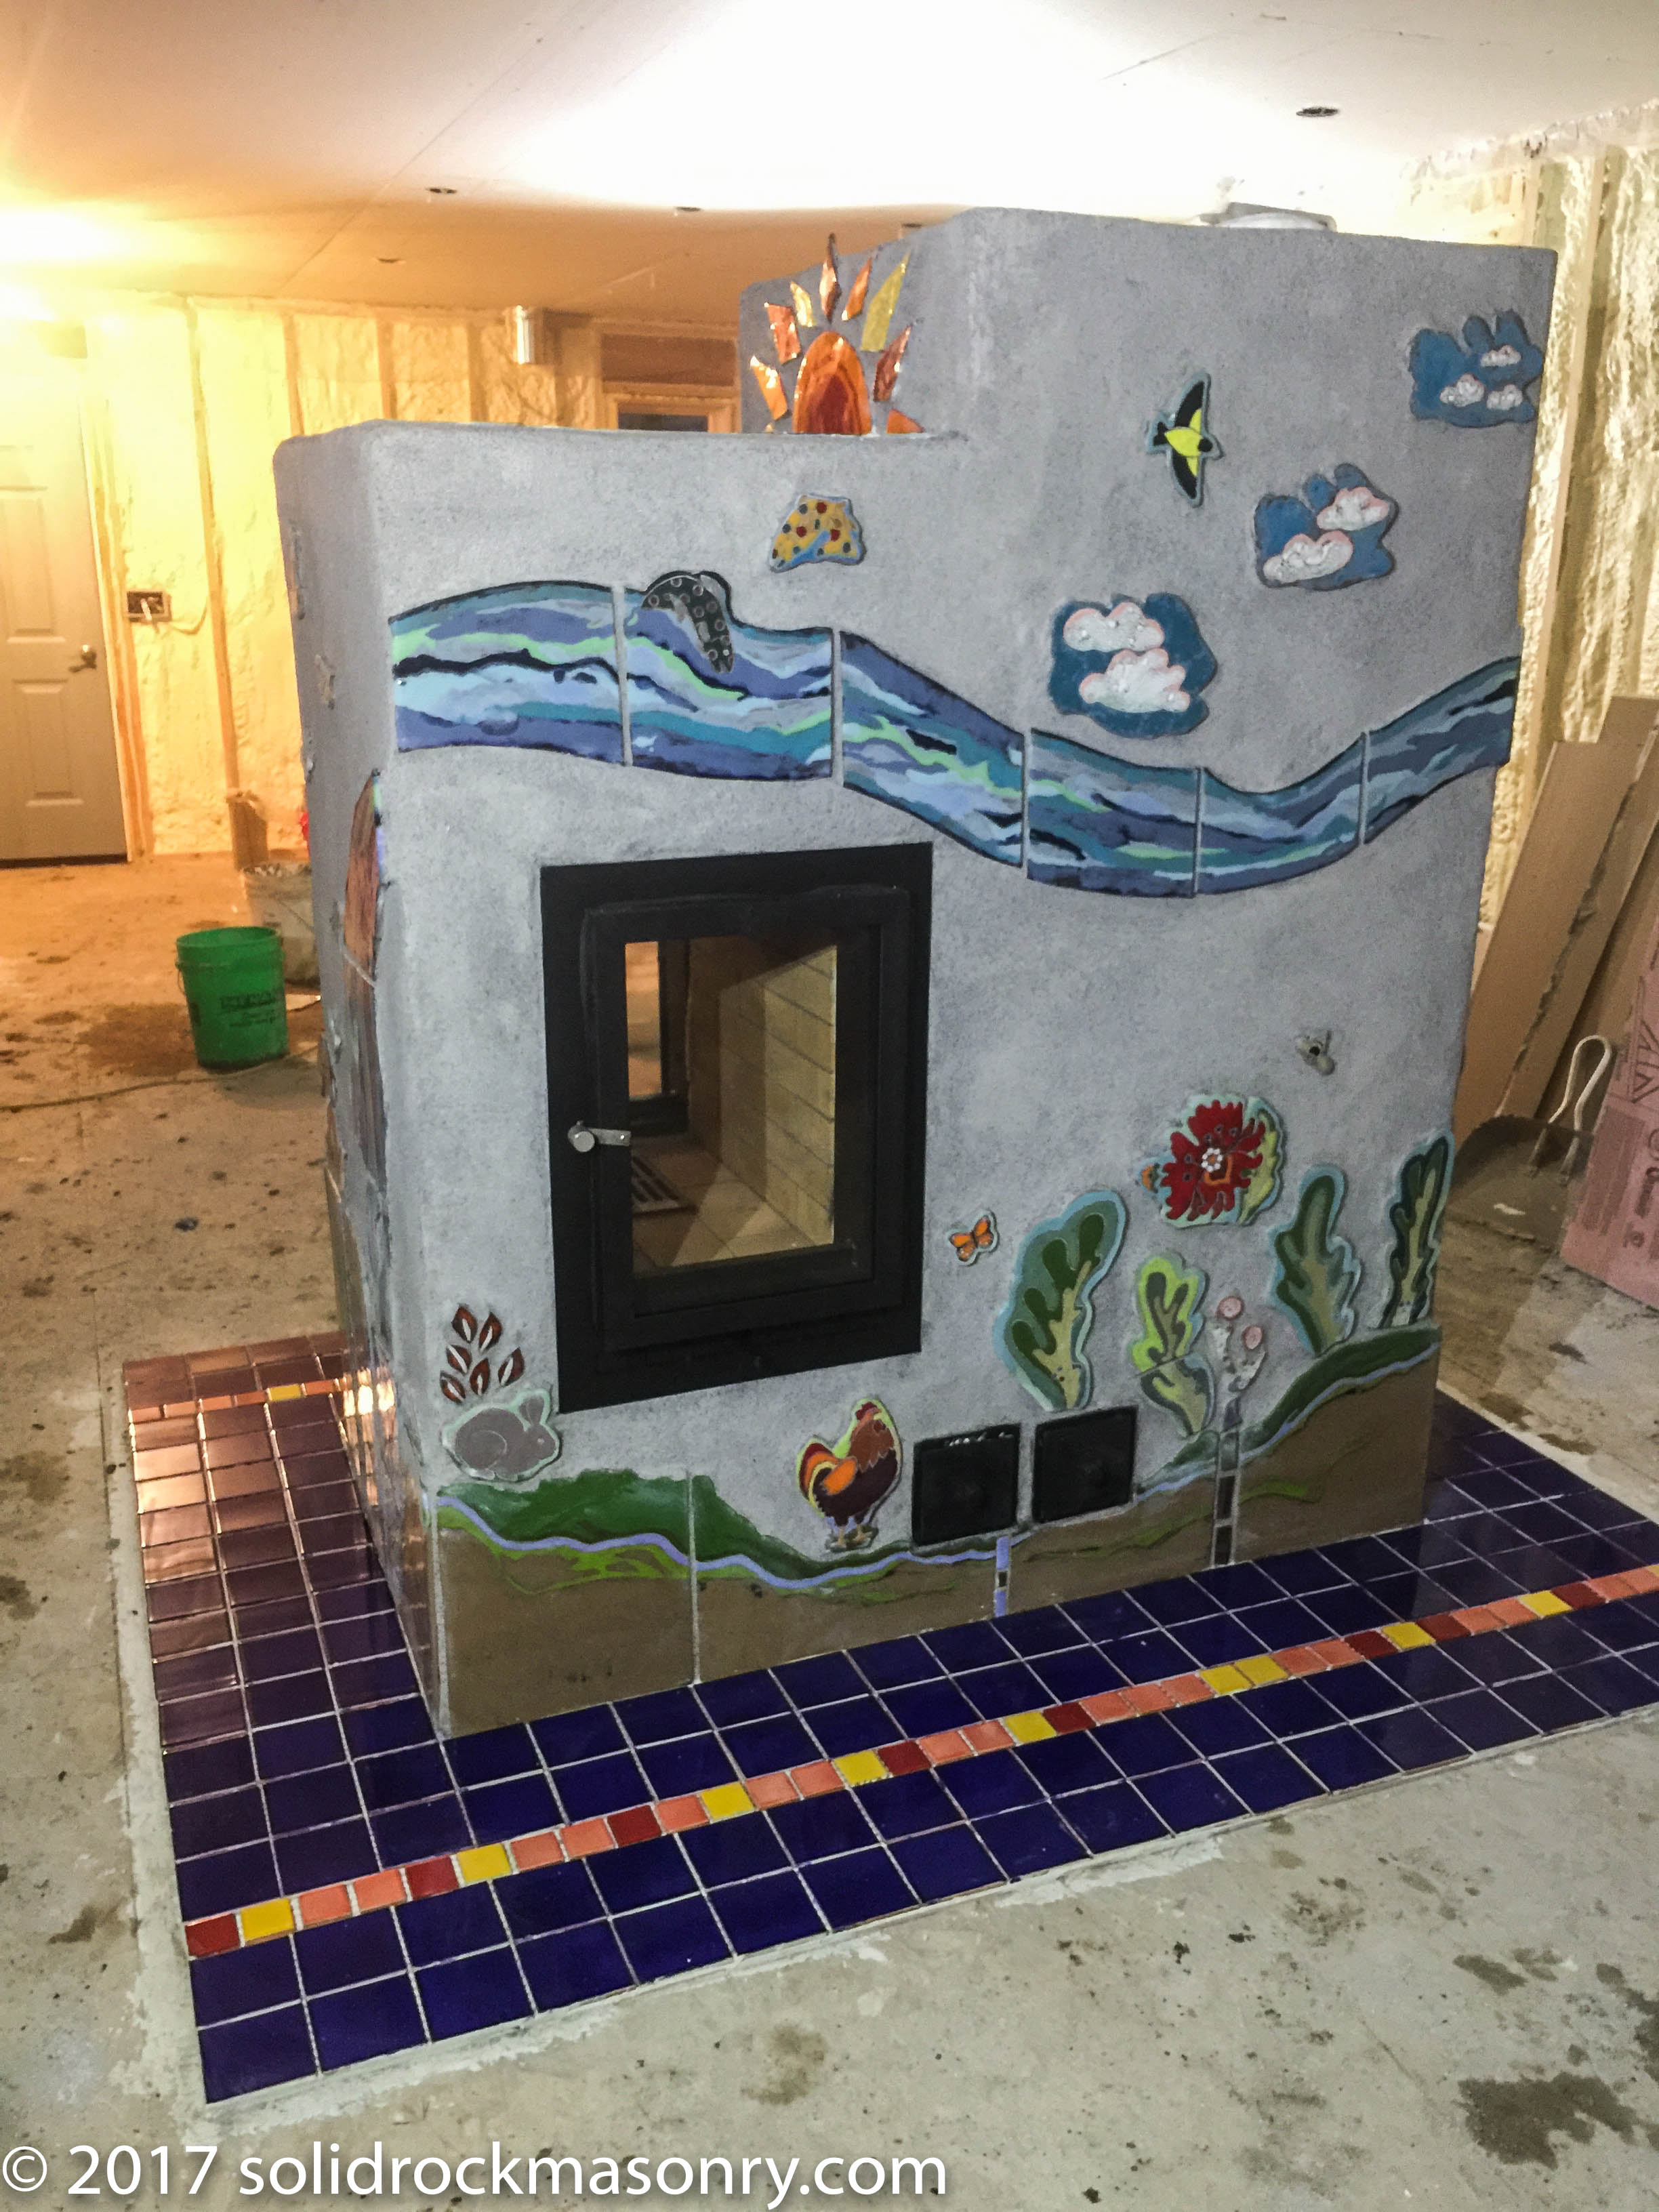
Front view showing the clean out doors in place (2) black doors by rooster
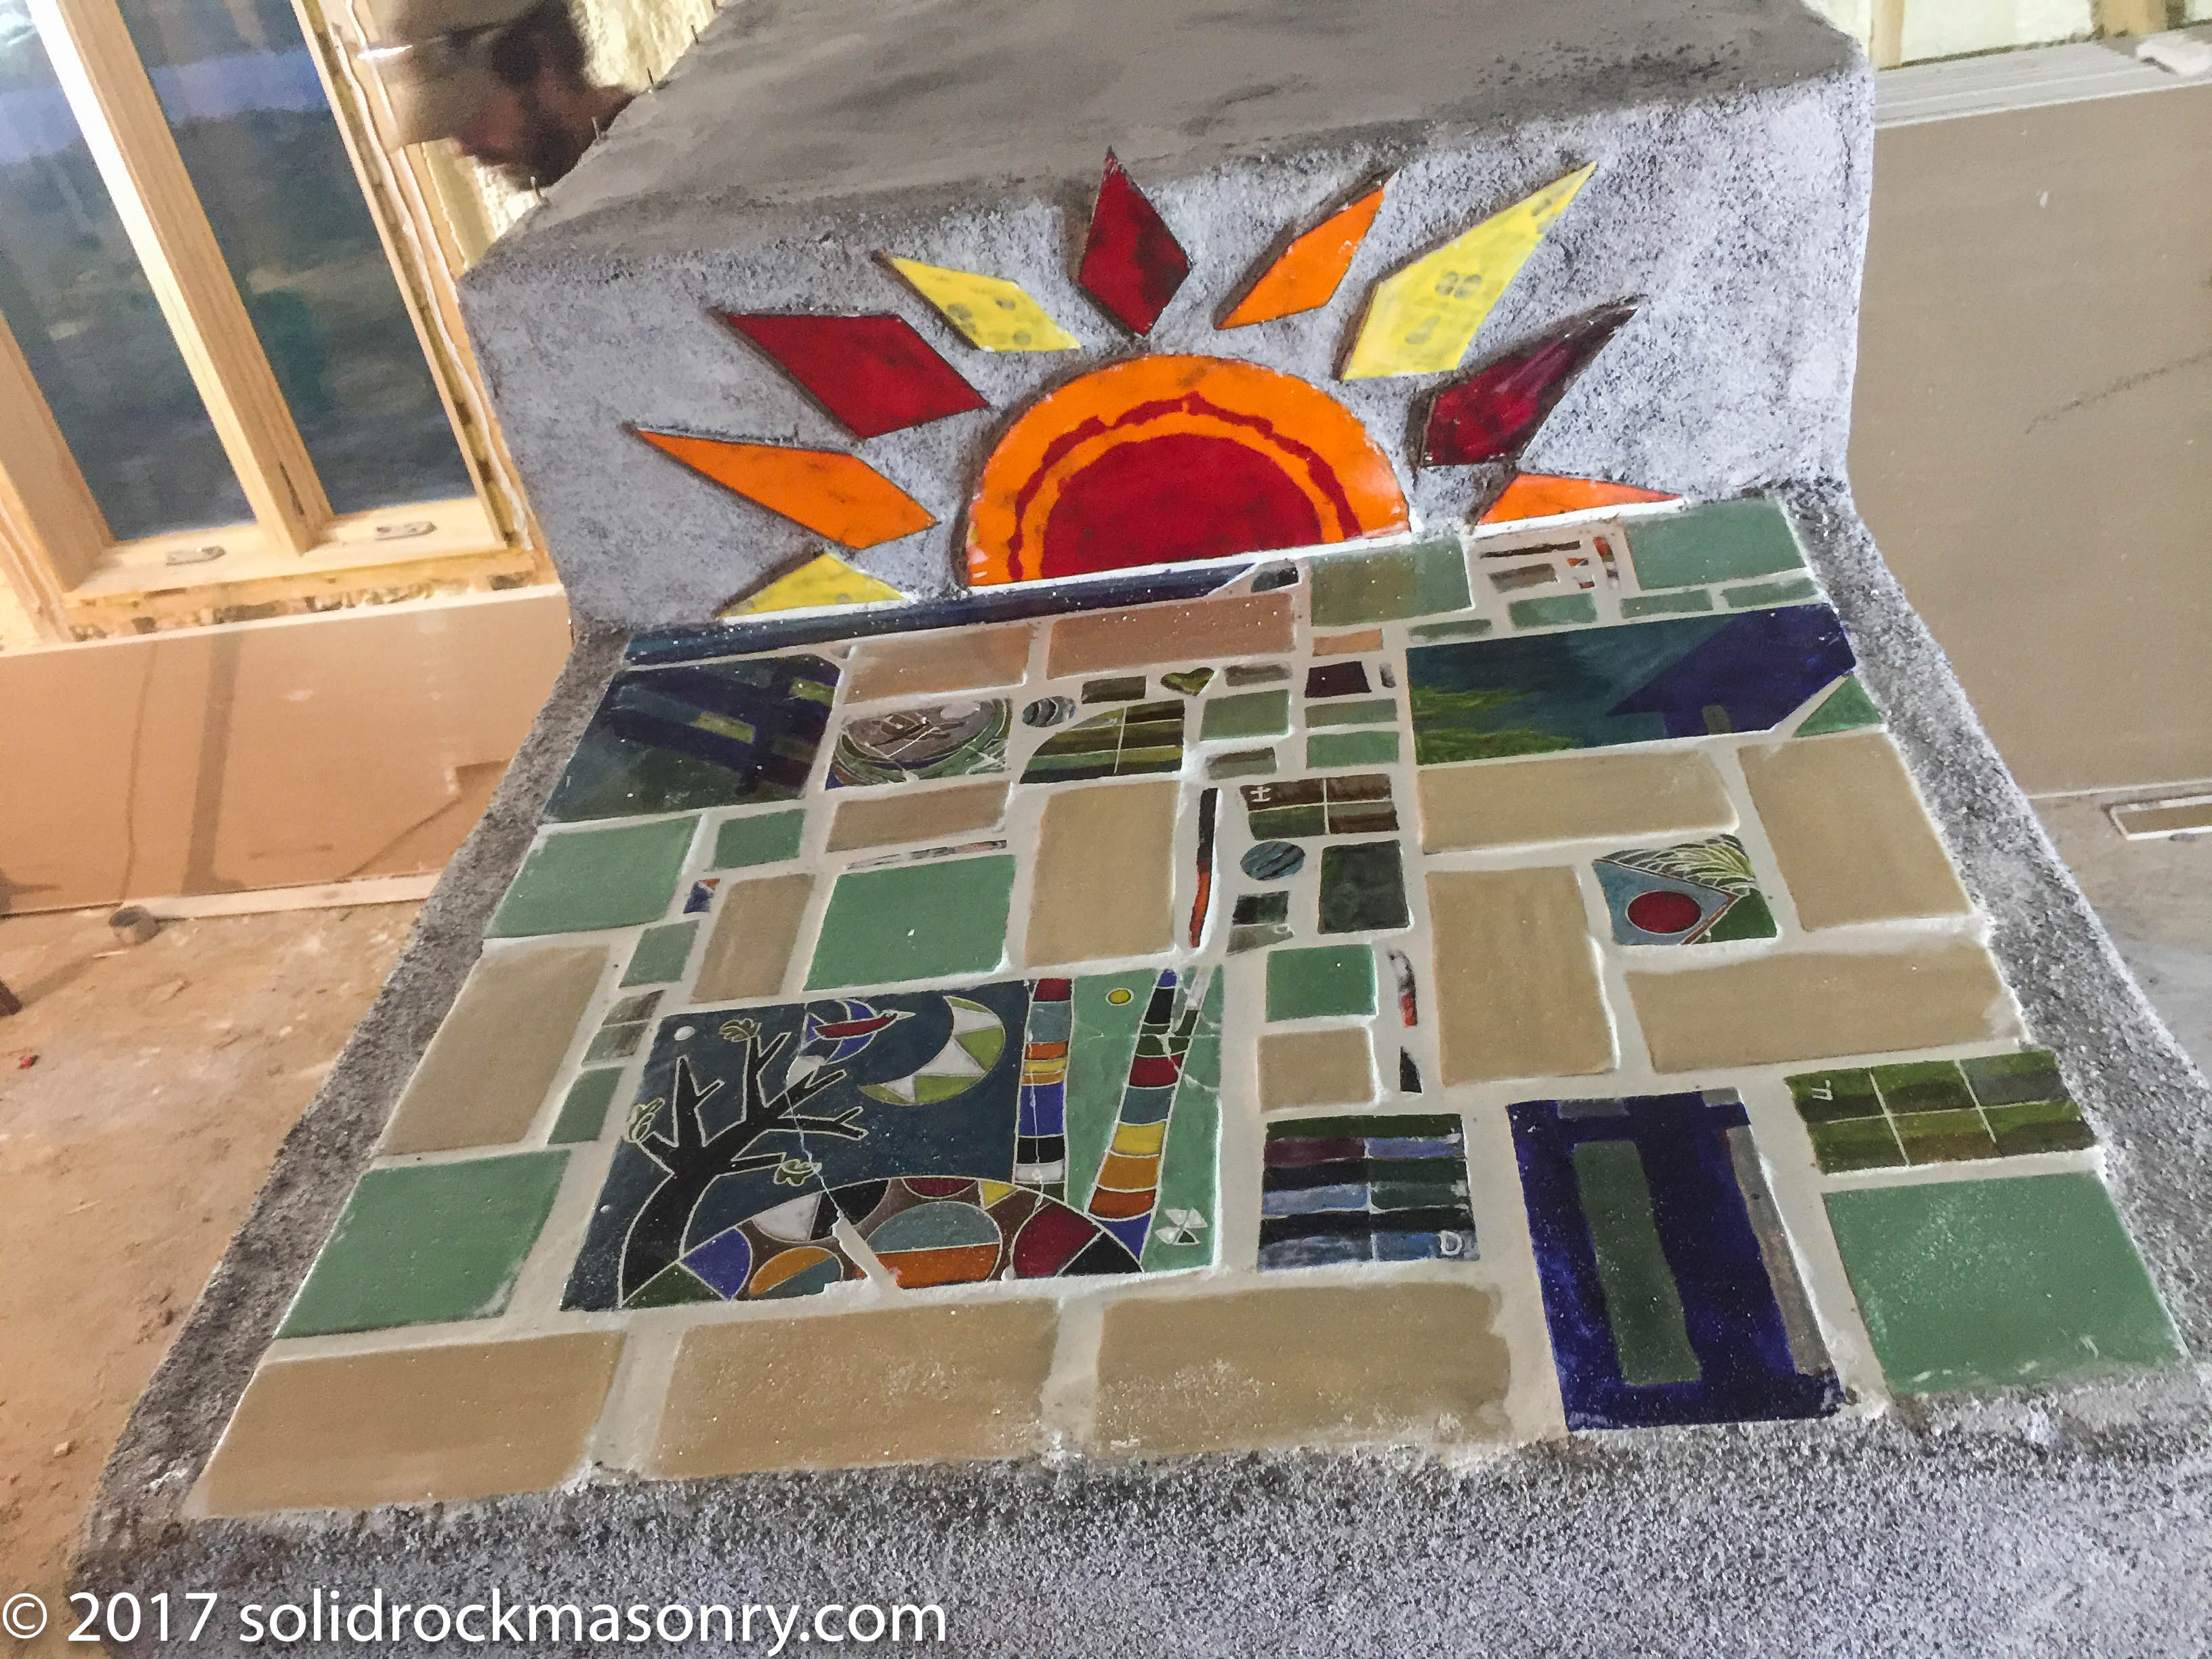
Top of firebox was finished in a mosaic design.
