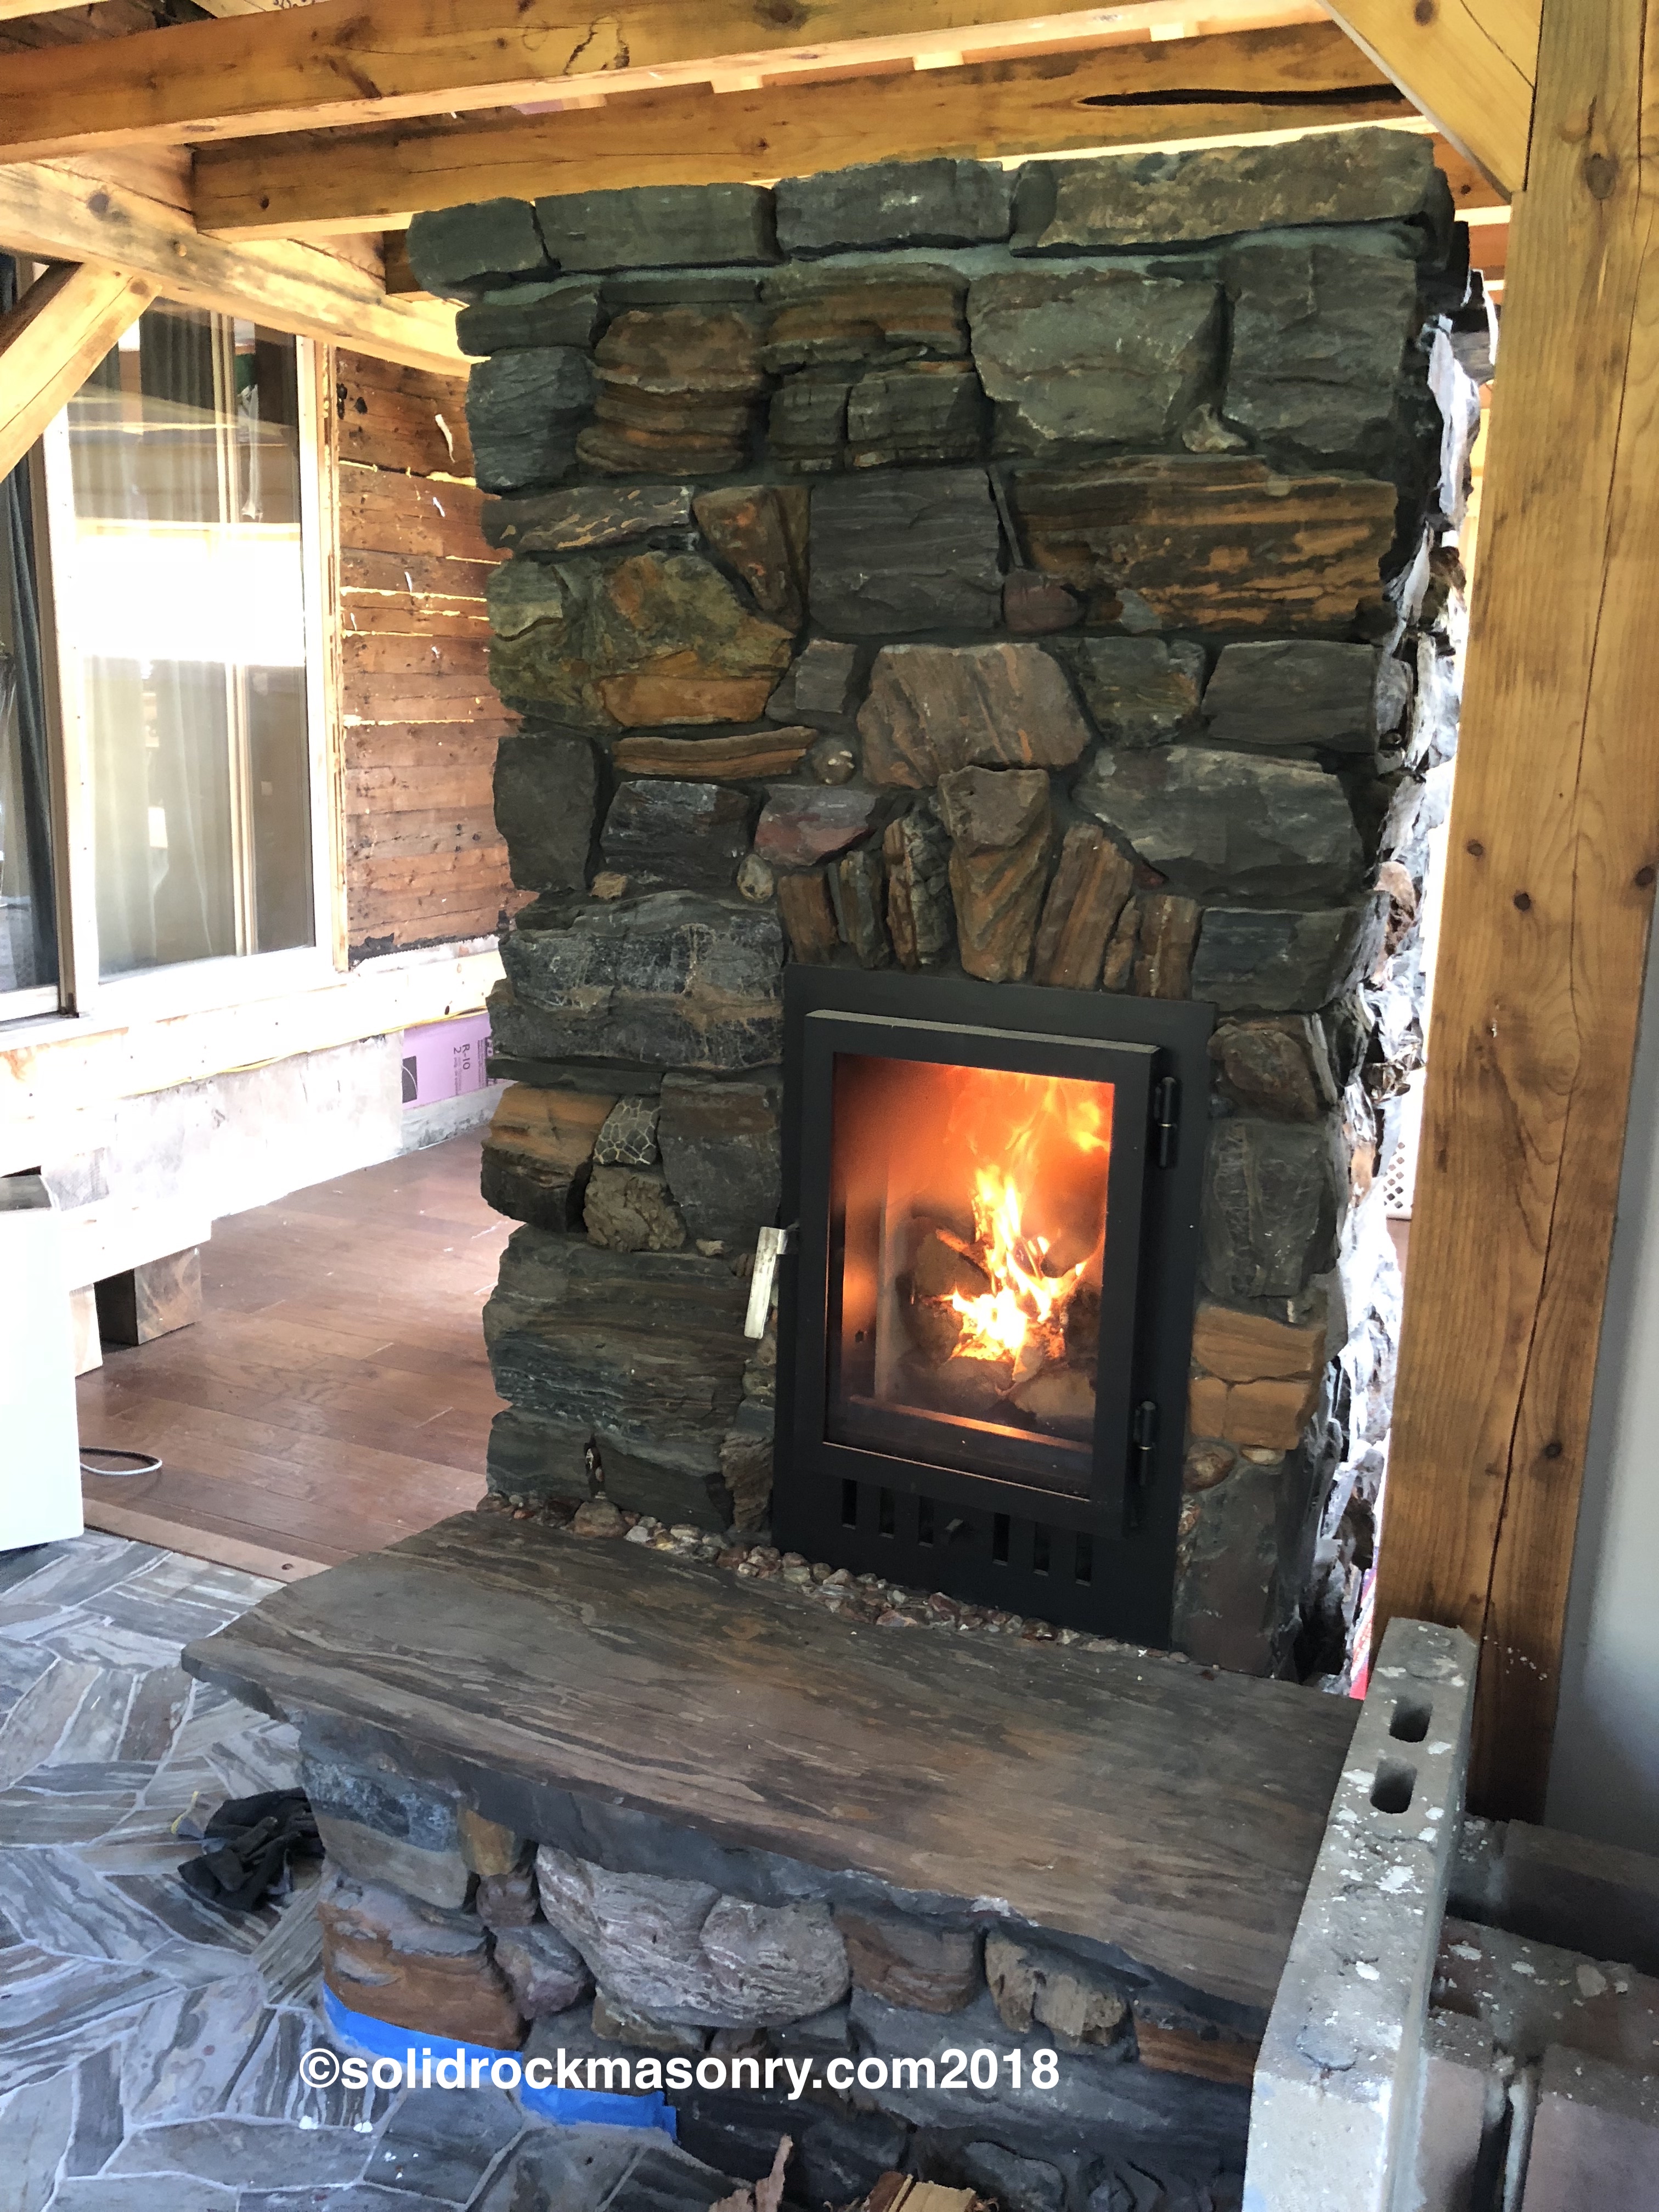
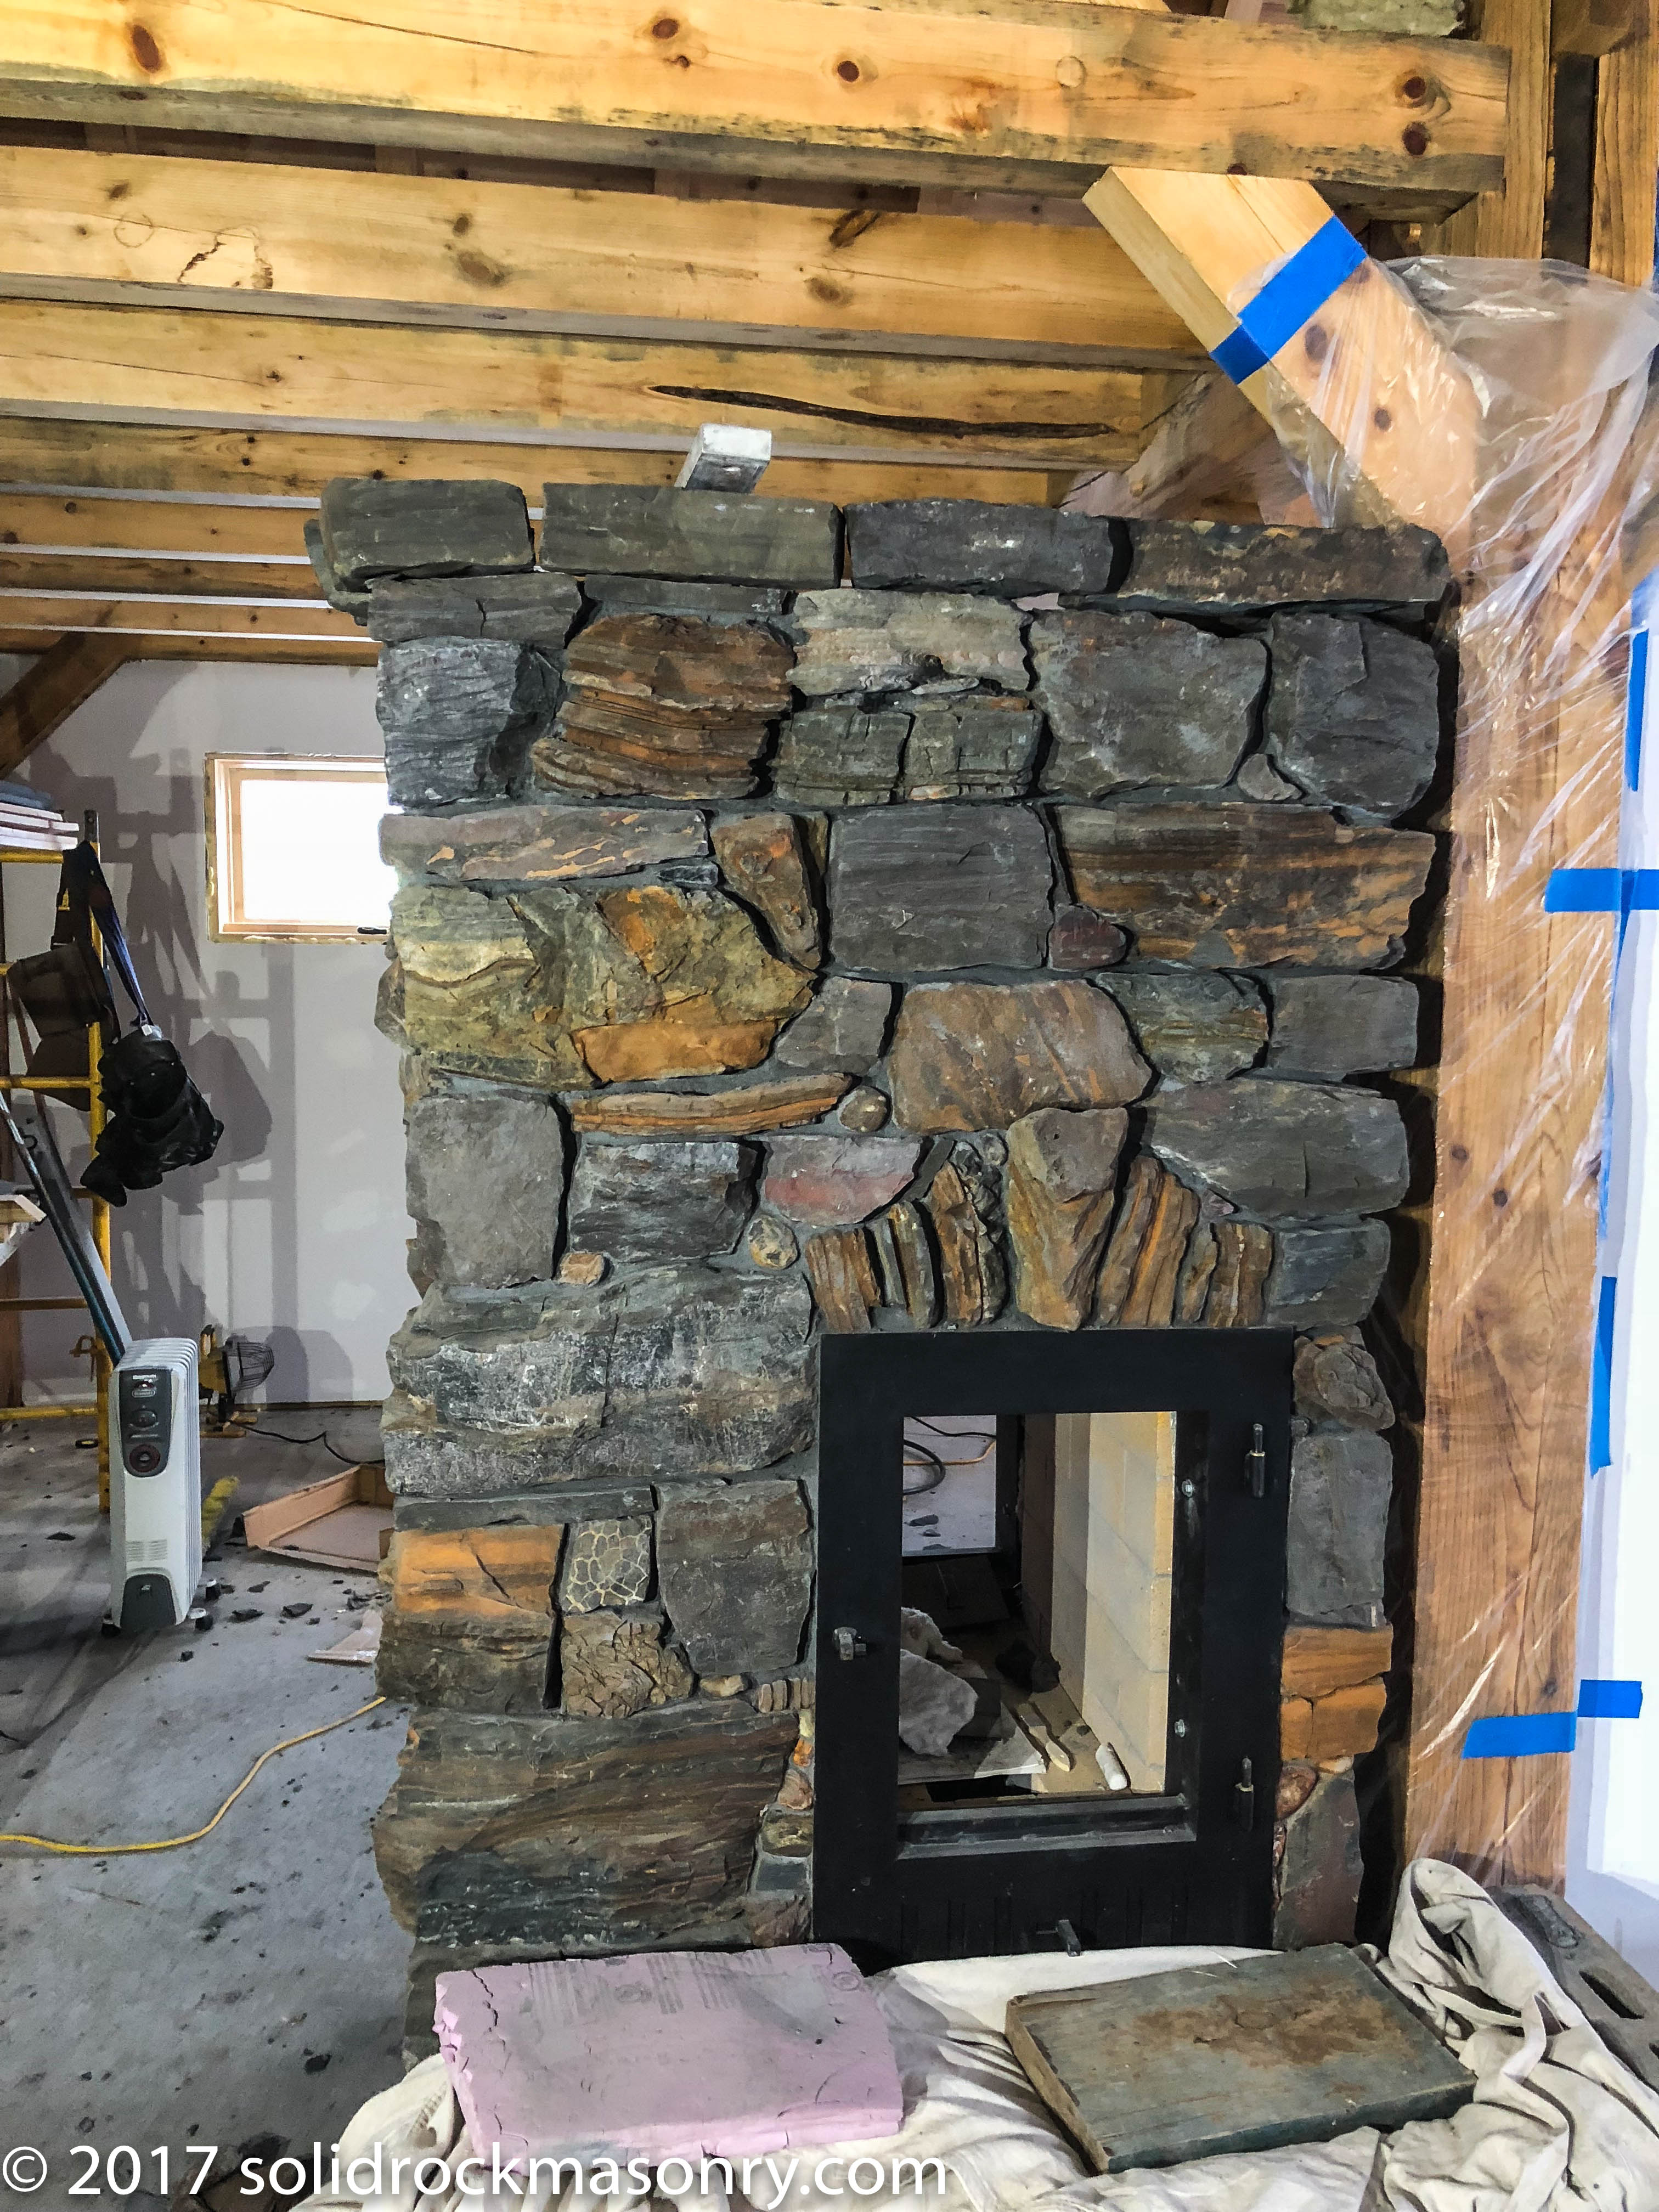
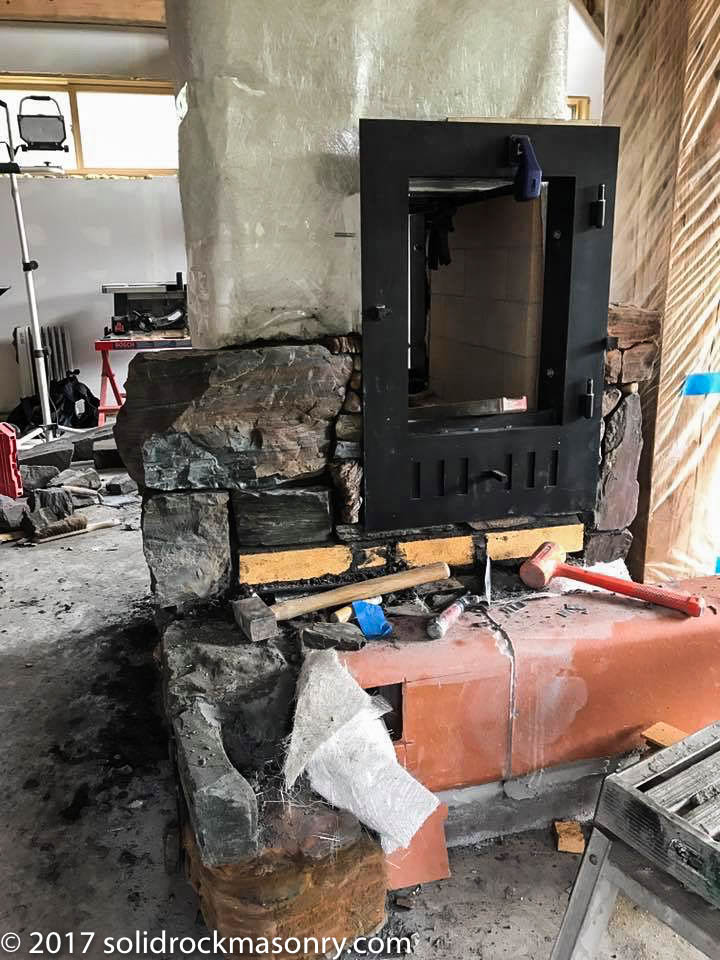
Office side of heater with the front heated bench. Bench has a slab of banded taconite on top of it with Lake Superior Agates as accents. The heated bench will go thru a wall were the 4″ concrete block are located and into the chimney.
This heater is built in our new office addition. It has our SR-13 Core engine with a see-thru firebox and a bell on the side and a front heated bench. We filmed a documentary movie of the building of this heater with producer Ramy Salim the owner of Sunny Day Construction in the Twin Cities. The documentary is titled “How to Build a Masonry Heater” We offer CD’s of the movie for a $25 donation. 100% of all money is donated to Masons on a Mission (MOM). Pat Manley is the head of MOM and is based out of Maine. Pat brings crews of workers down to Guatemala during the winter months and builds estufa (wood fired cook stoves) for the impoverished people in the mountains. Check them out and donate lots of money to them at http://masonsonamission.org/
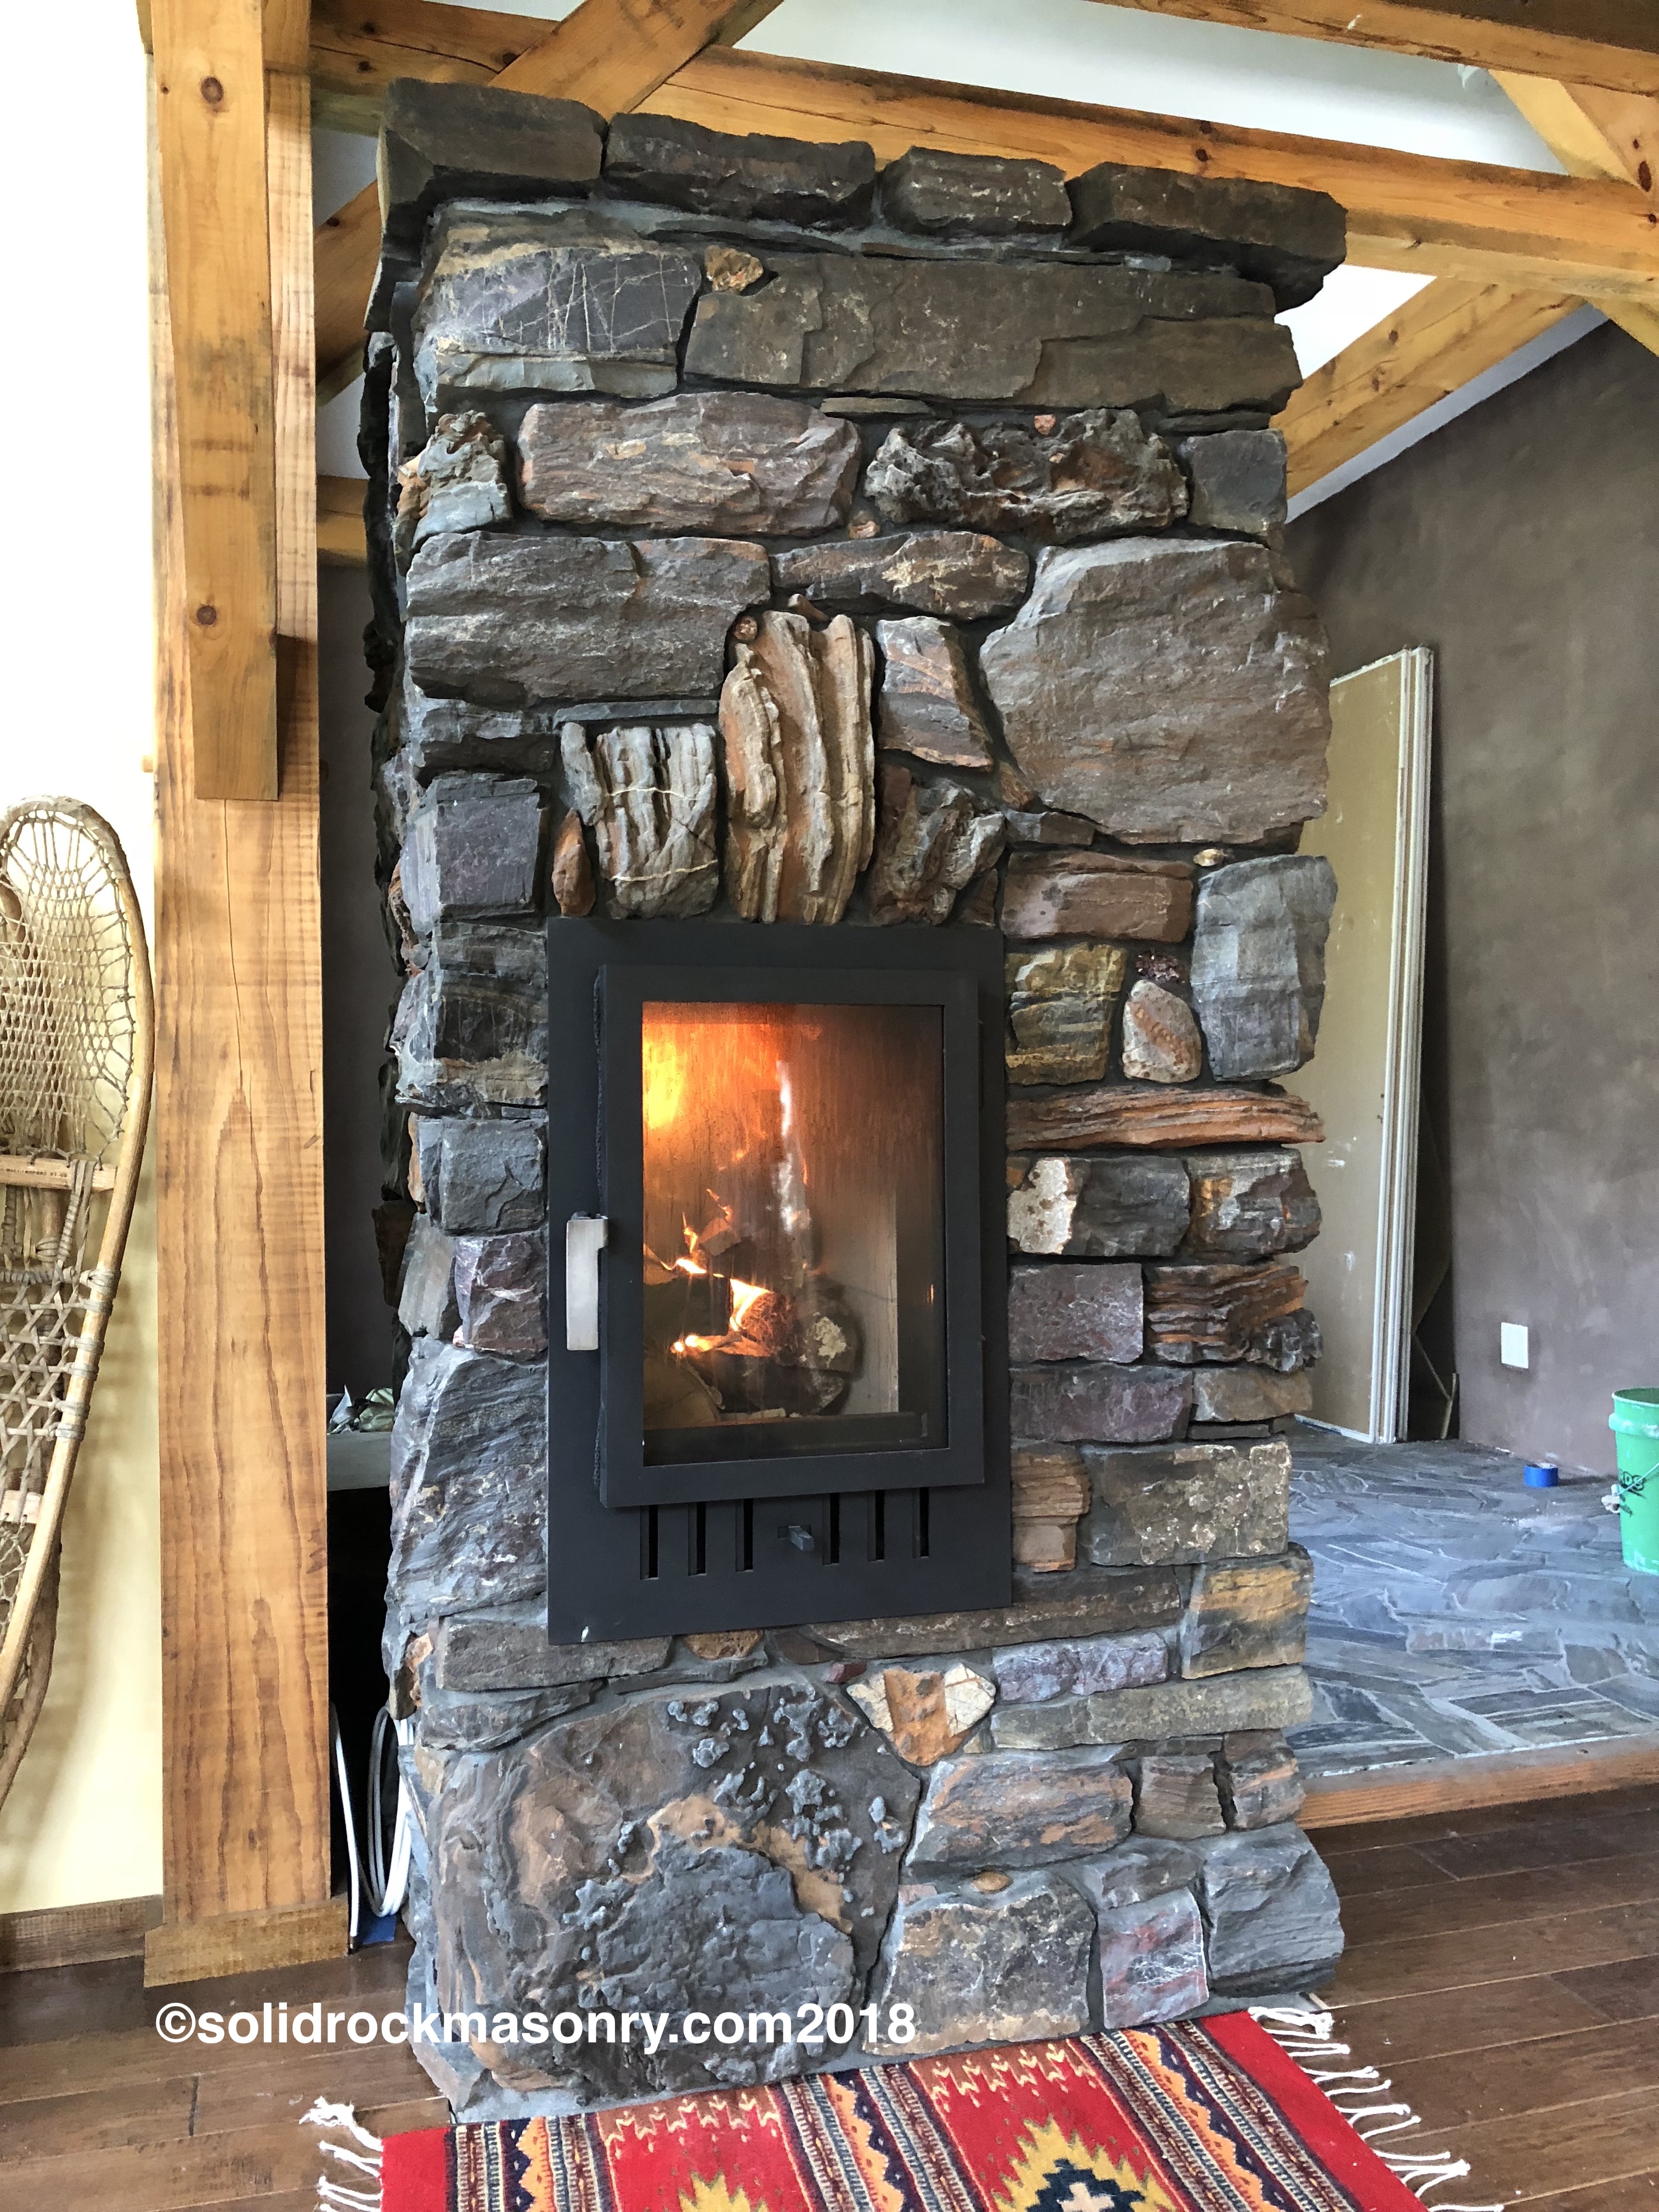
Reverse side of heater. We still need to set the piece of taconite slab for the on floor hearth in front of the heater. A wool rug is not to code 🙂 The gnarly looking stones with bands of rust on them are Gunflint stone from Gunflint Lake on the MN border of Ontario which is where my wife is from.
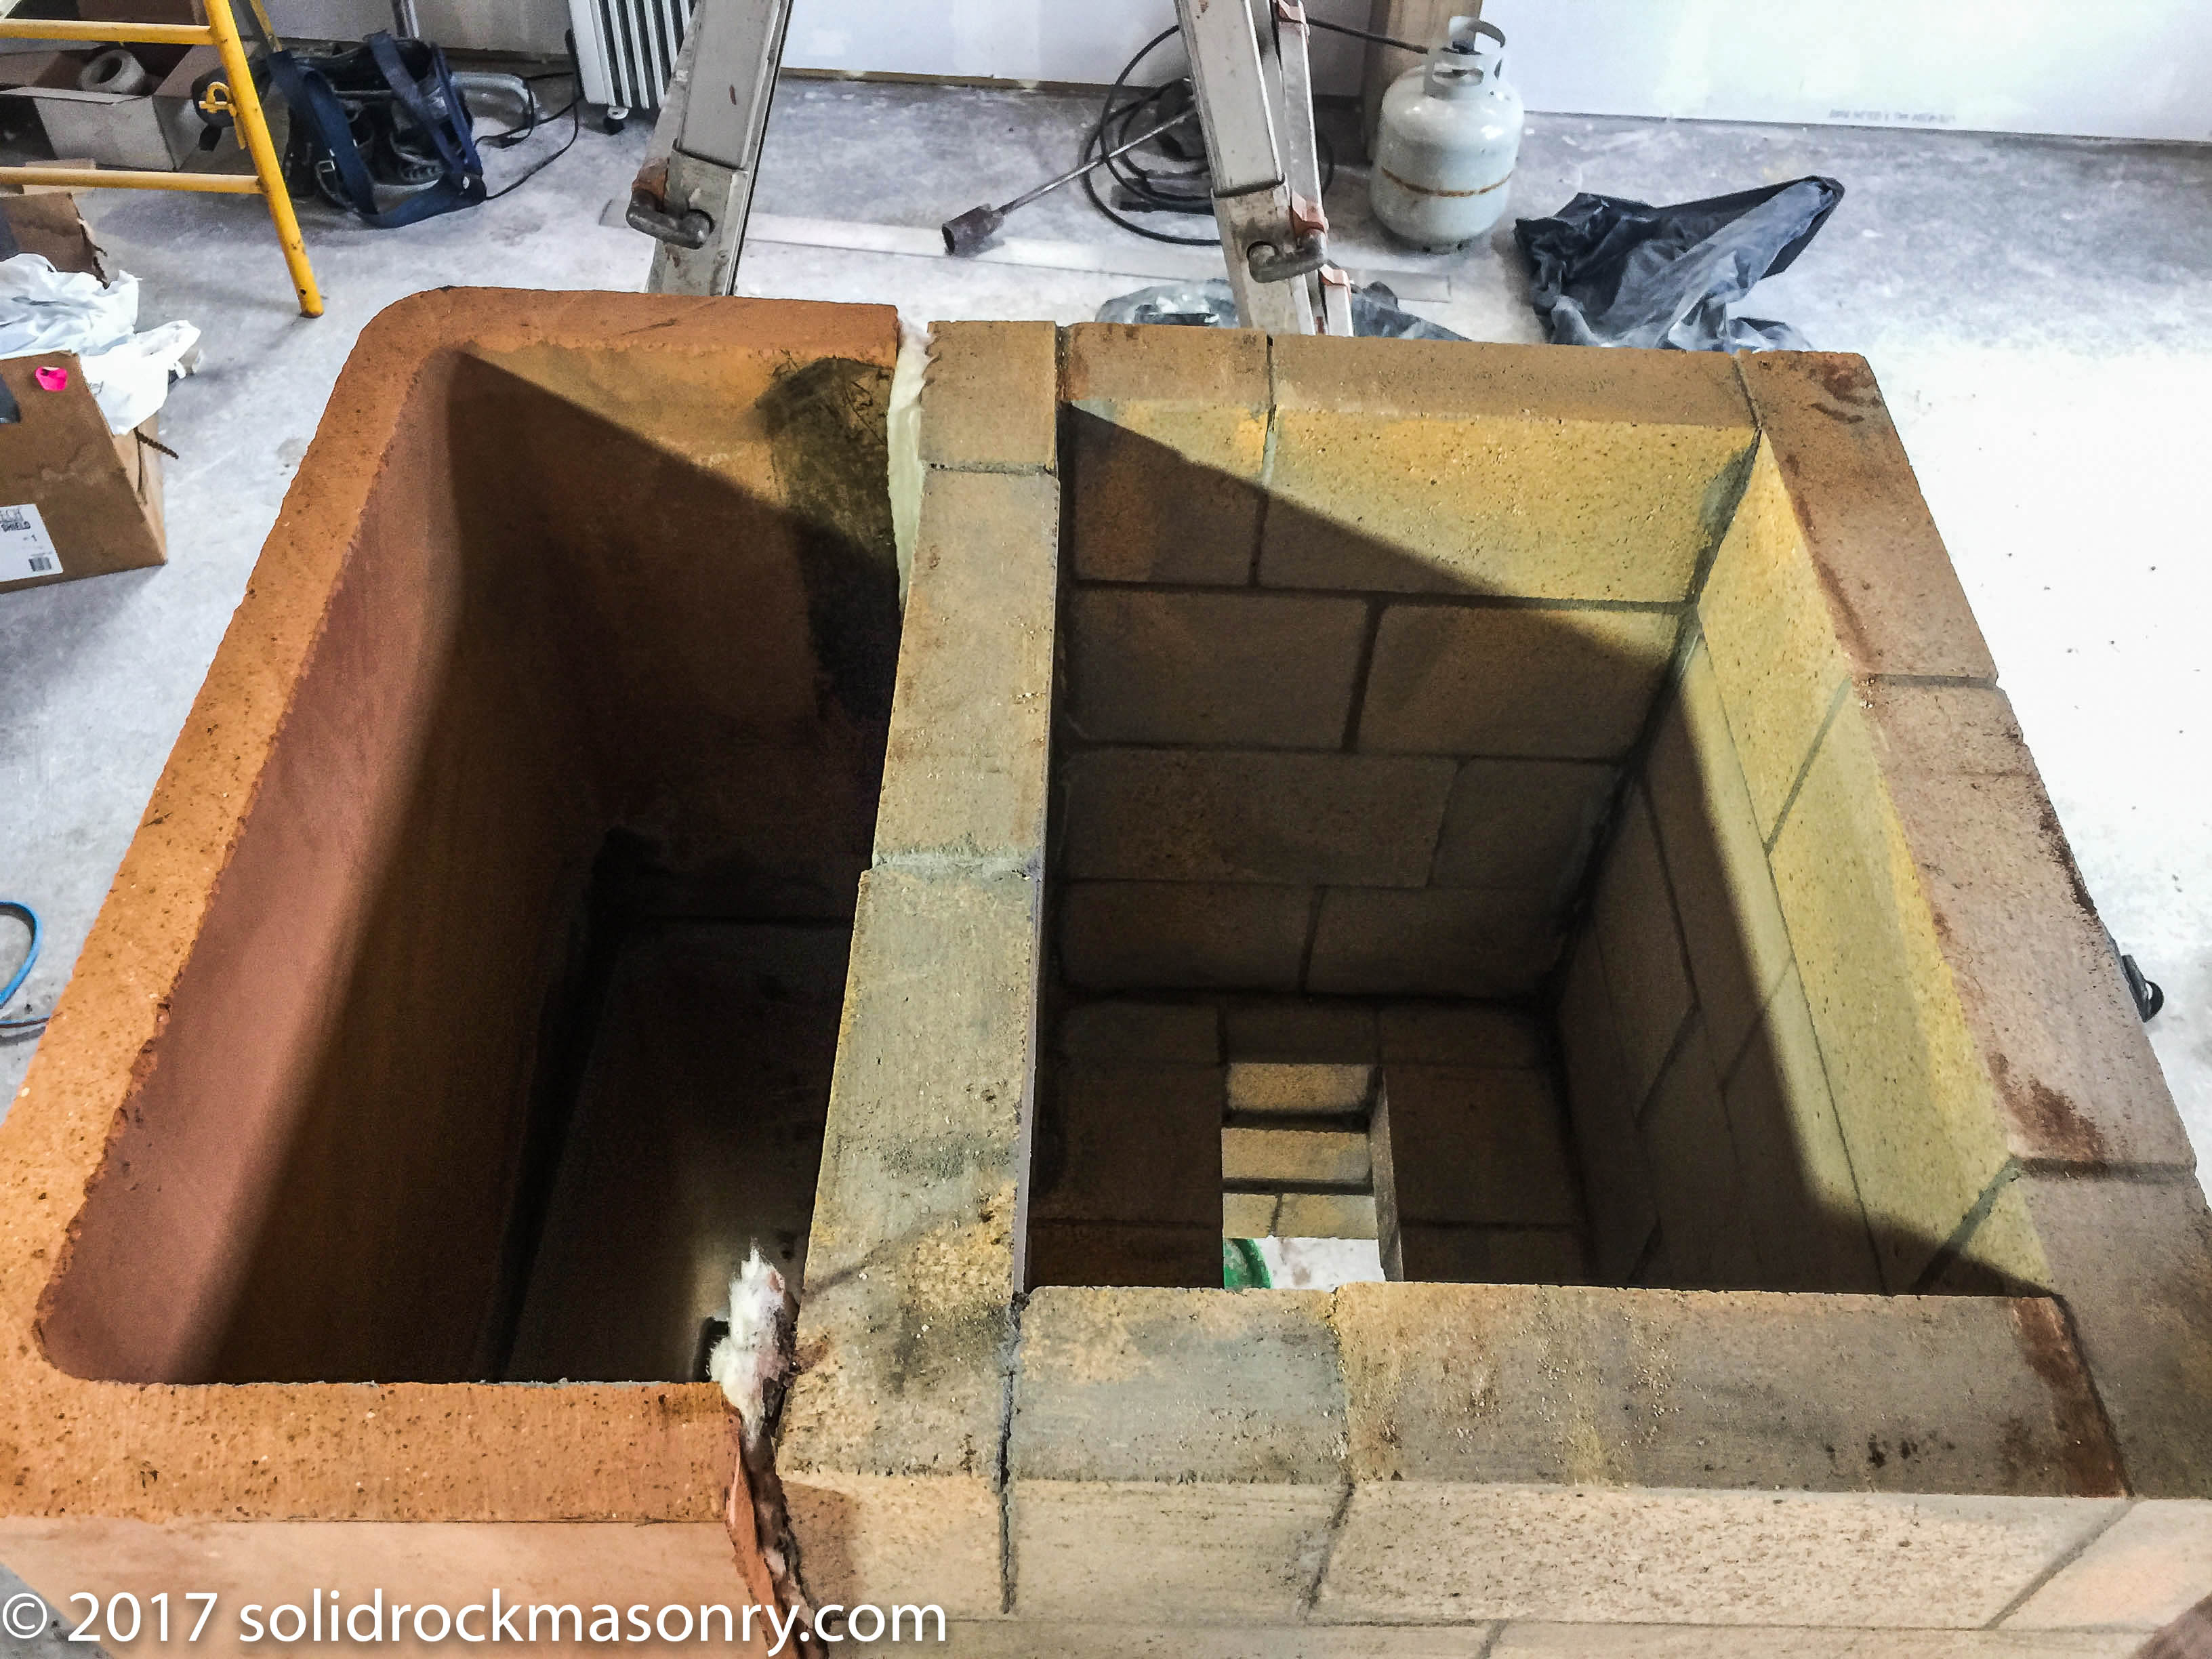
This is the upper bell chamber (right side) above the firebox. The bell exits in the bottom middle of this chamber and spills into the 2nd bell chamber on the left side that is built out of 24×24″ clay flue liners. Notice the 1/2″ ceramic wool gasket separating the firebox engine portion of the heater and the bell chamber on the left.
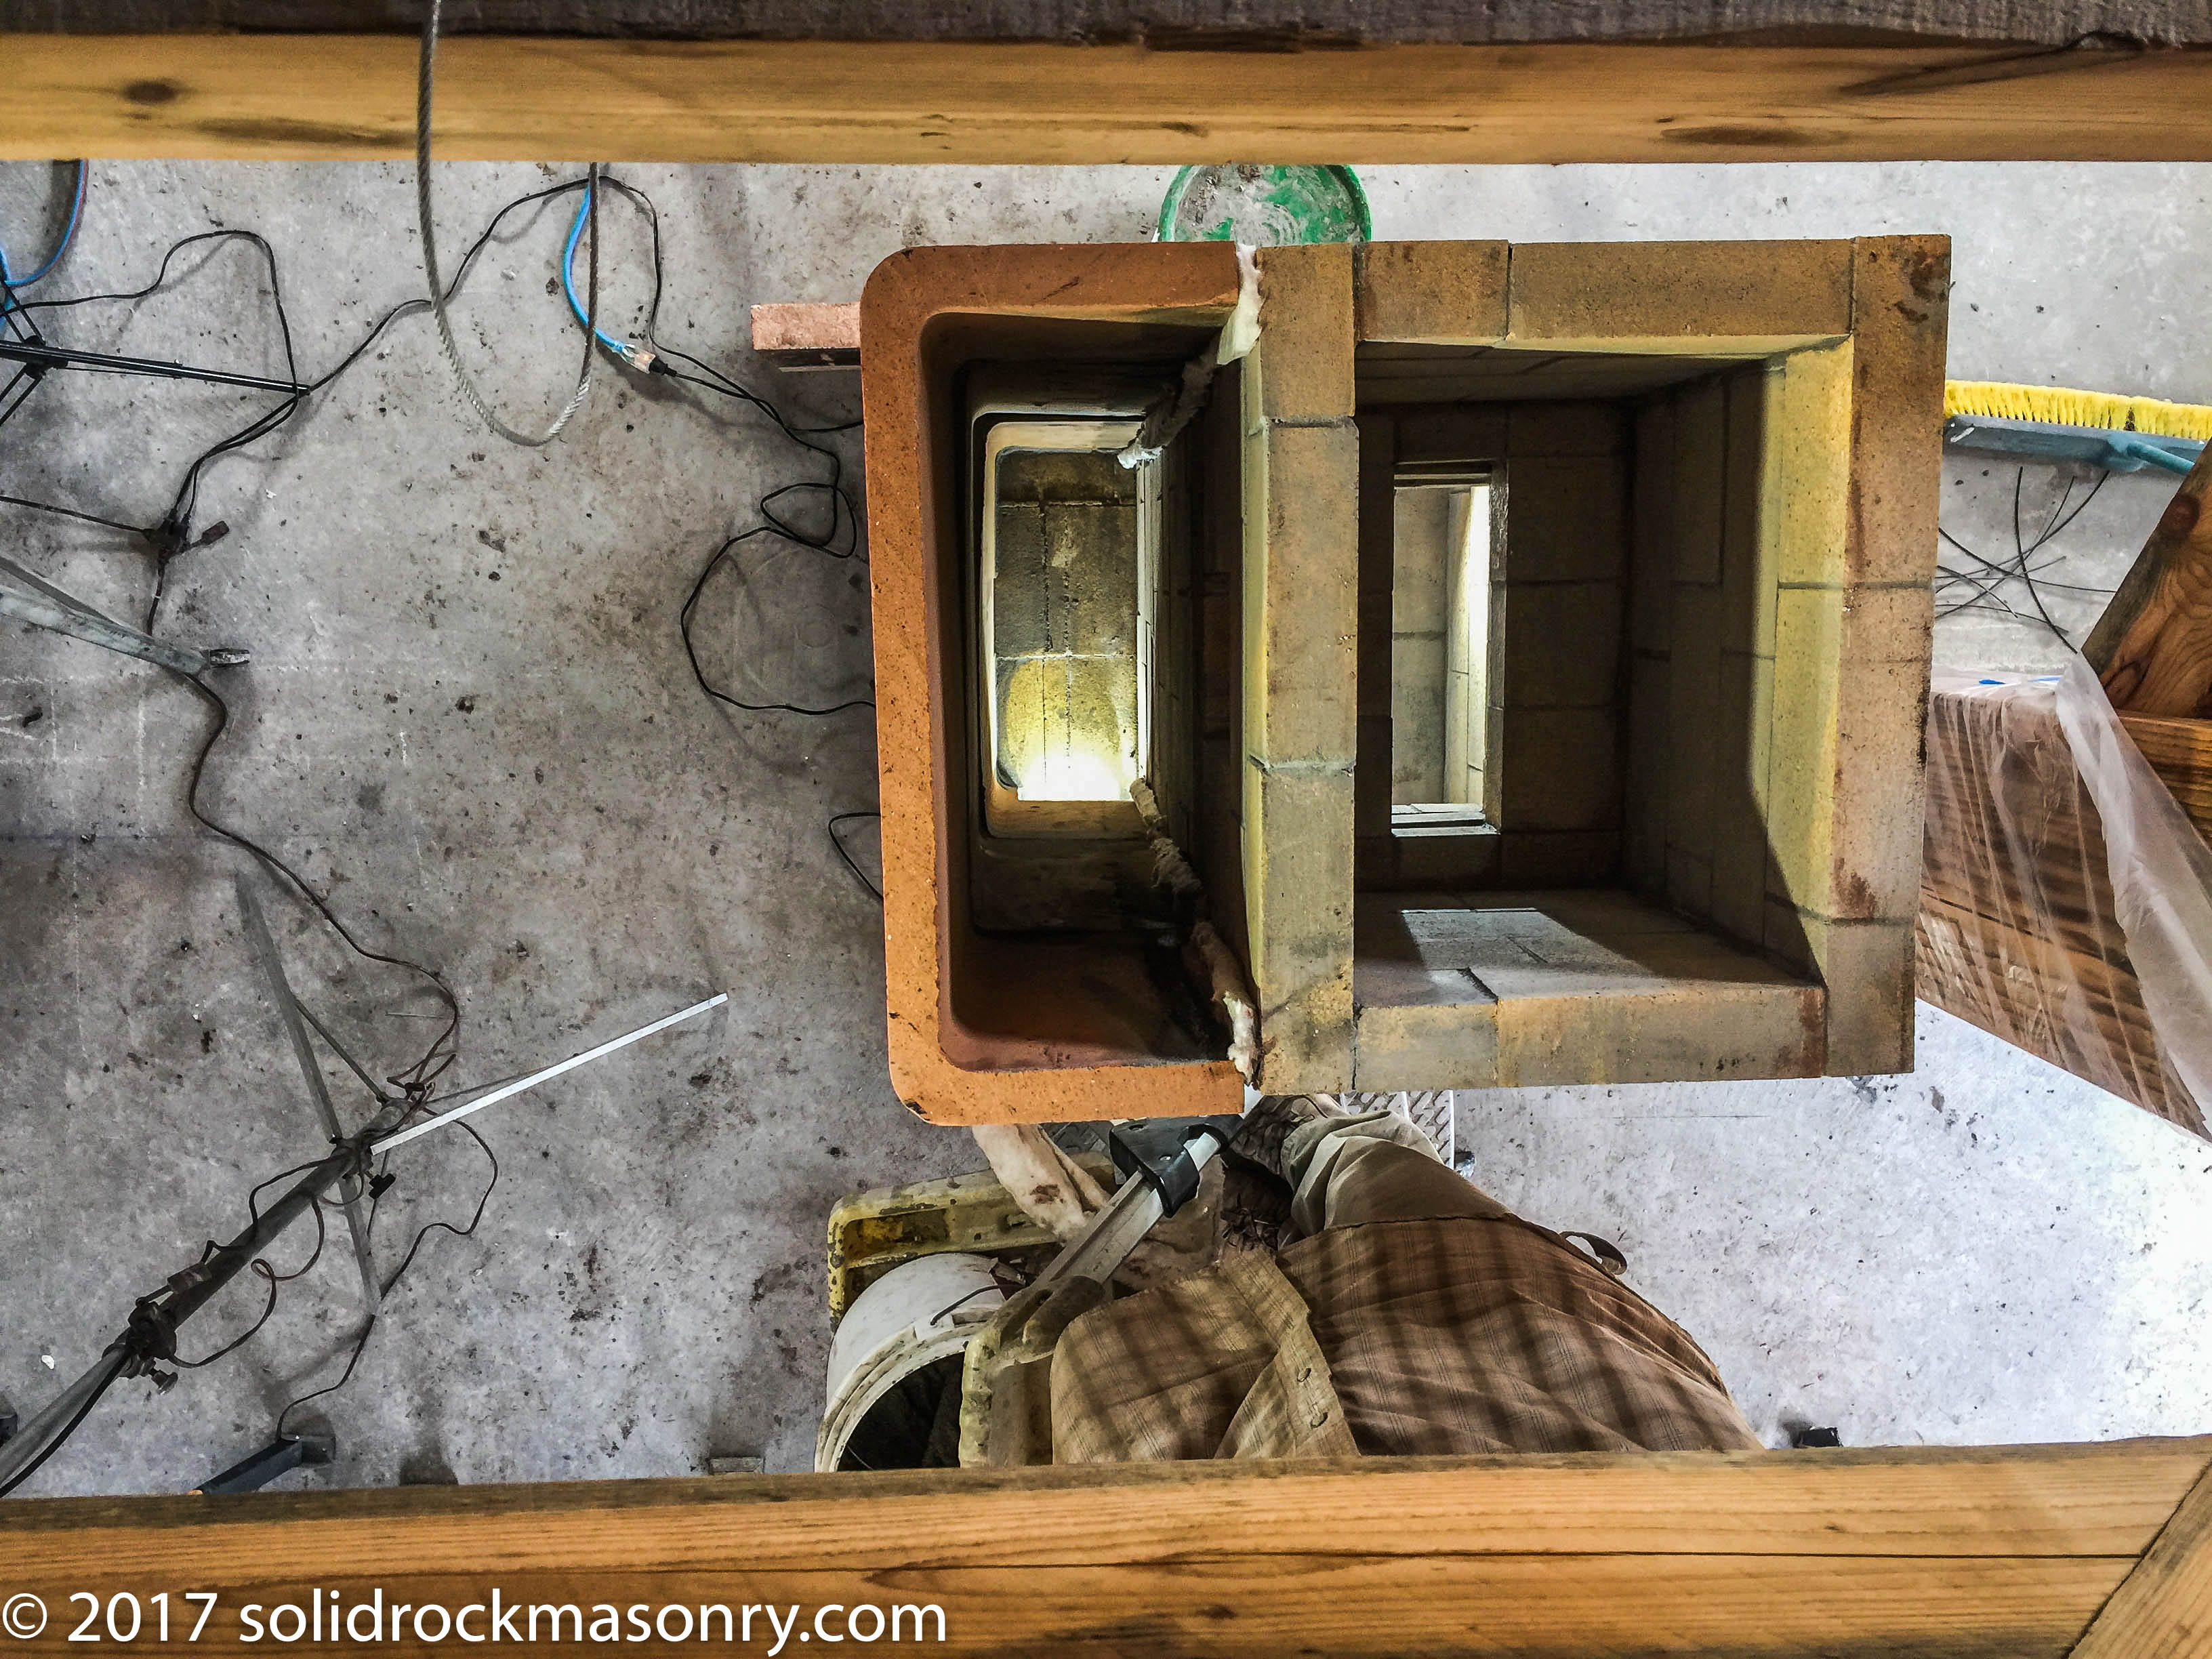
Here is another view of the top of the heater showing the firebox and 1st bell chamber on the right and the 2nd bell chamber on the left side. You can see the bell exit on the left chamber on the bottom of the bell.
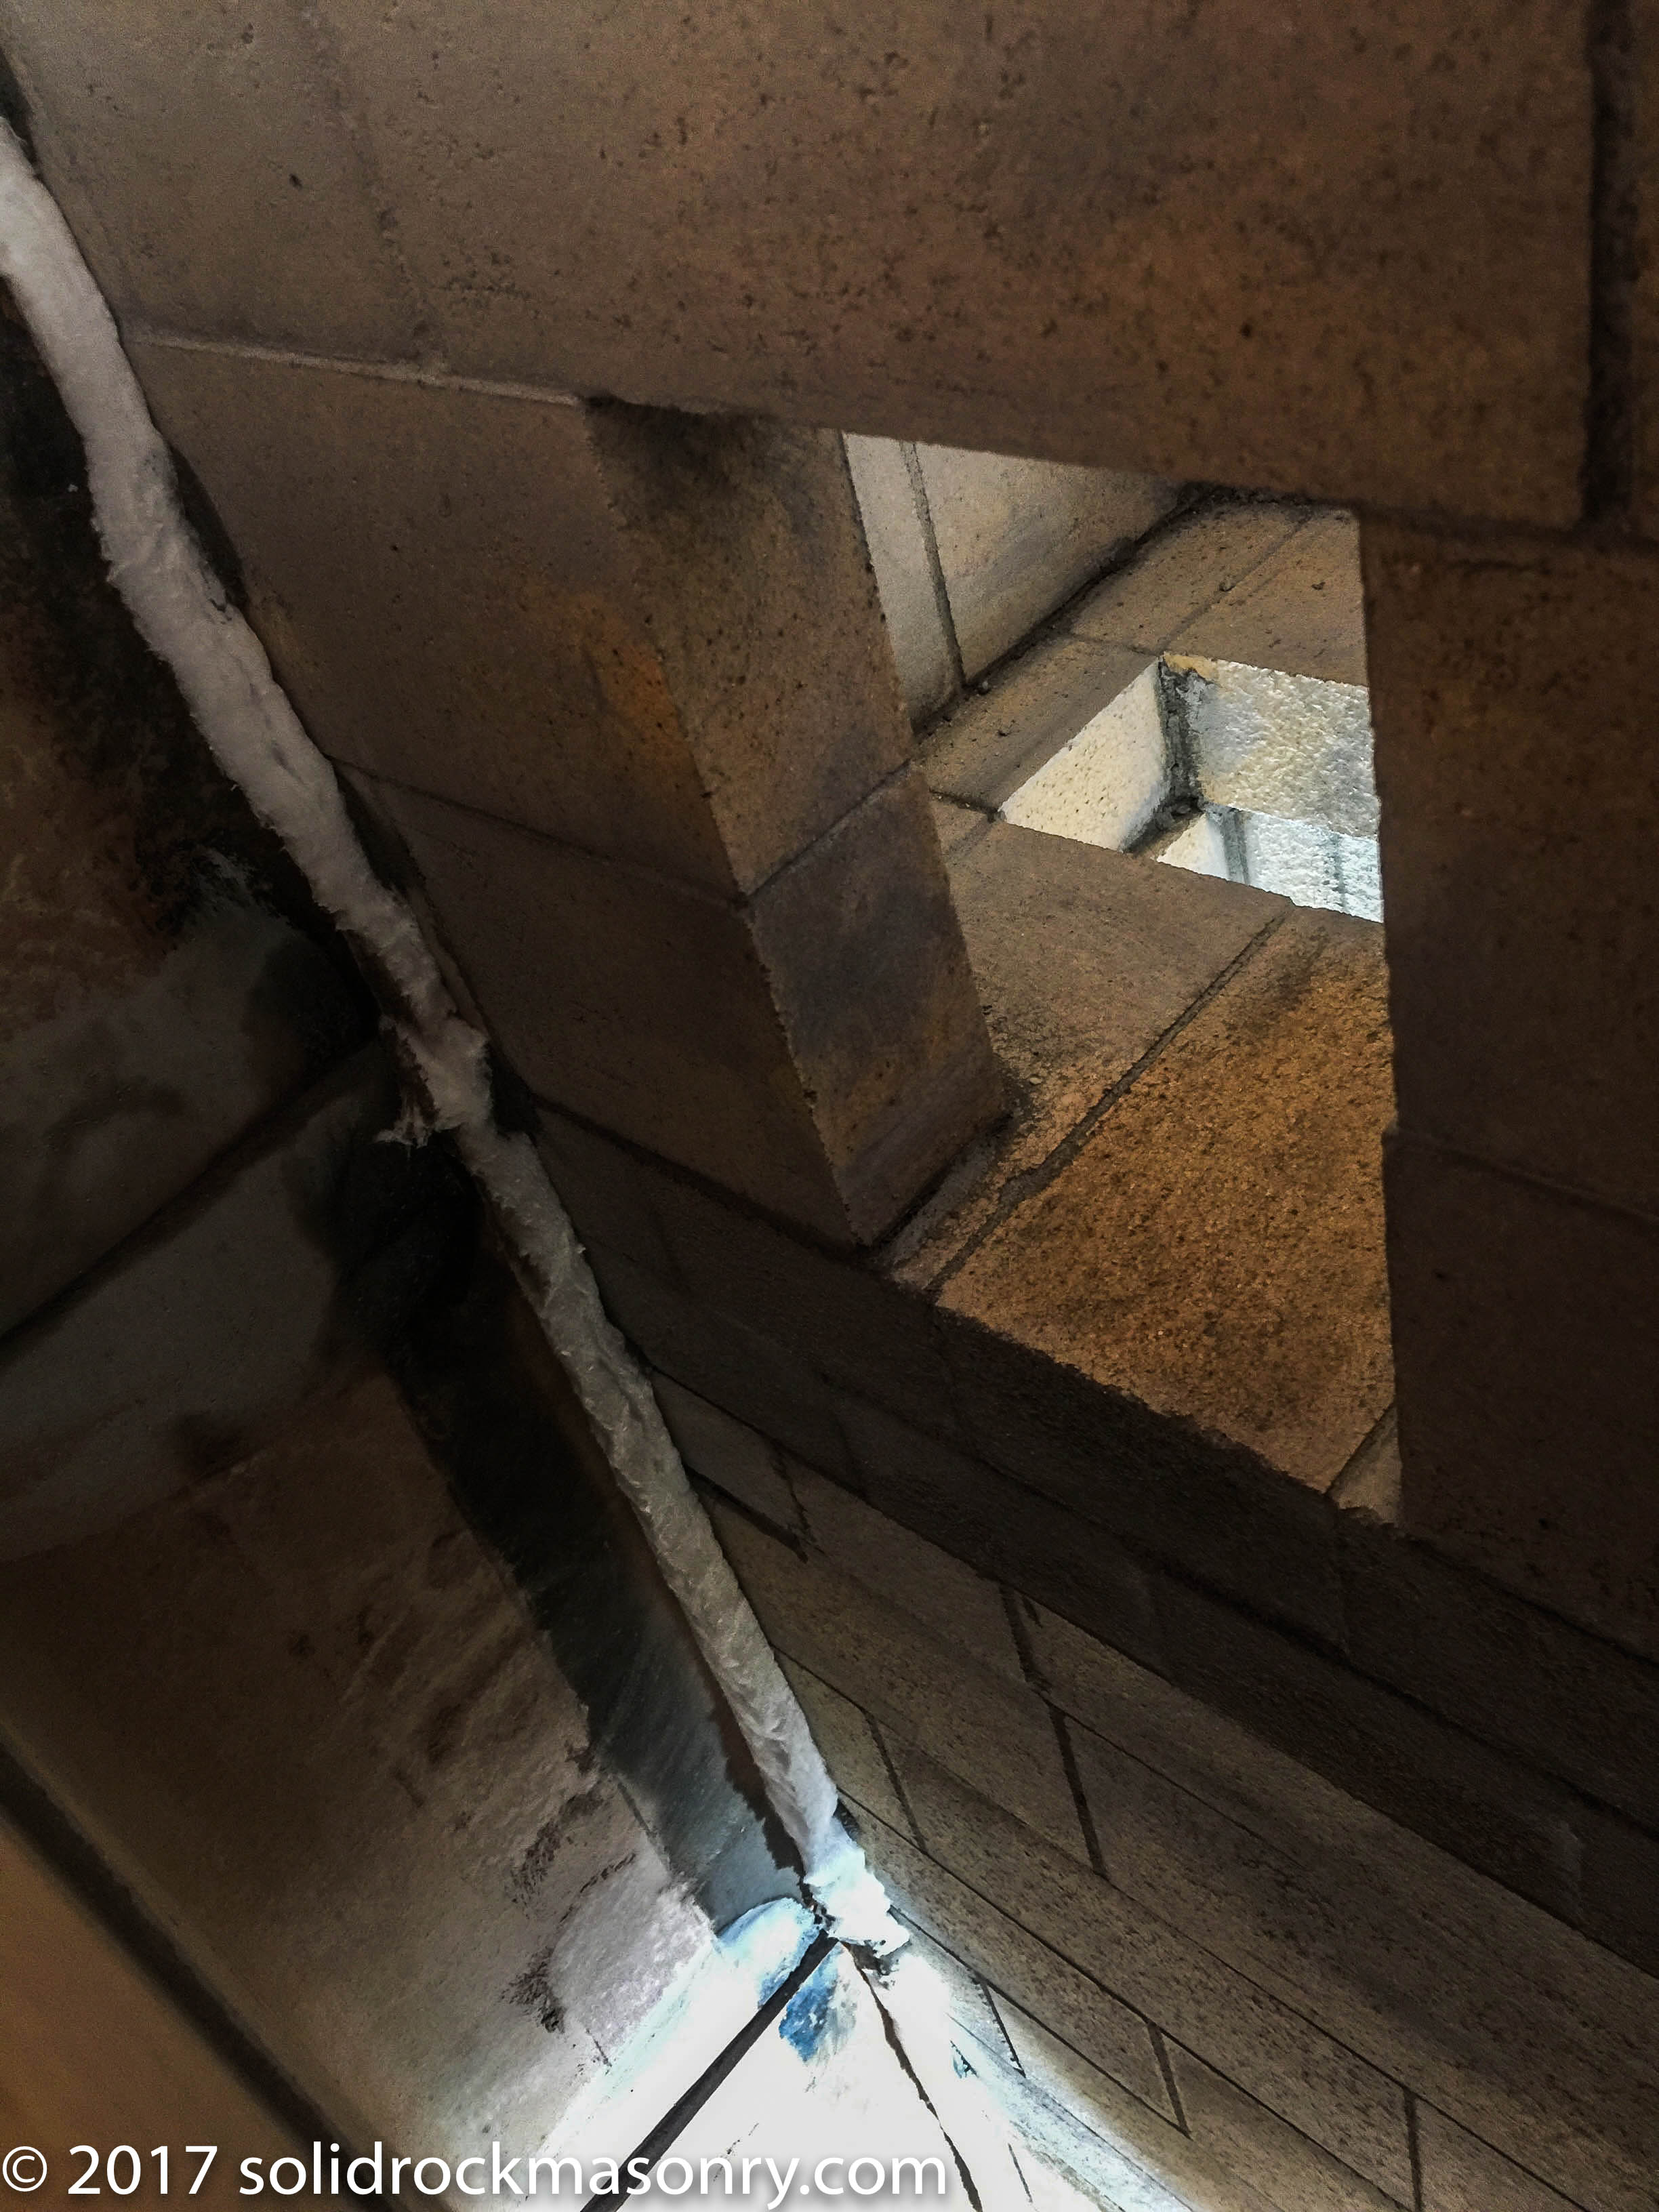
This is the 6″x9″ Bell exit on the 1st bell, spilling into the 2nd bell chamber.
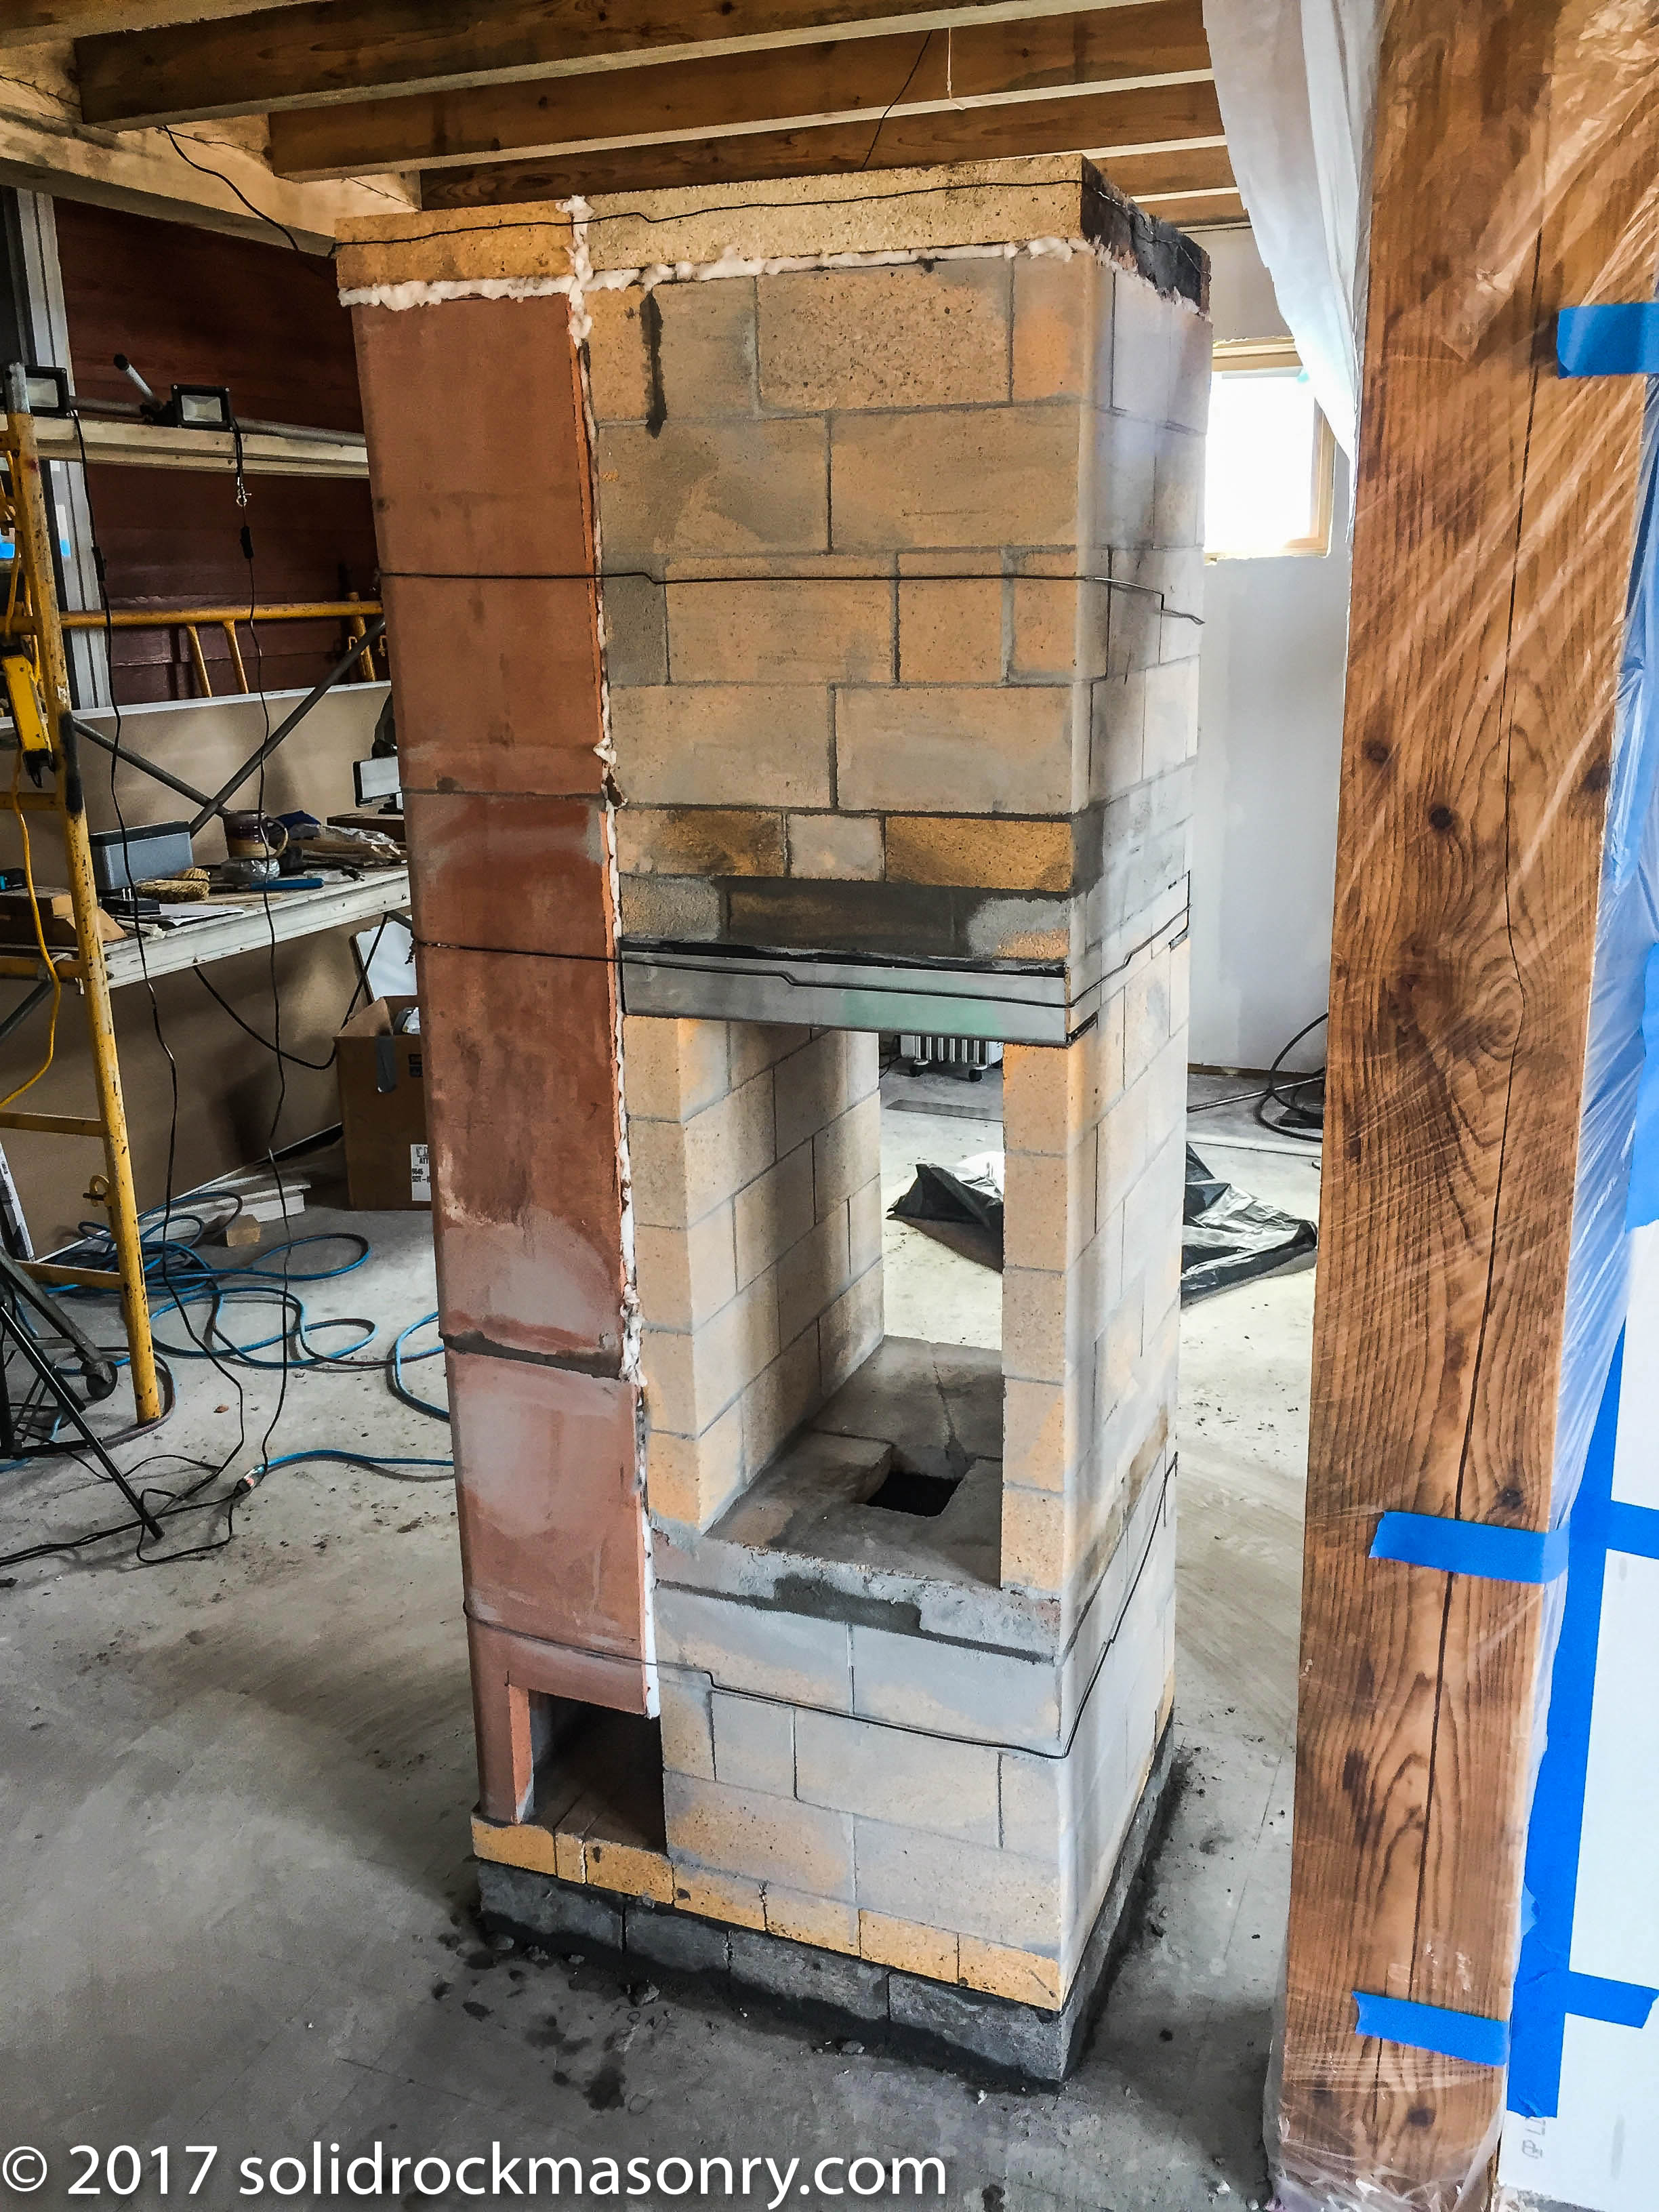
This is the completed engine core. The hole on the bottom left is the connection into the heated bench channels.
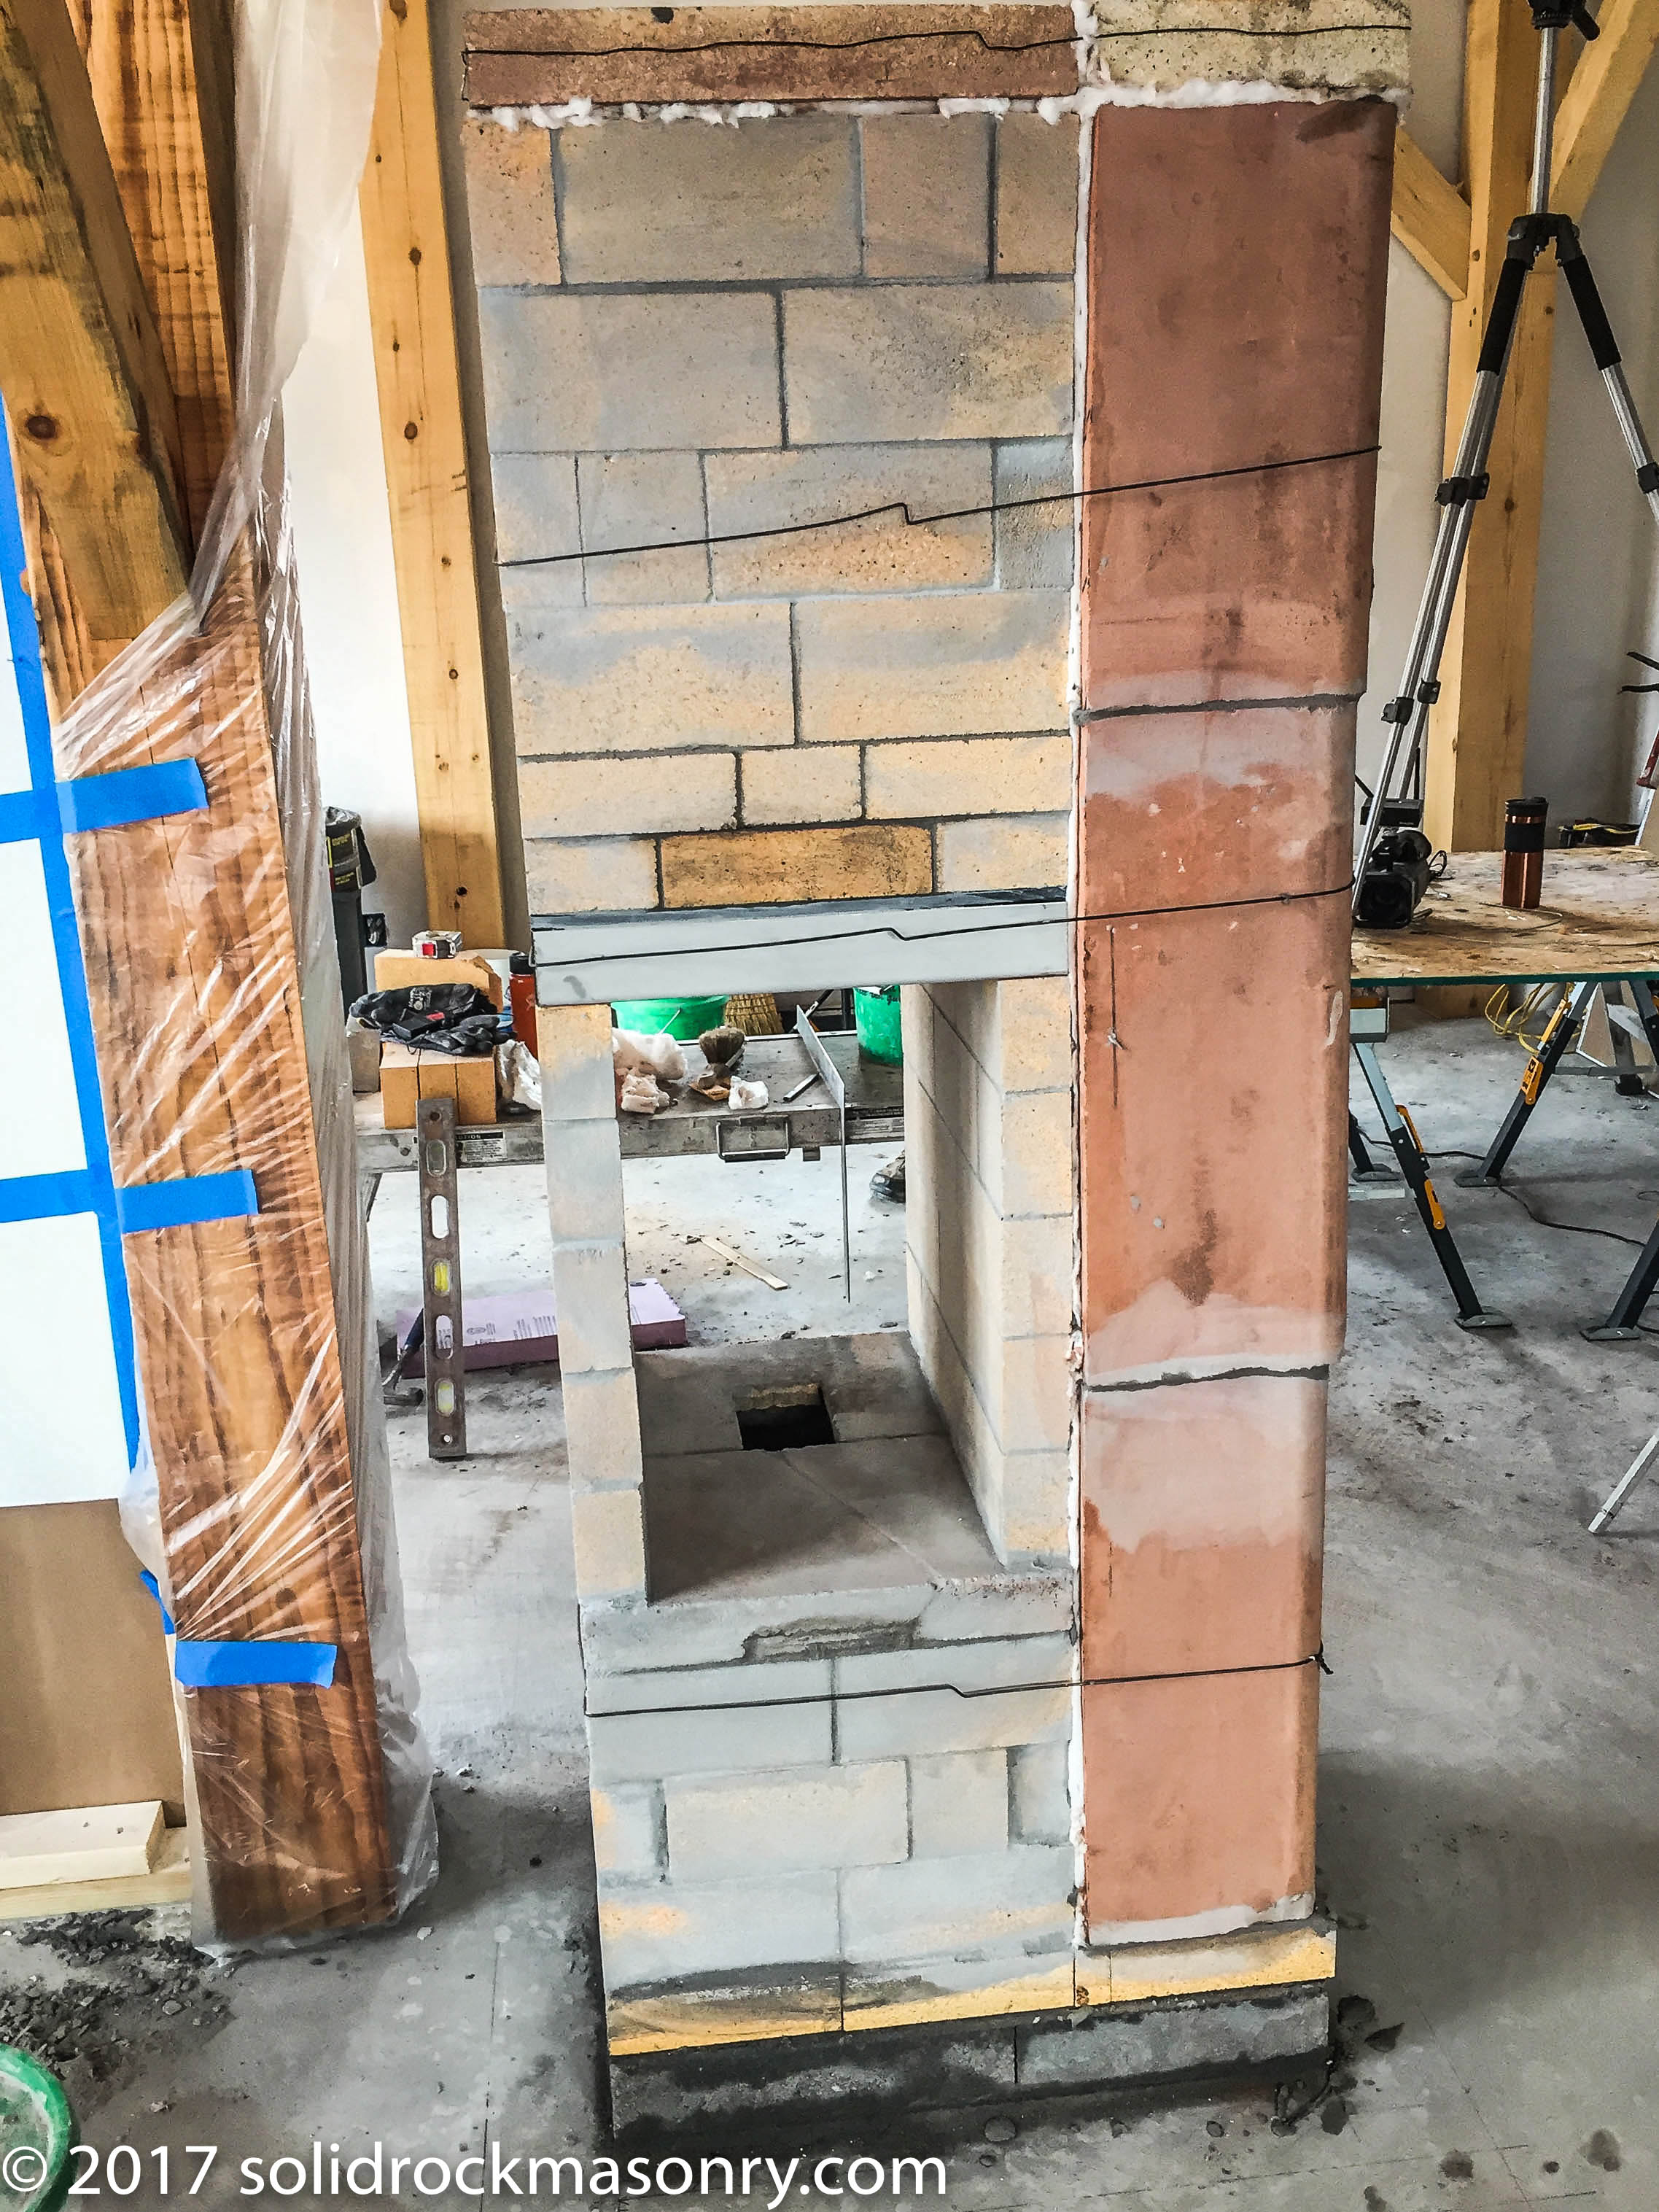
This is the reverse side of the heater.
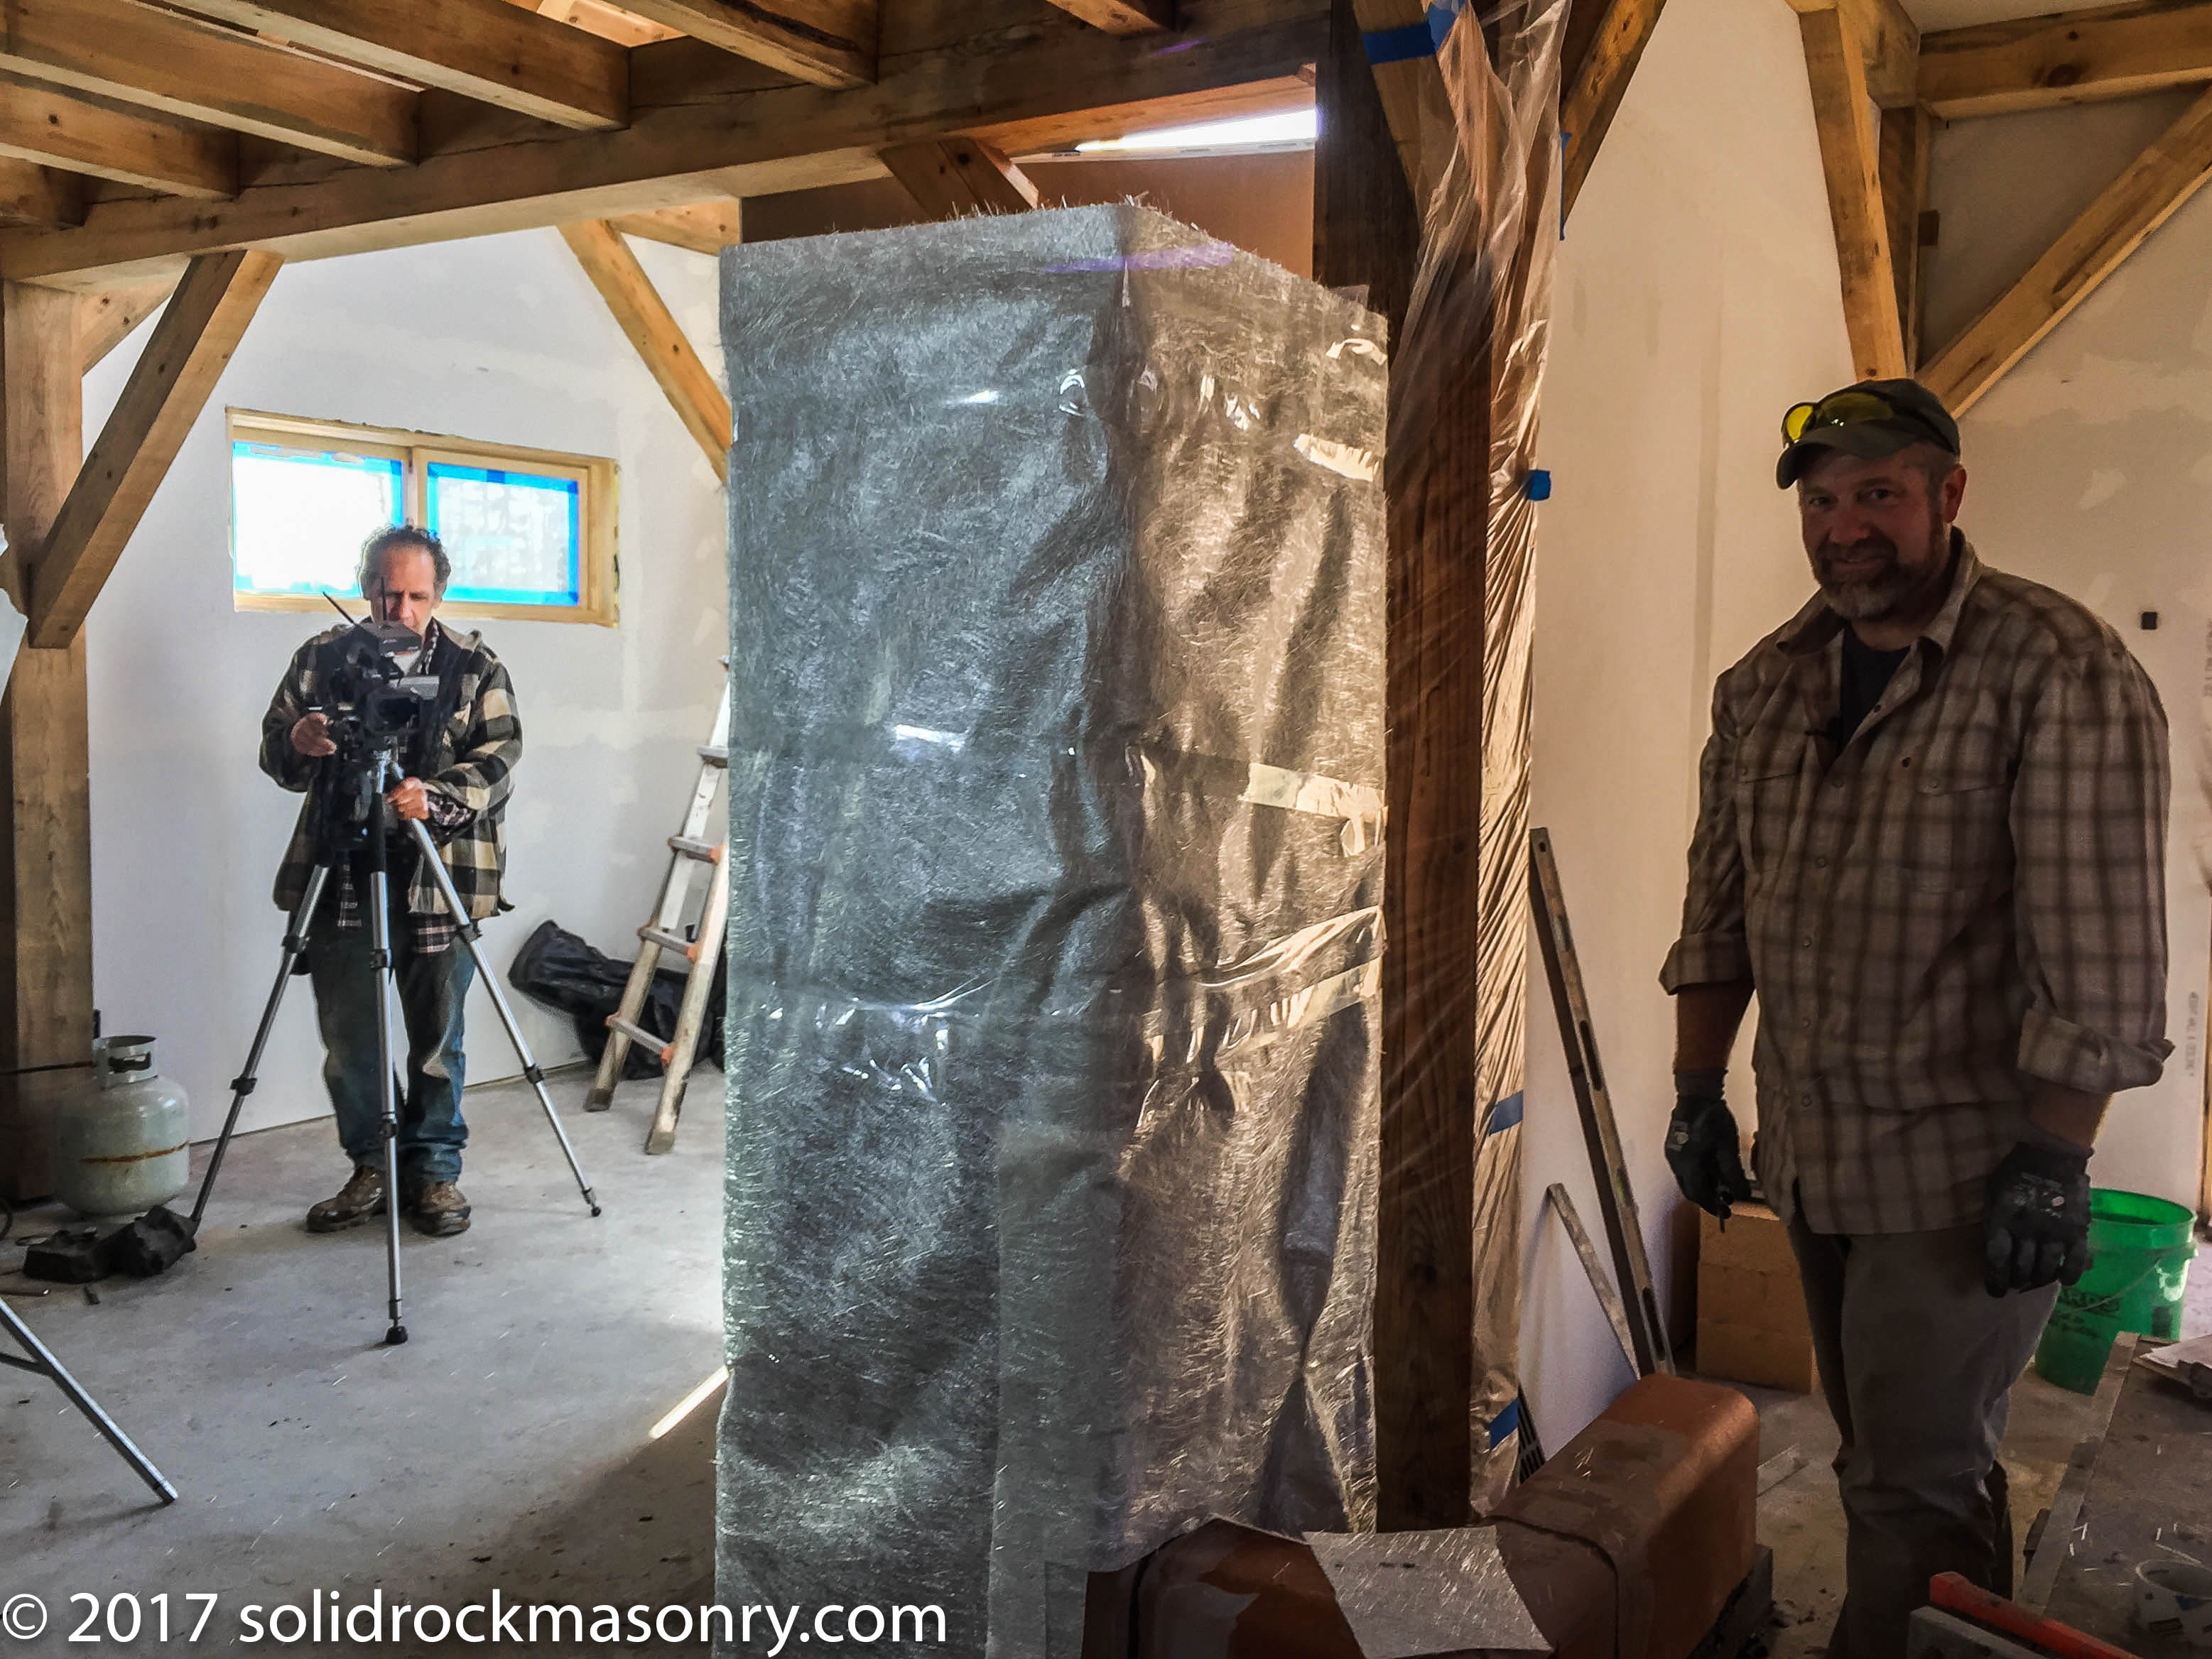
Here is a photo of Ramy (on the left) filming the documentary video and me (Eric) posing for the photo. We just finished installing the fiberglass expansion gasket around the core of the heater. We still need to cut out the door openings. You also see the heated bench channels being constructed out of 8×12″ clay flue liners. These will also get covered with fiberglass matte as an expansion joint.
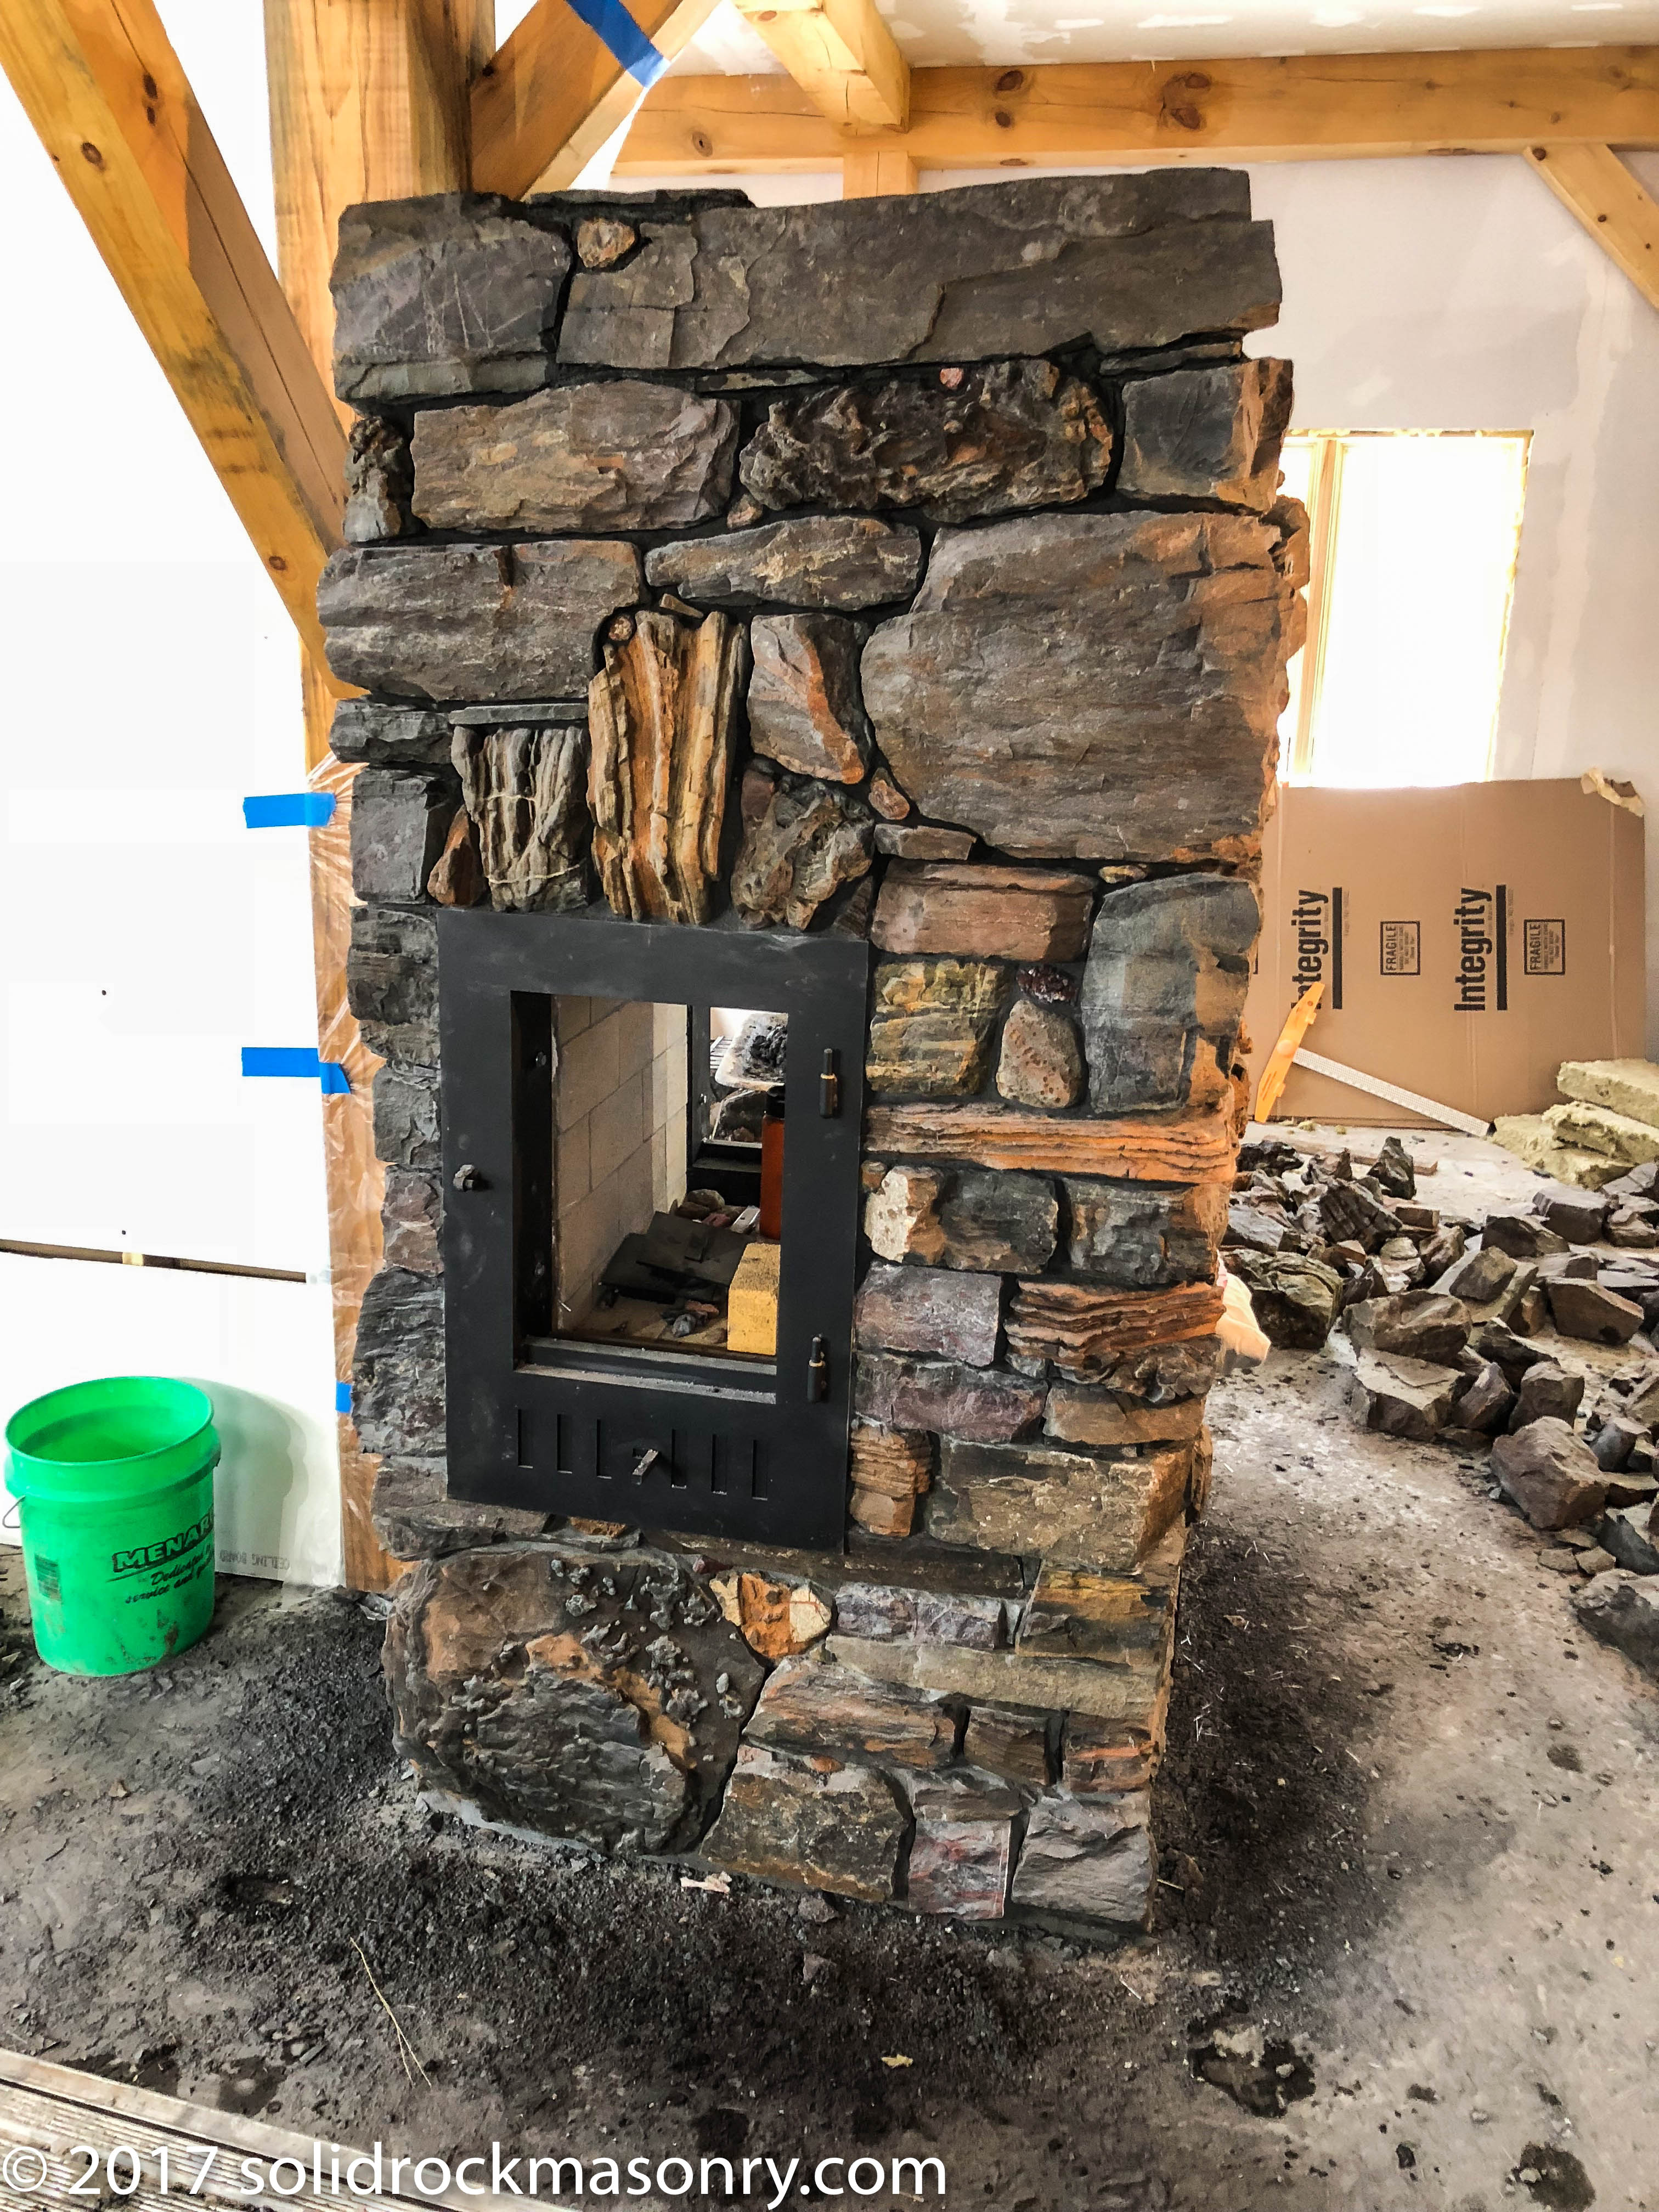
Photo of the stone going up.
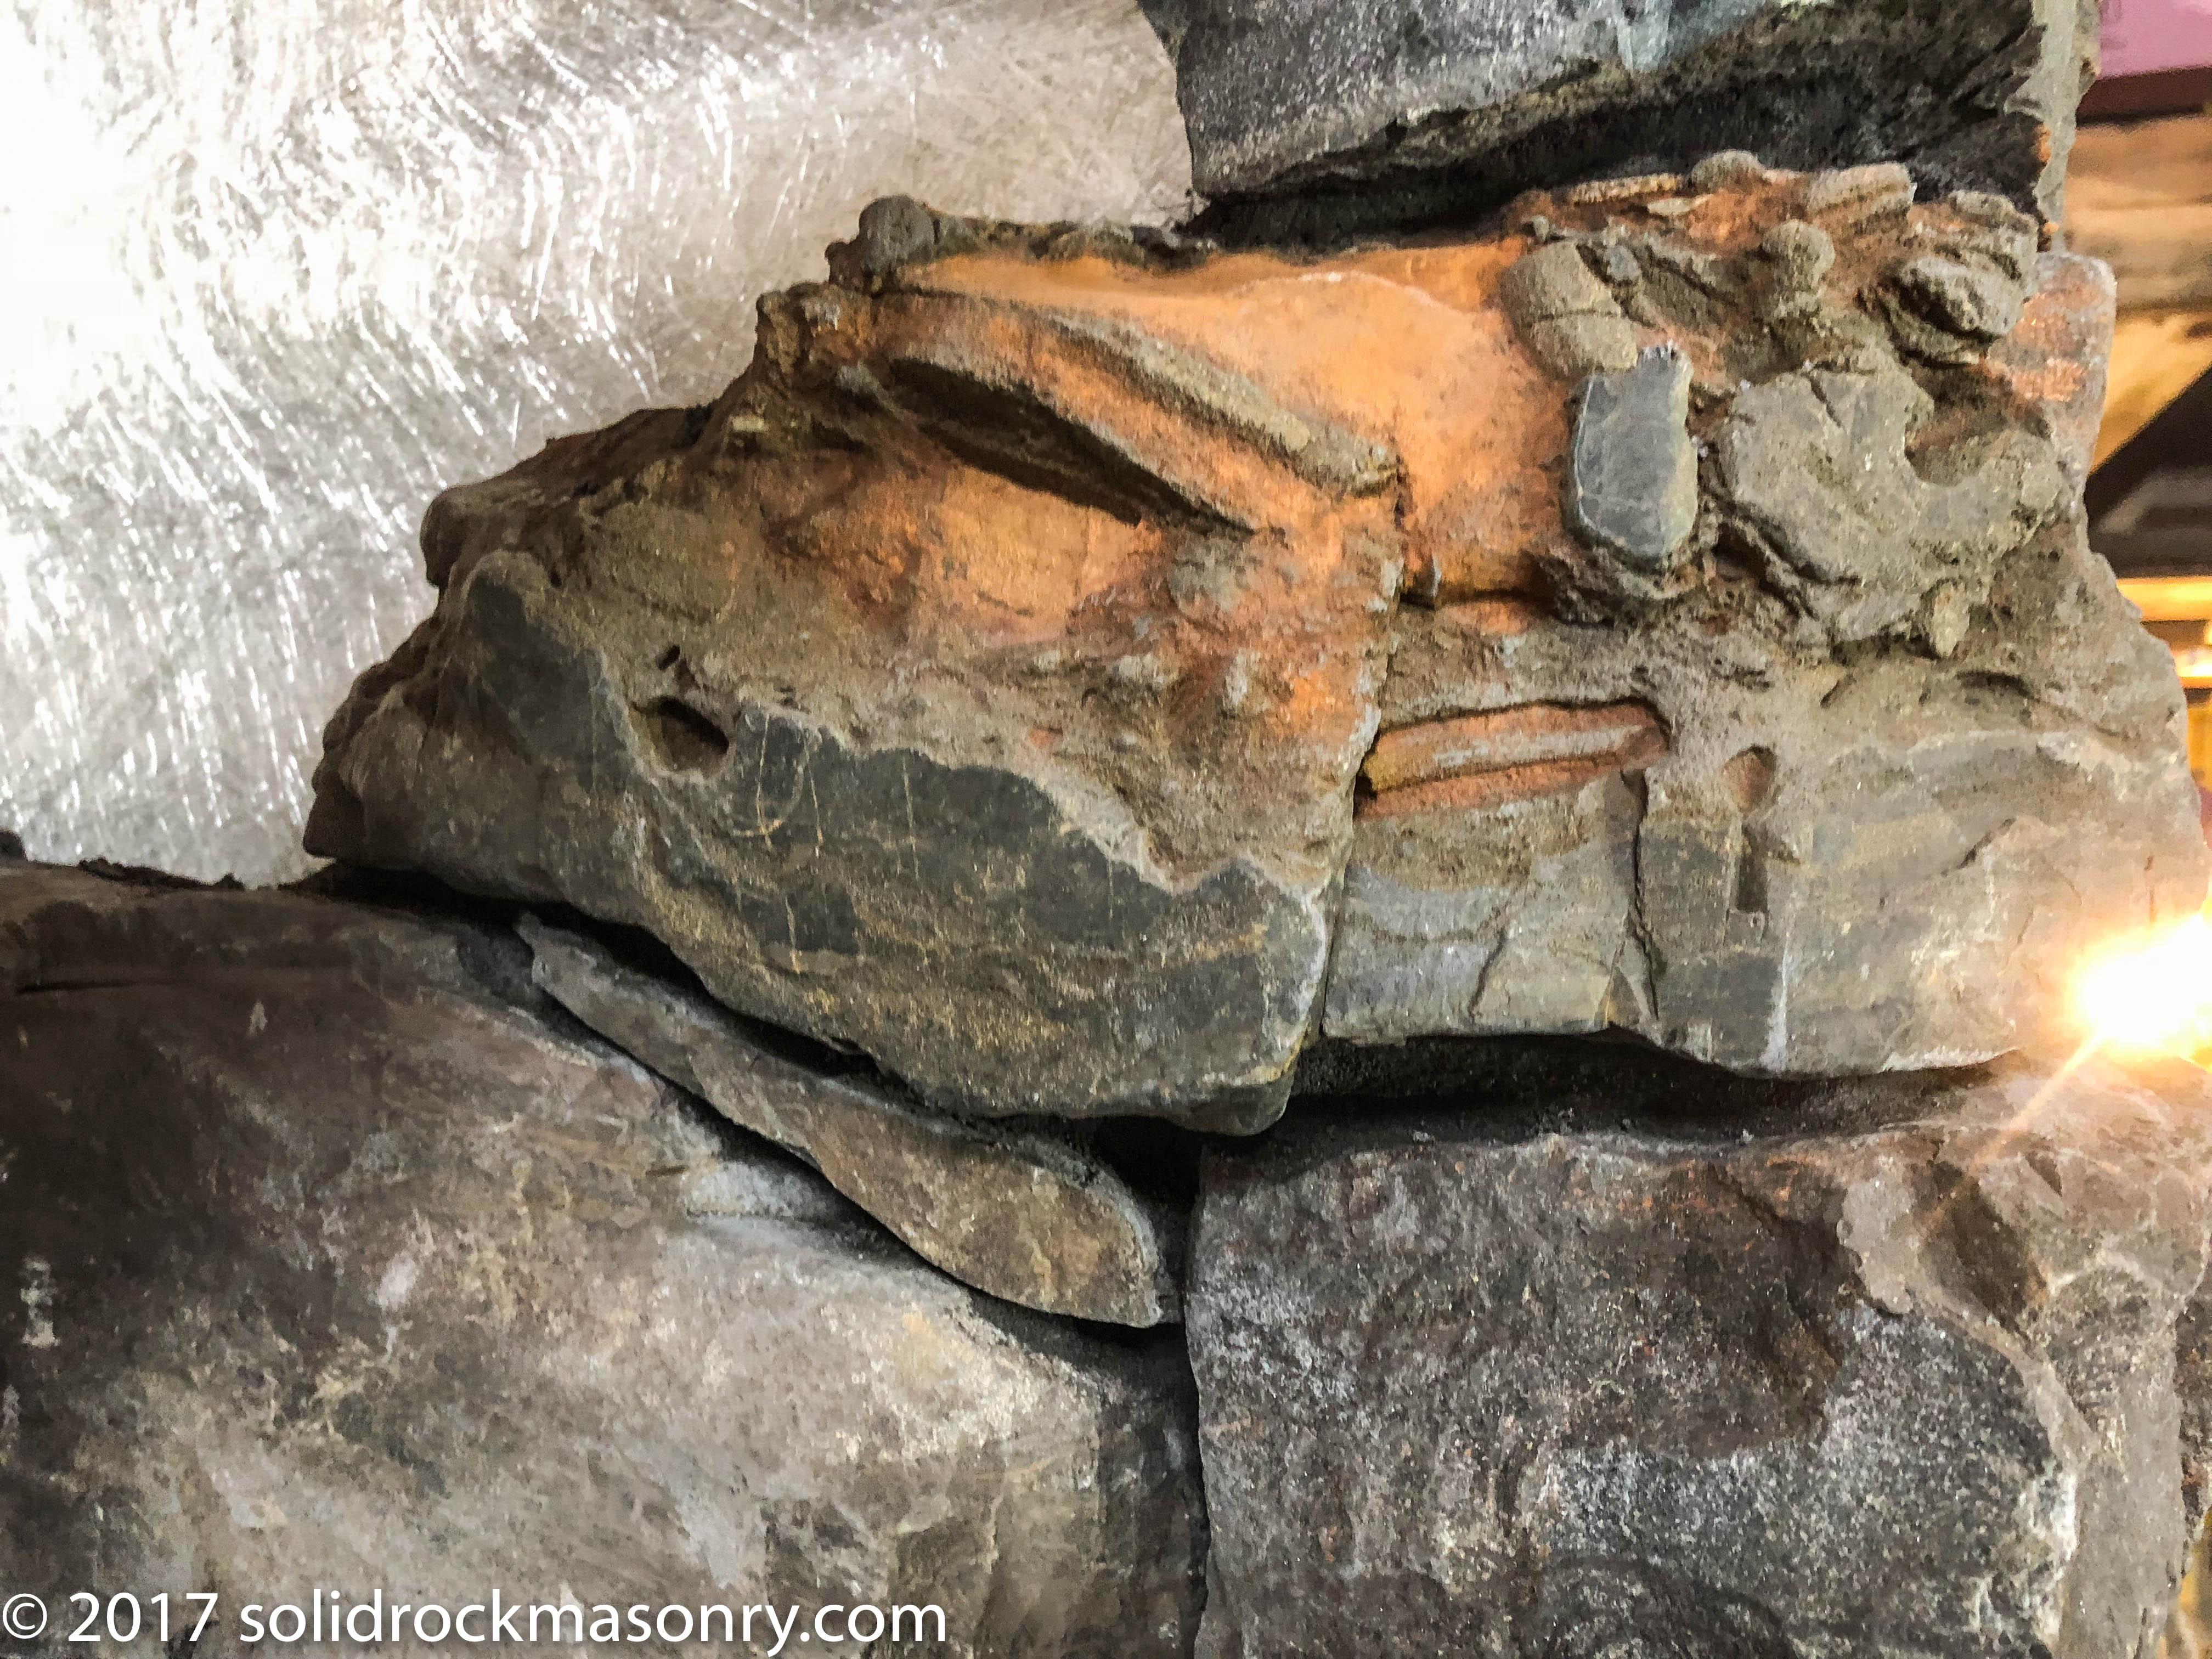
My Gunflint dragon skull stone.
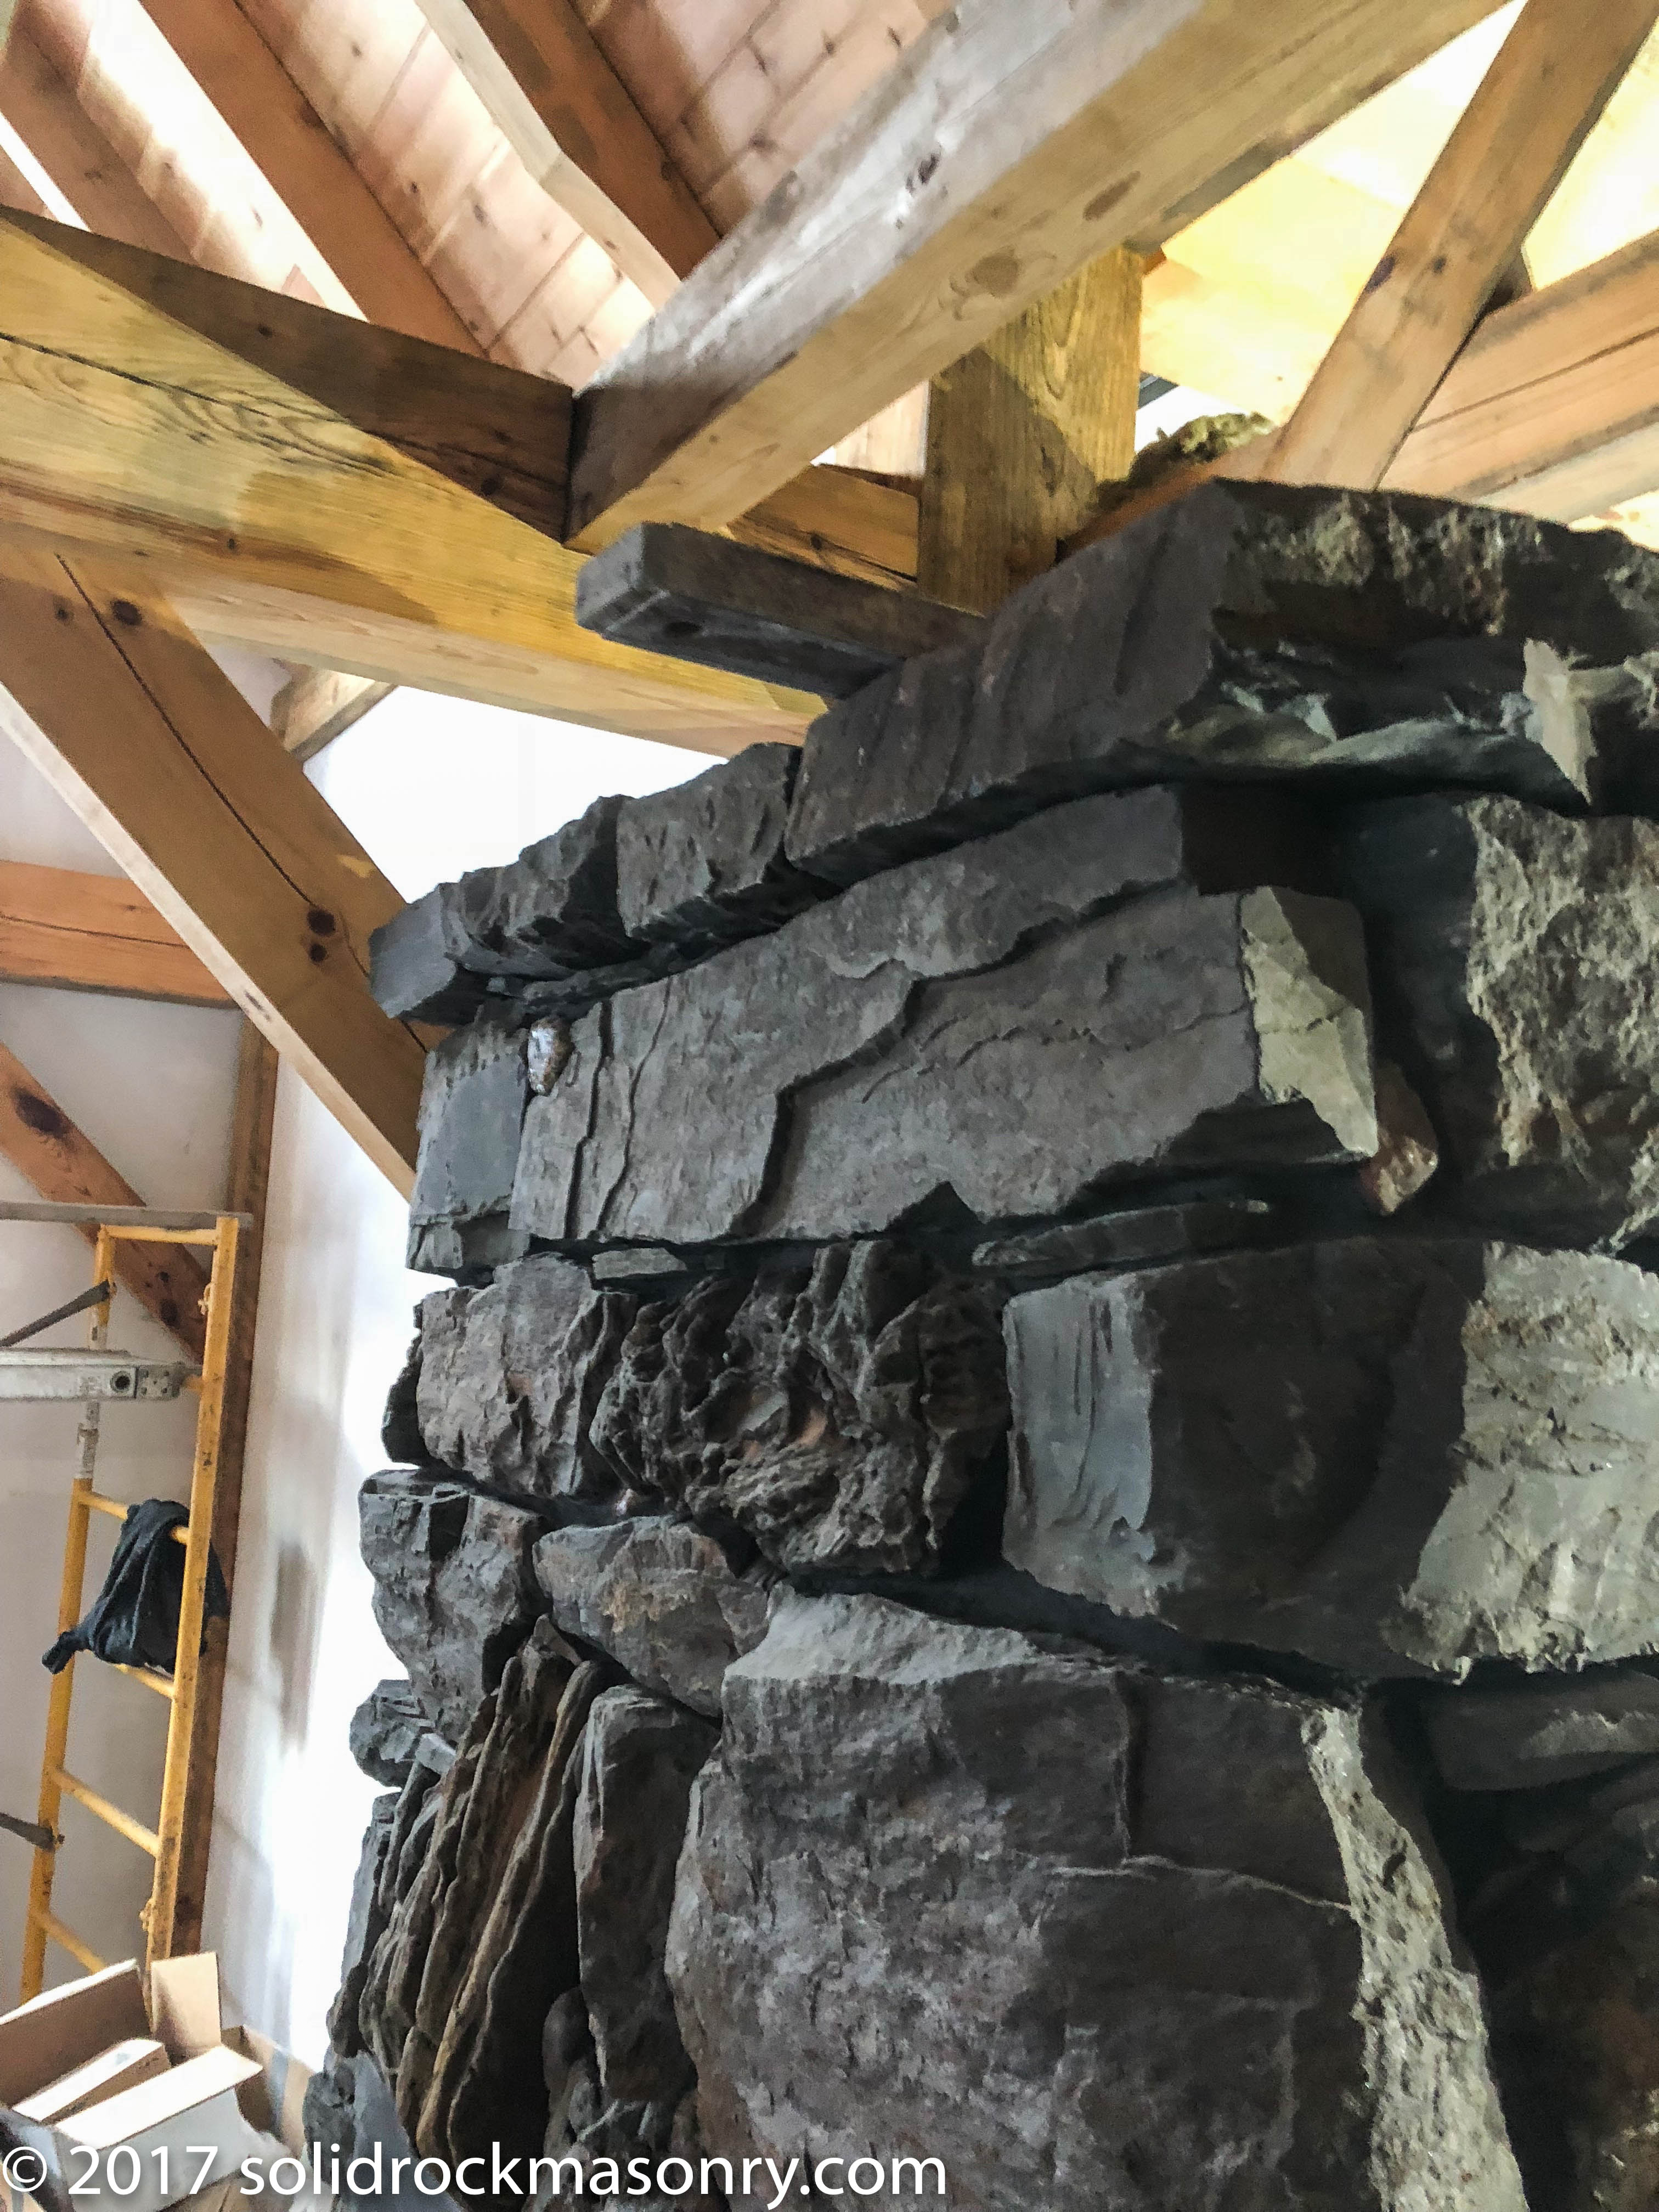
Slate caps in place.
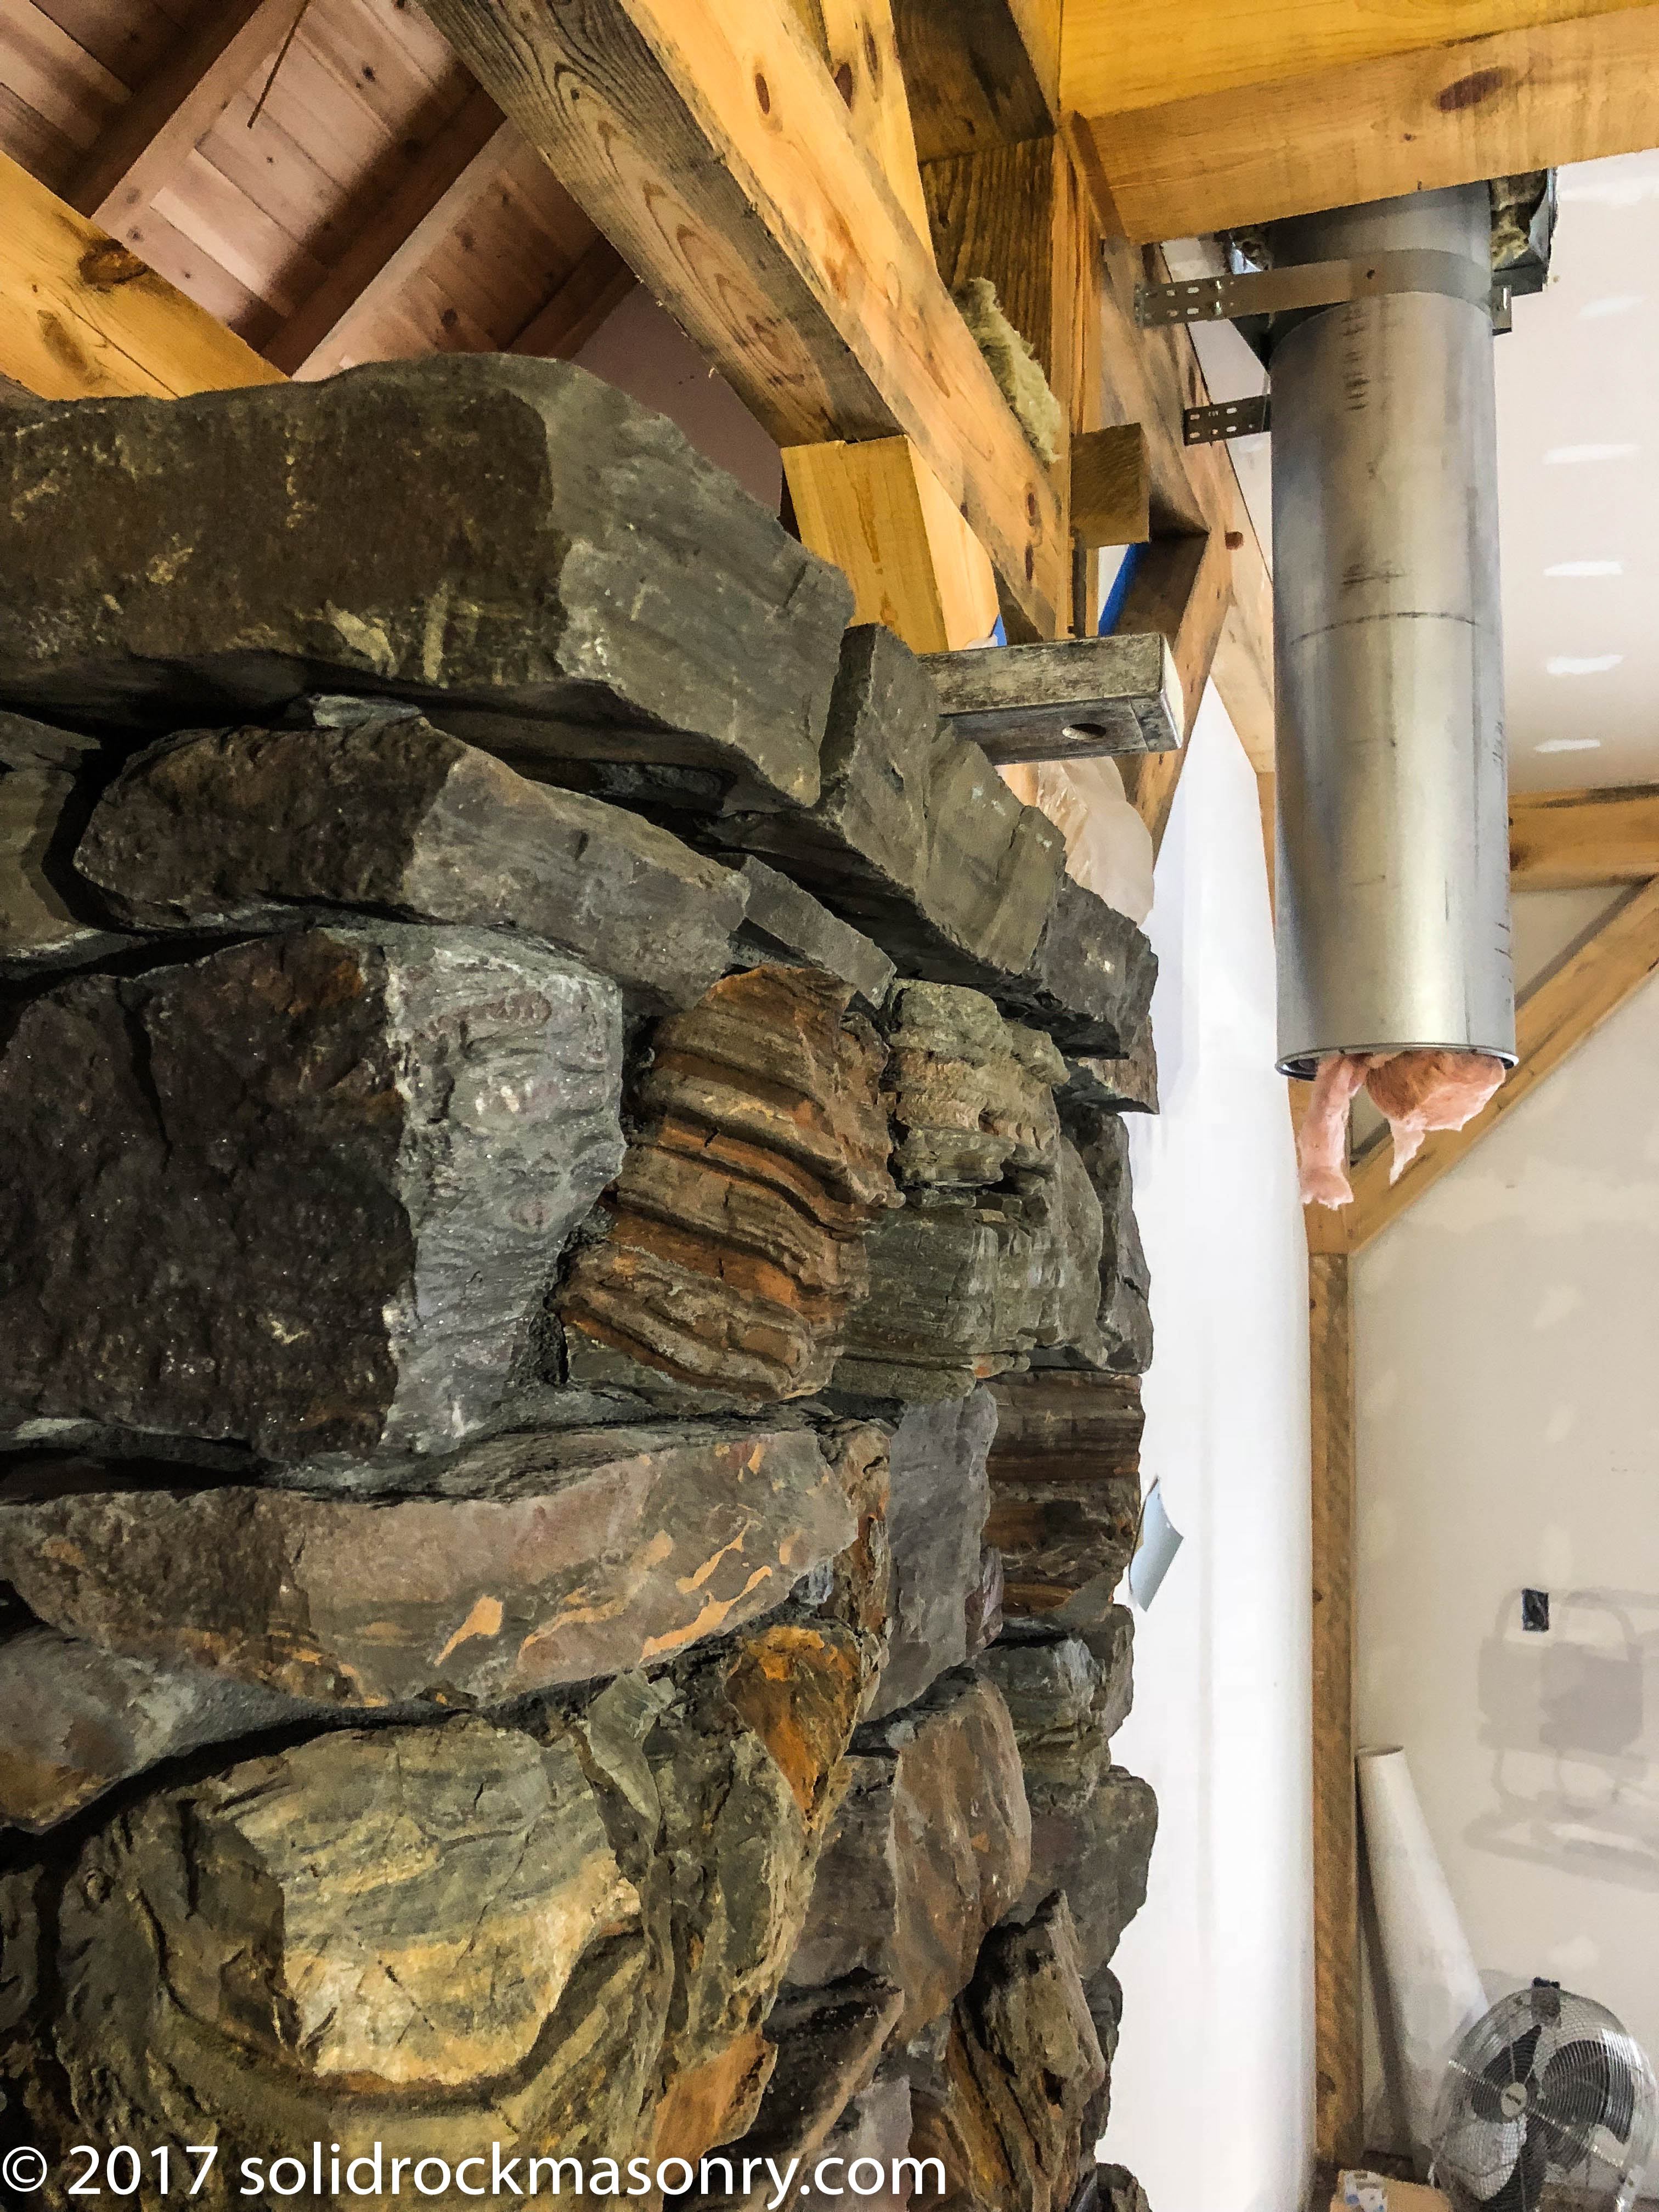
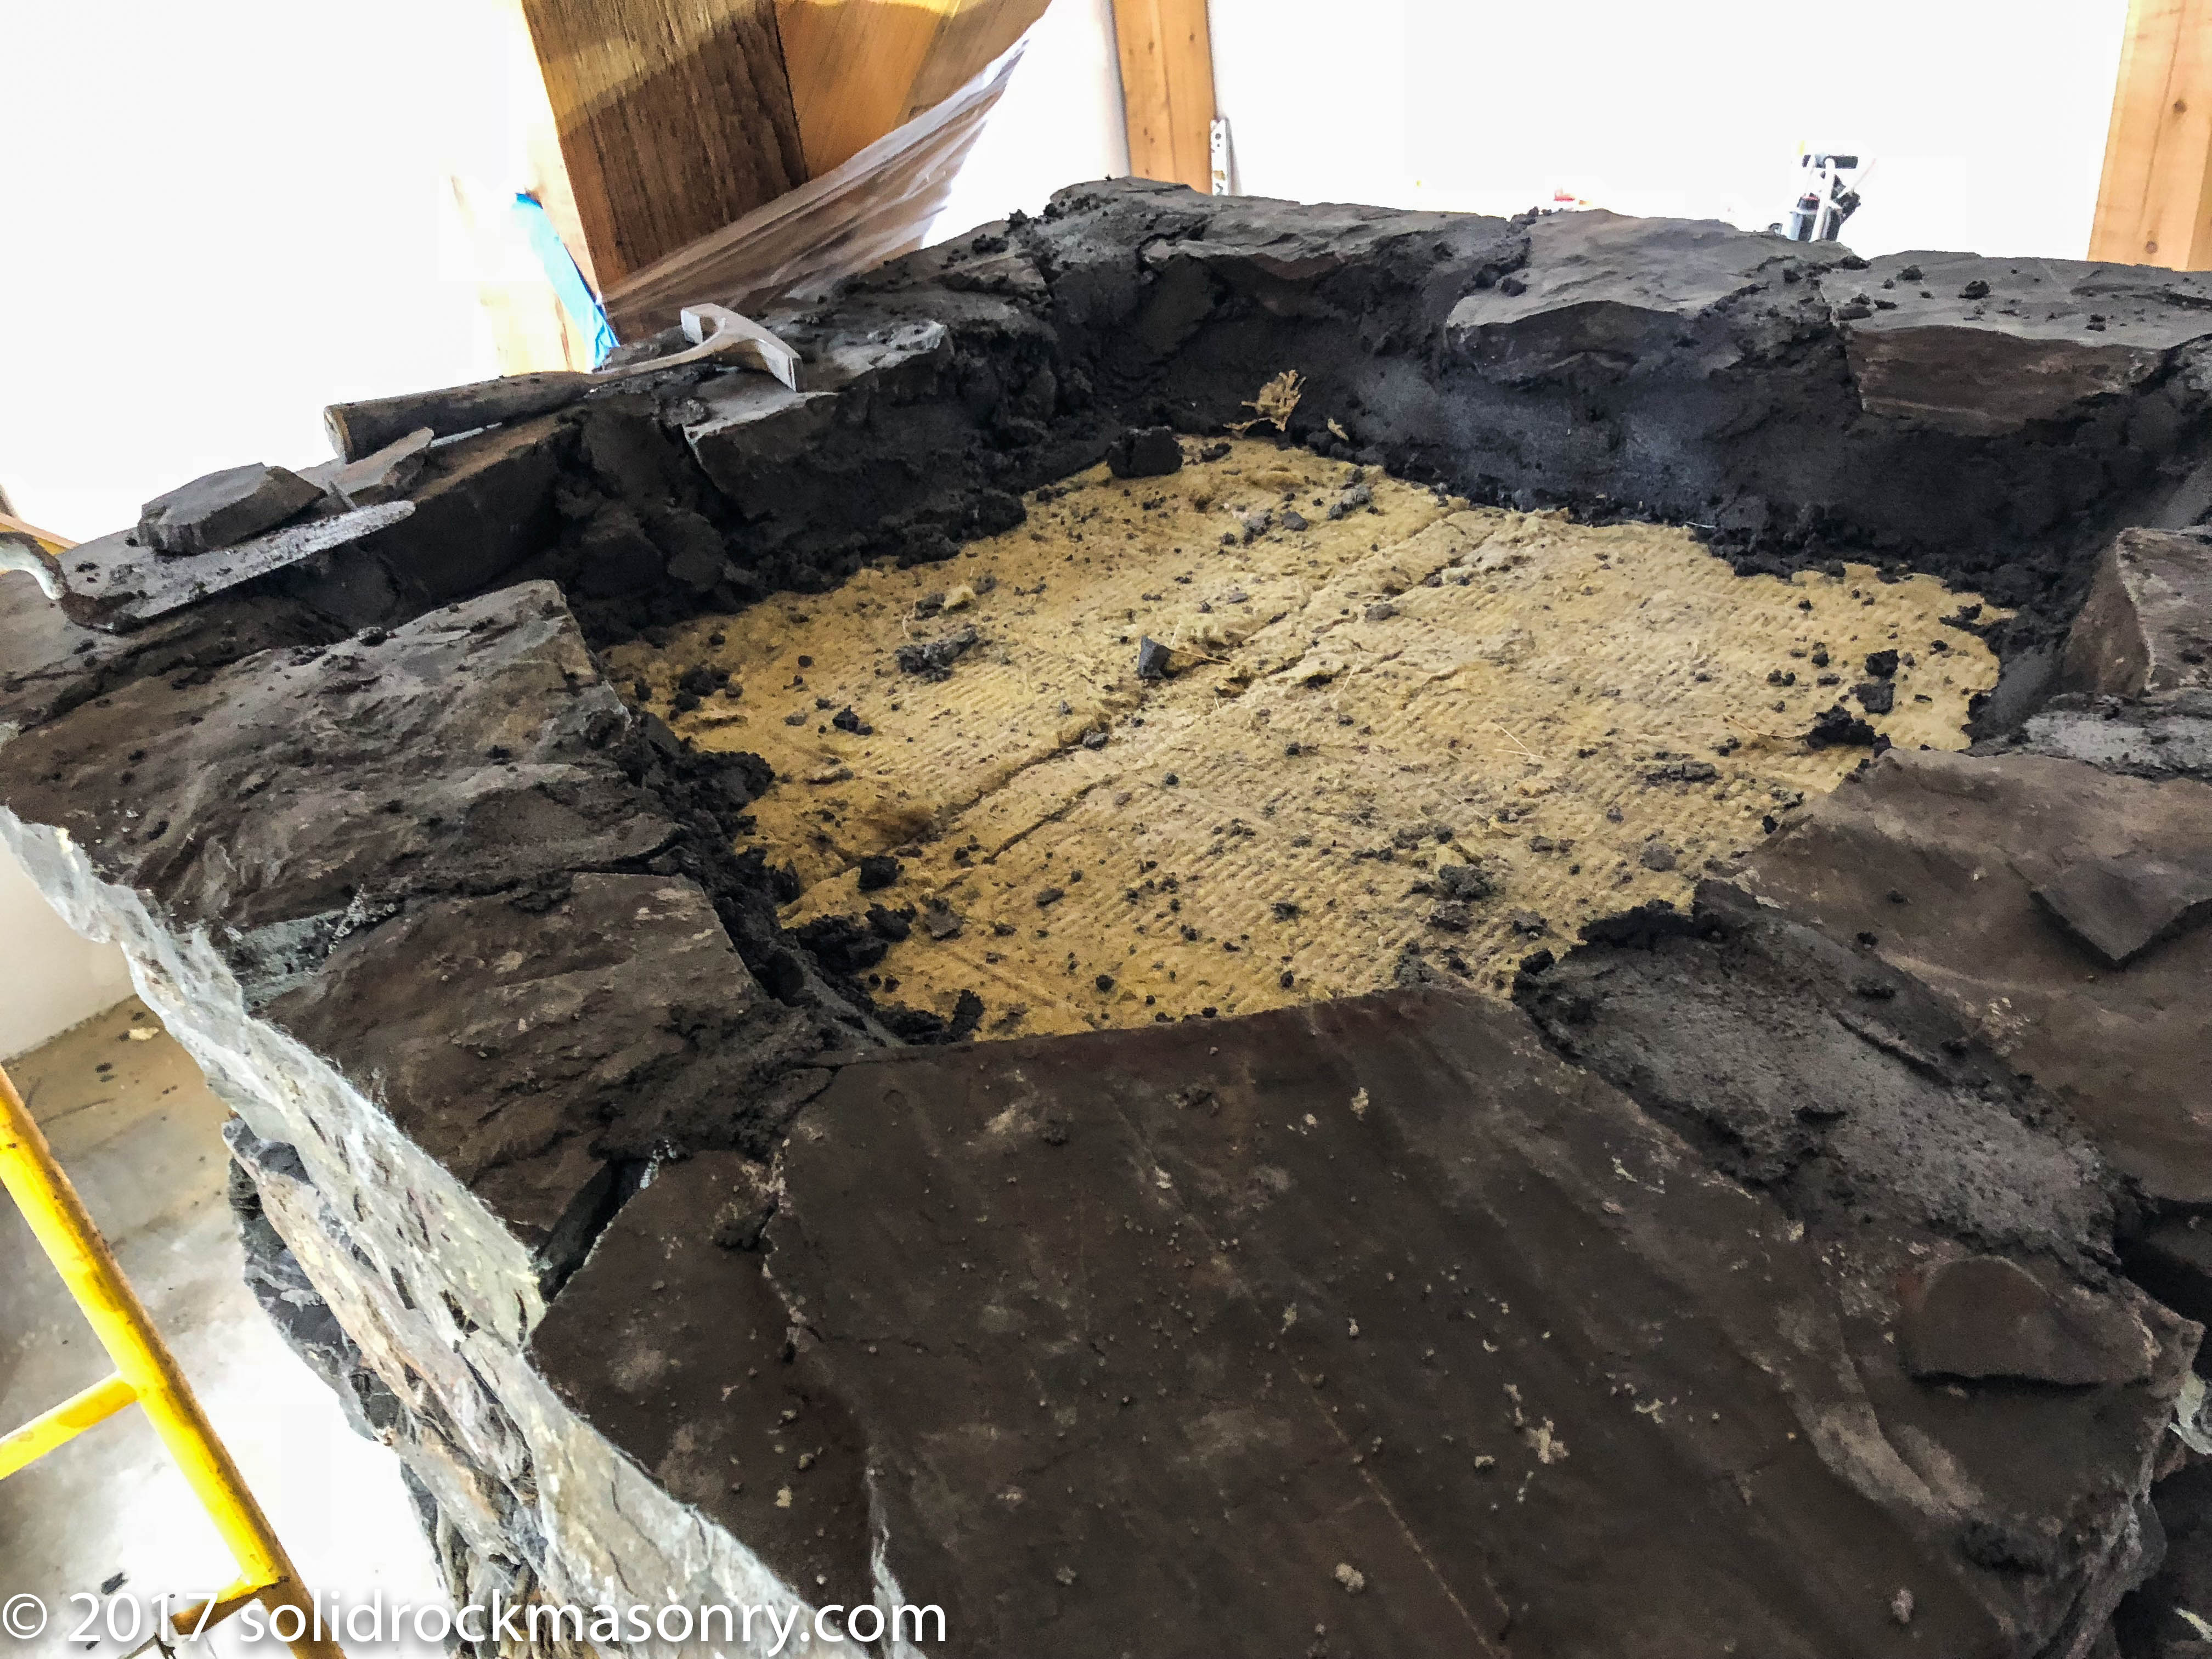
Top of the heater showing slate cap stones and 3.5″ Roxul mineral wool insulation on top of the cap. This will get filled in with more stone and mortar.
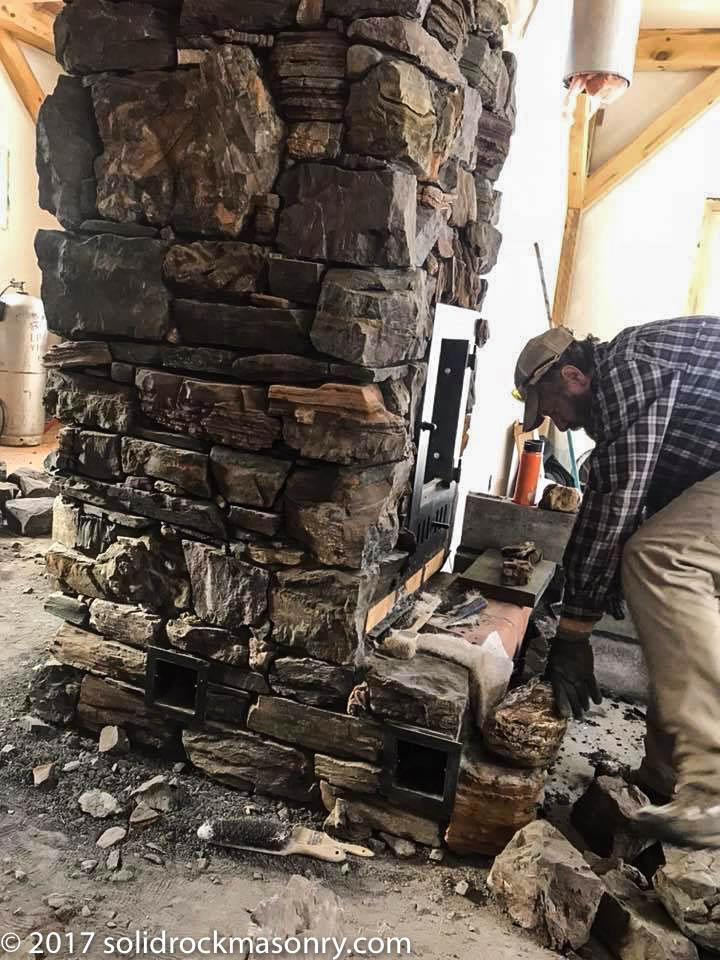
Me laying stone for the heated hearth.
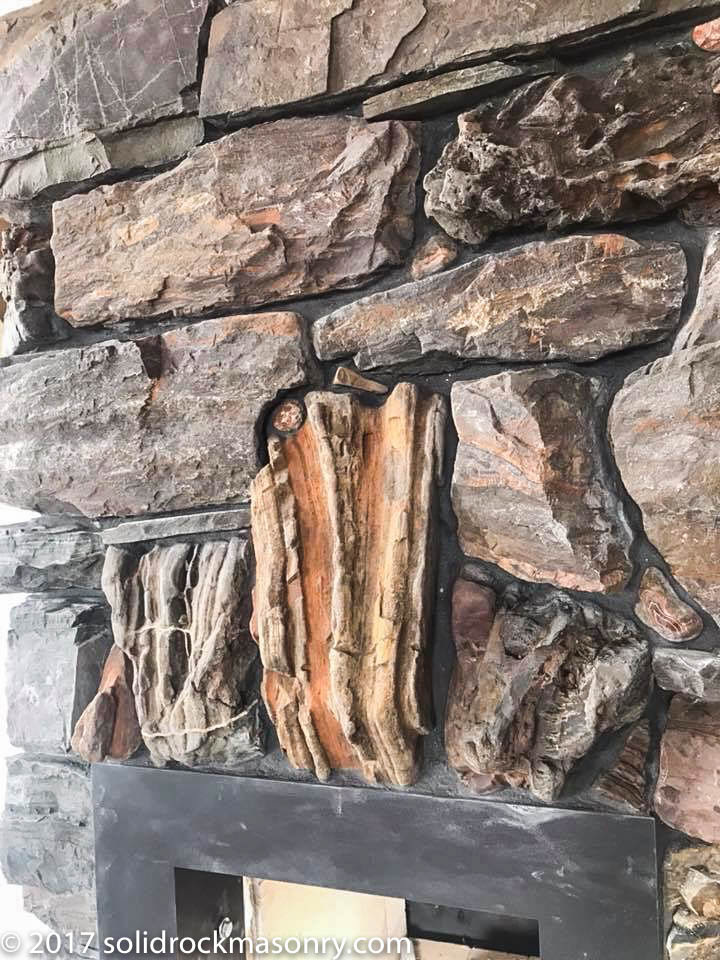
Gunflint stone arch above one door.
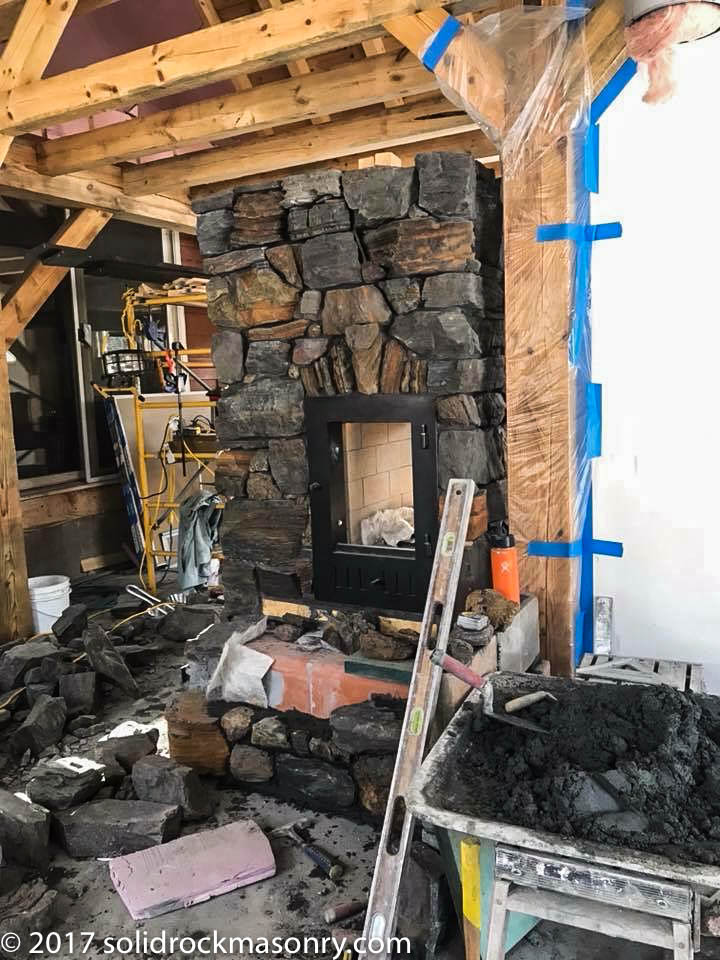
Gunflint stone arch over office side door.
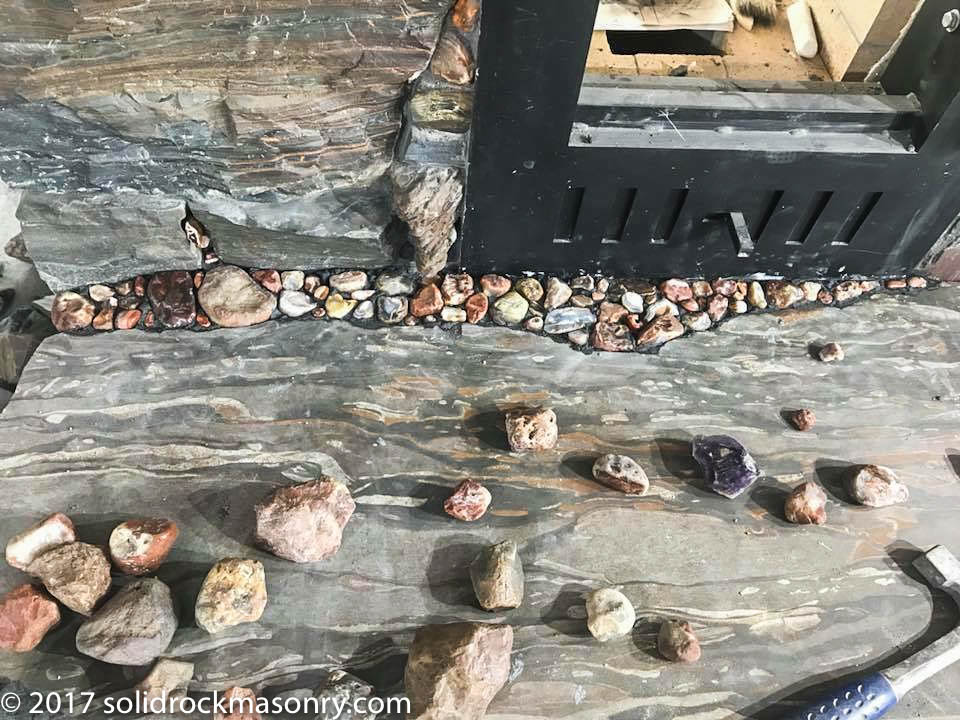
Lake Superior agates that we collected over the years being used to fill in the space that the irregular taconite slab space left.
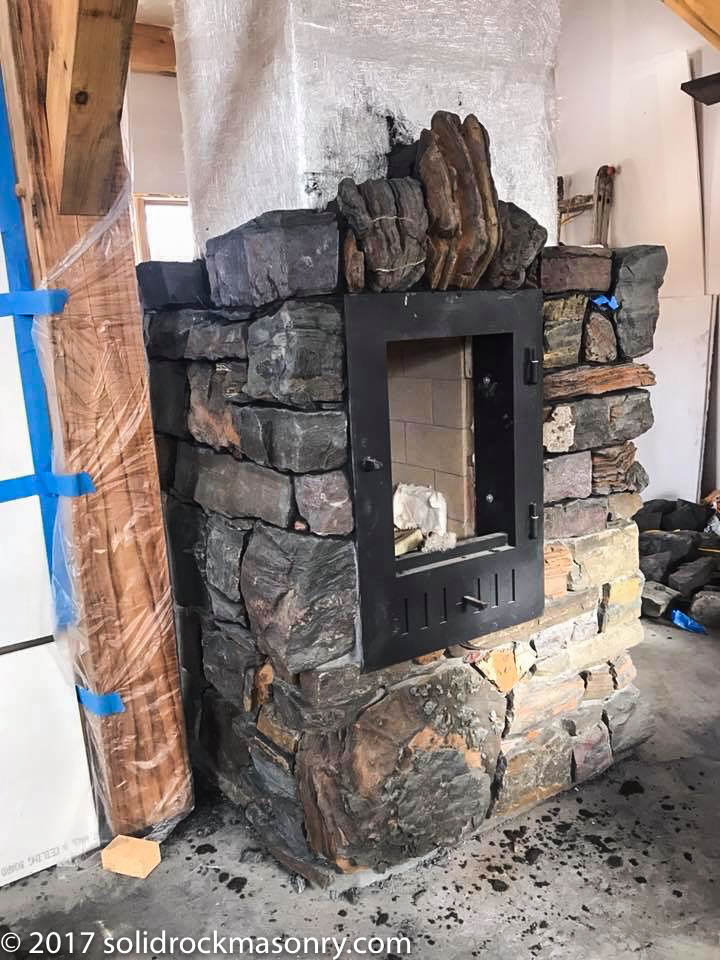
Gunflint arch being set.
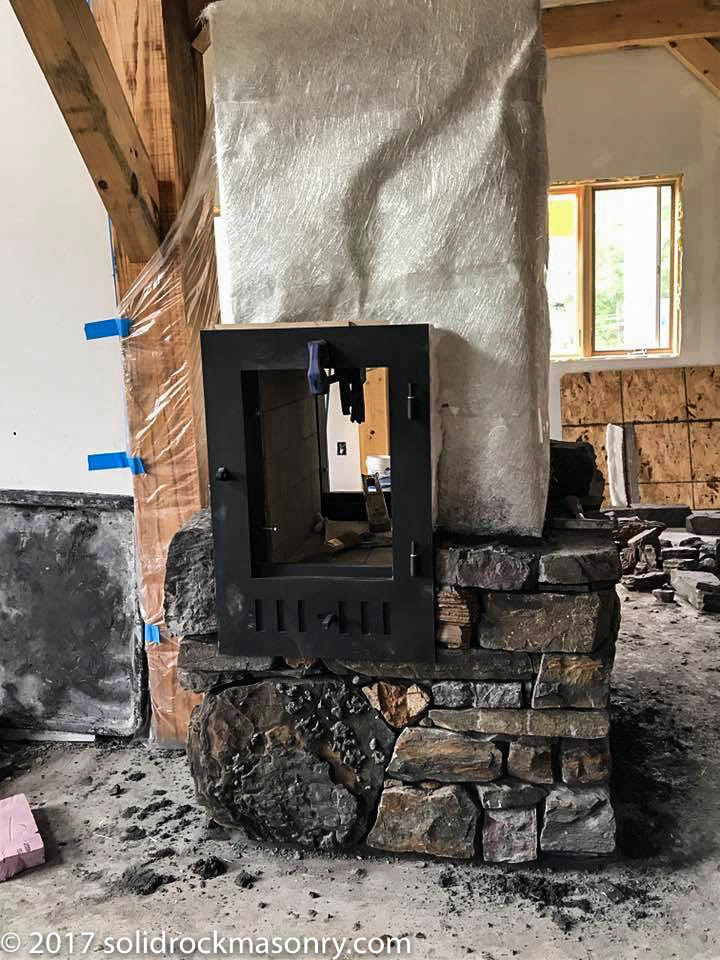
Door being set in the stonework with 5″ lag bolts. Clamp holds the door in place while we are setting stone around it.
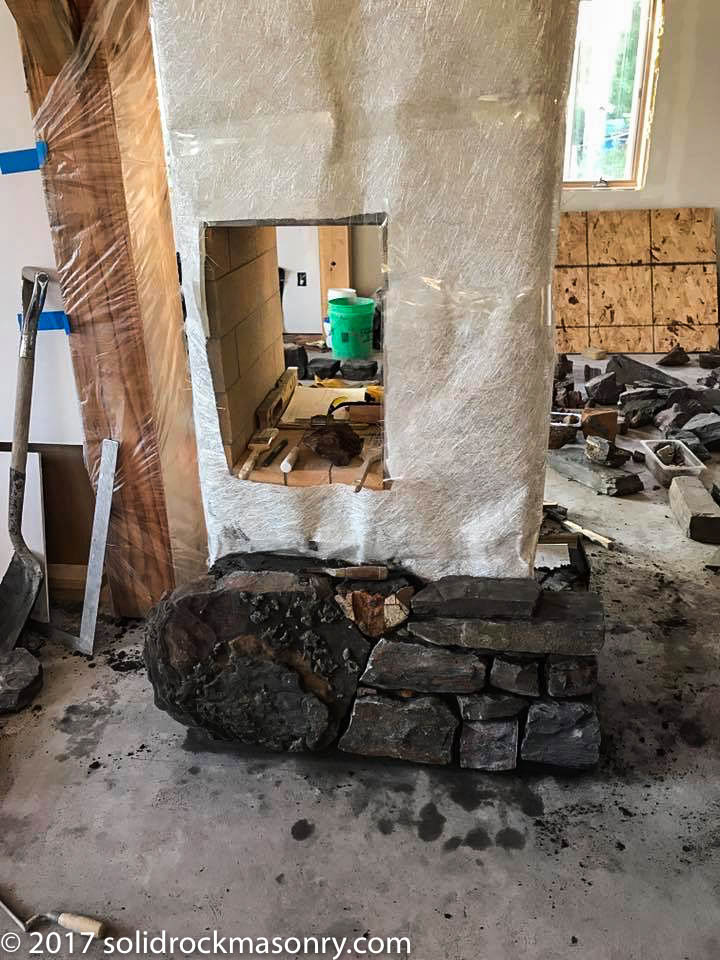
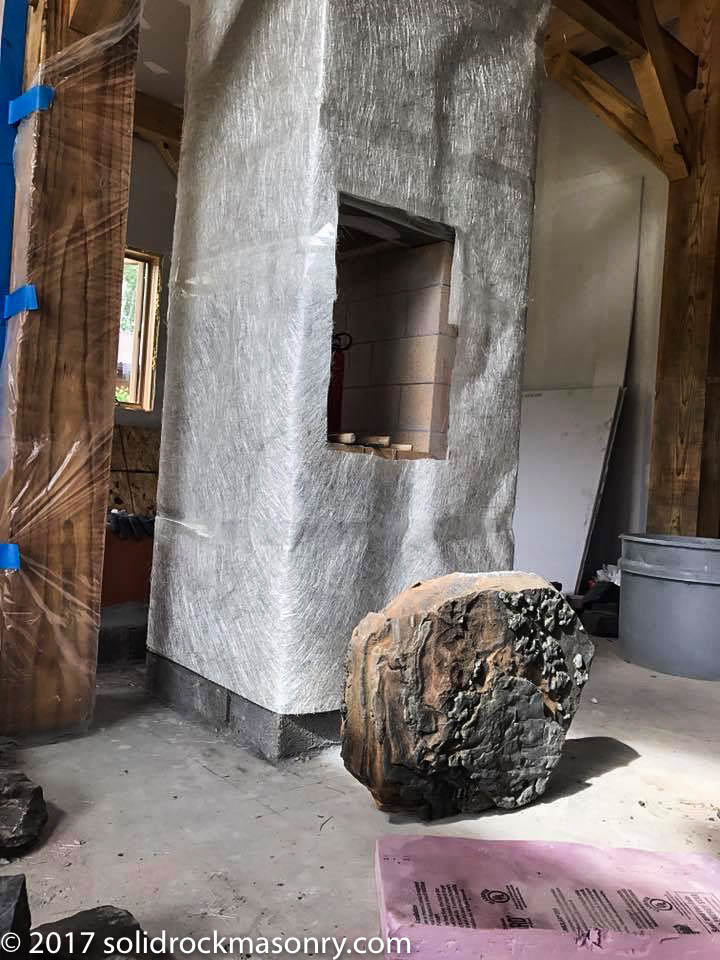
First Cornerstone of a large piece of Gunflint chosen and ready to set in place.
